
This post may contain affiliate links, meaning, at no additional cost to you, I will earn a commission if you click through and make a qualifying purchase.
Since moving into our home nearly four years ago, I had a plan to put some nice tall planters on our front stoop. But I just never got around to it. Whenever I saw them for sale in the store or online, the tall planters (nearly 3 feet high) would go for more than $150 EACH! So I resolved to figure out how to make my own. Luckily, Pinterest came to my rescue and I found this wonderful tutorial on BlogAndiamo. By tweaking these instructions just a tad, I was able to make three 32-inch tall planters for about $25 TOTAL. That’s less than $10 each. And they turned out so nice! They definitely look better than I’d hoped and are a nice addition to our home’s entryway. You are totally going to want to try this project yourself!

I finally got around to making these tall planters in the spring (so I could procrastinate on all the chores that I needed to do inside the house).
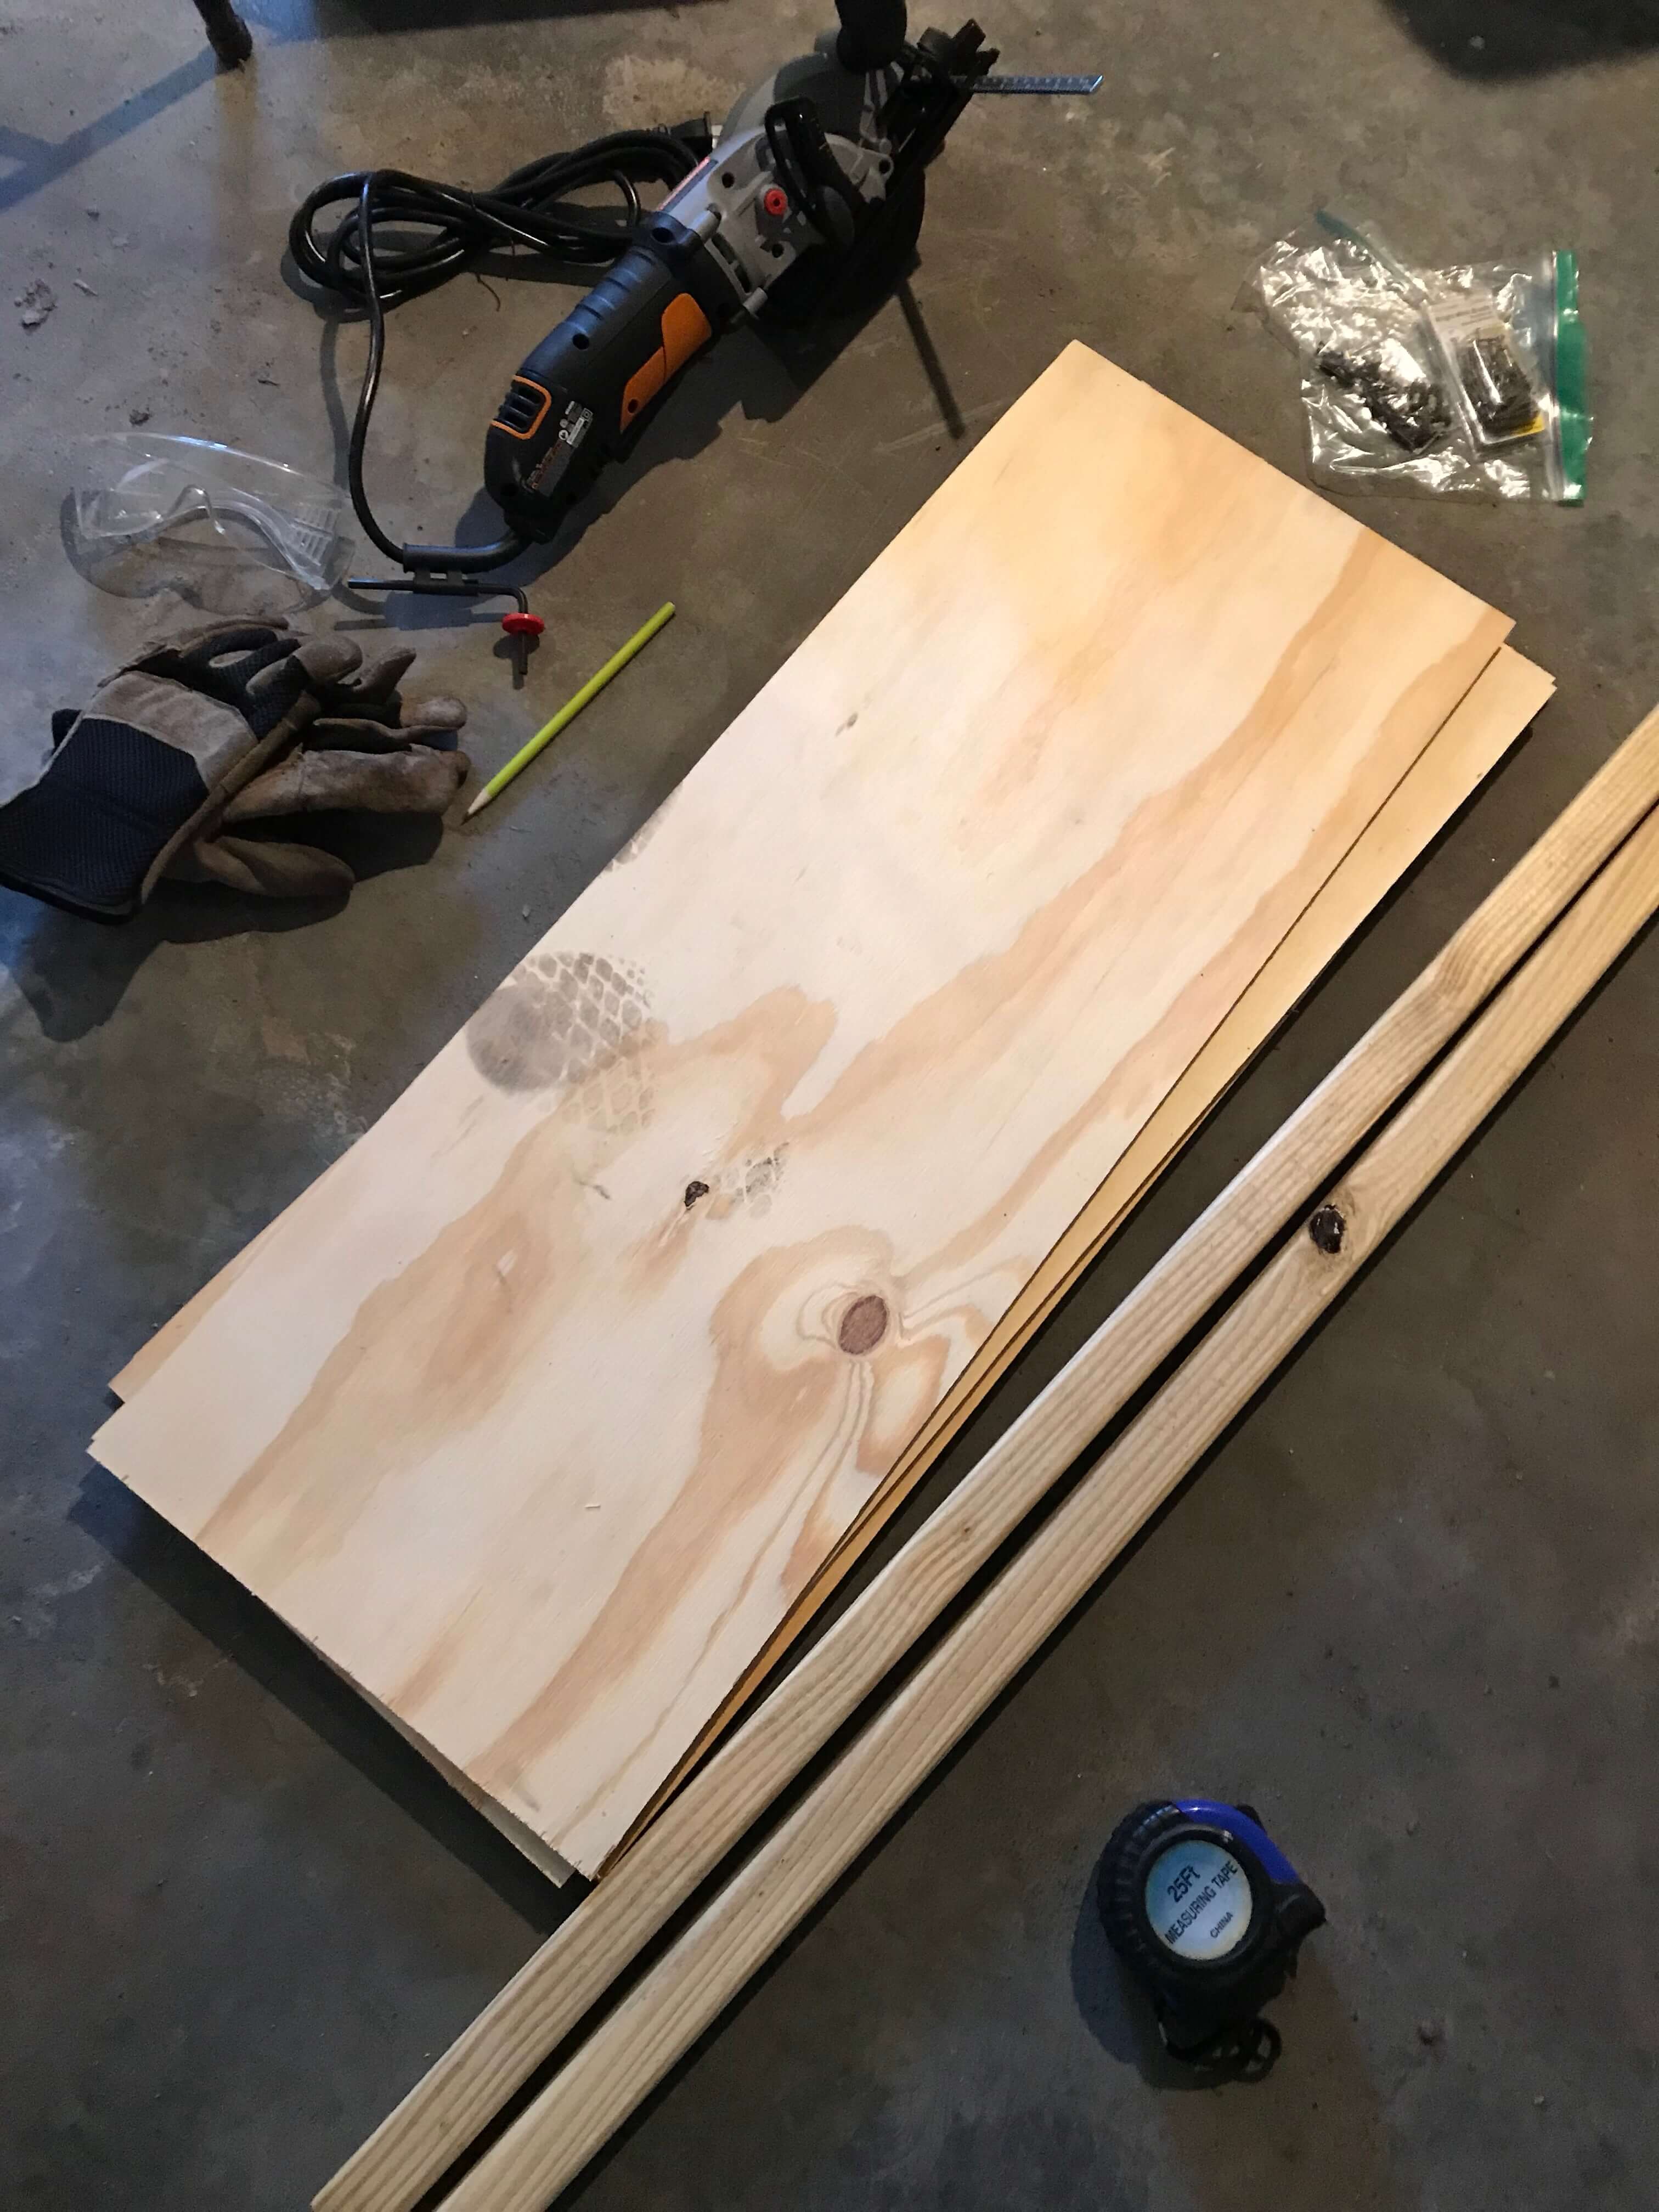
Tools Needed:
(I already had all of these tools in our garage from previous projects.)
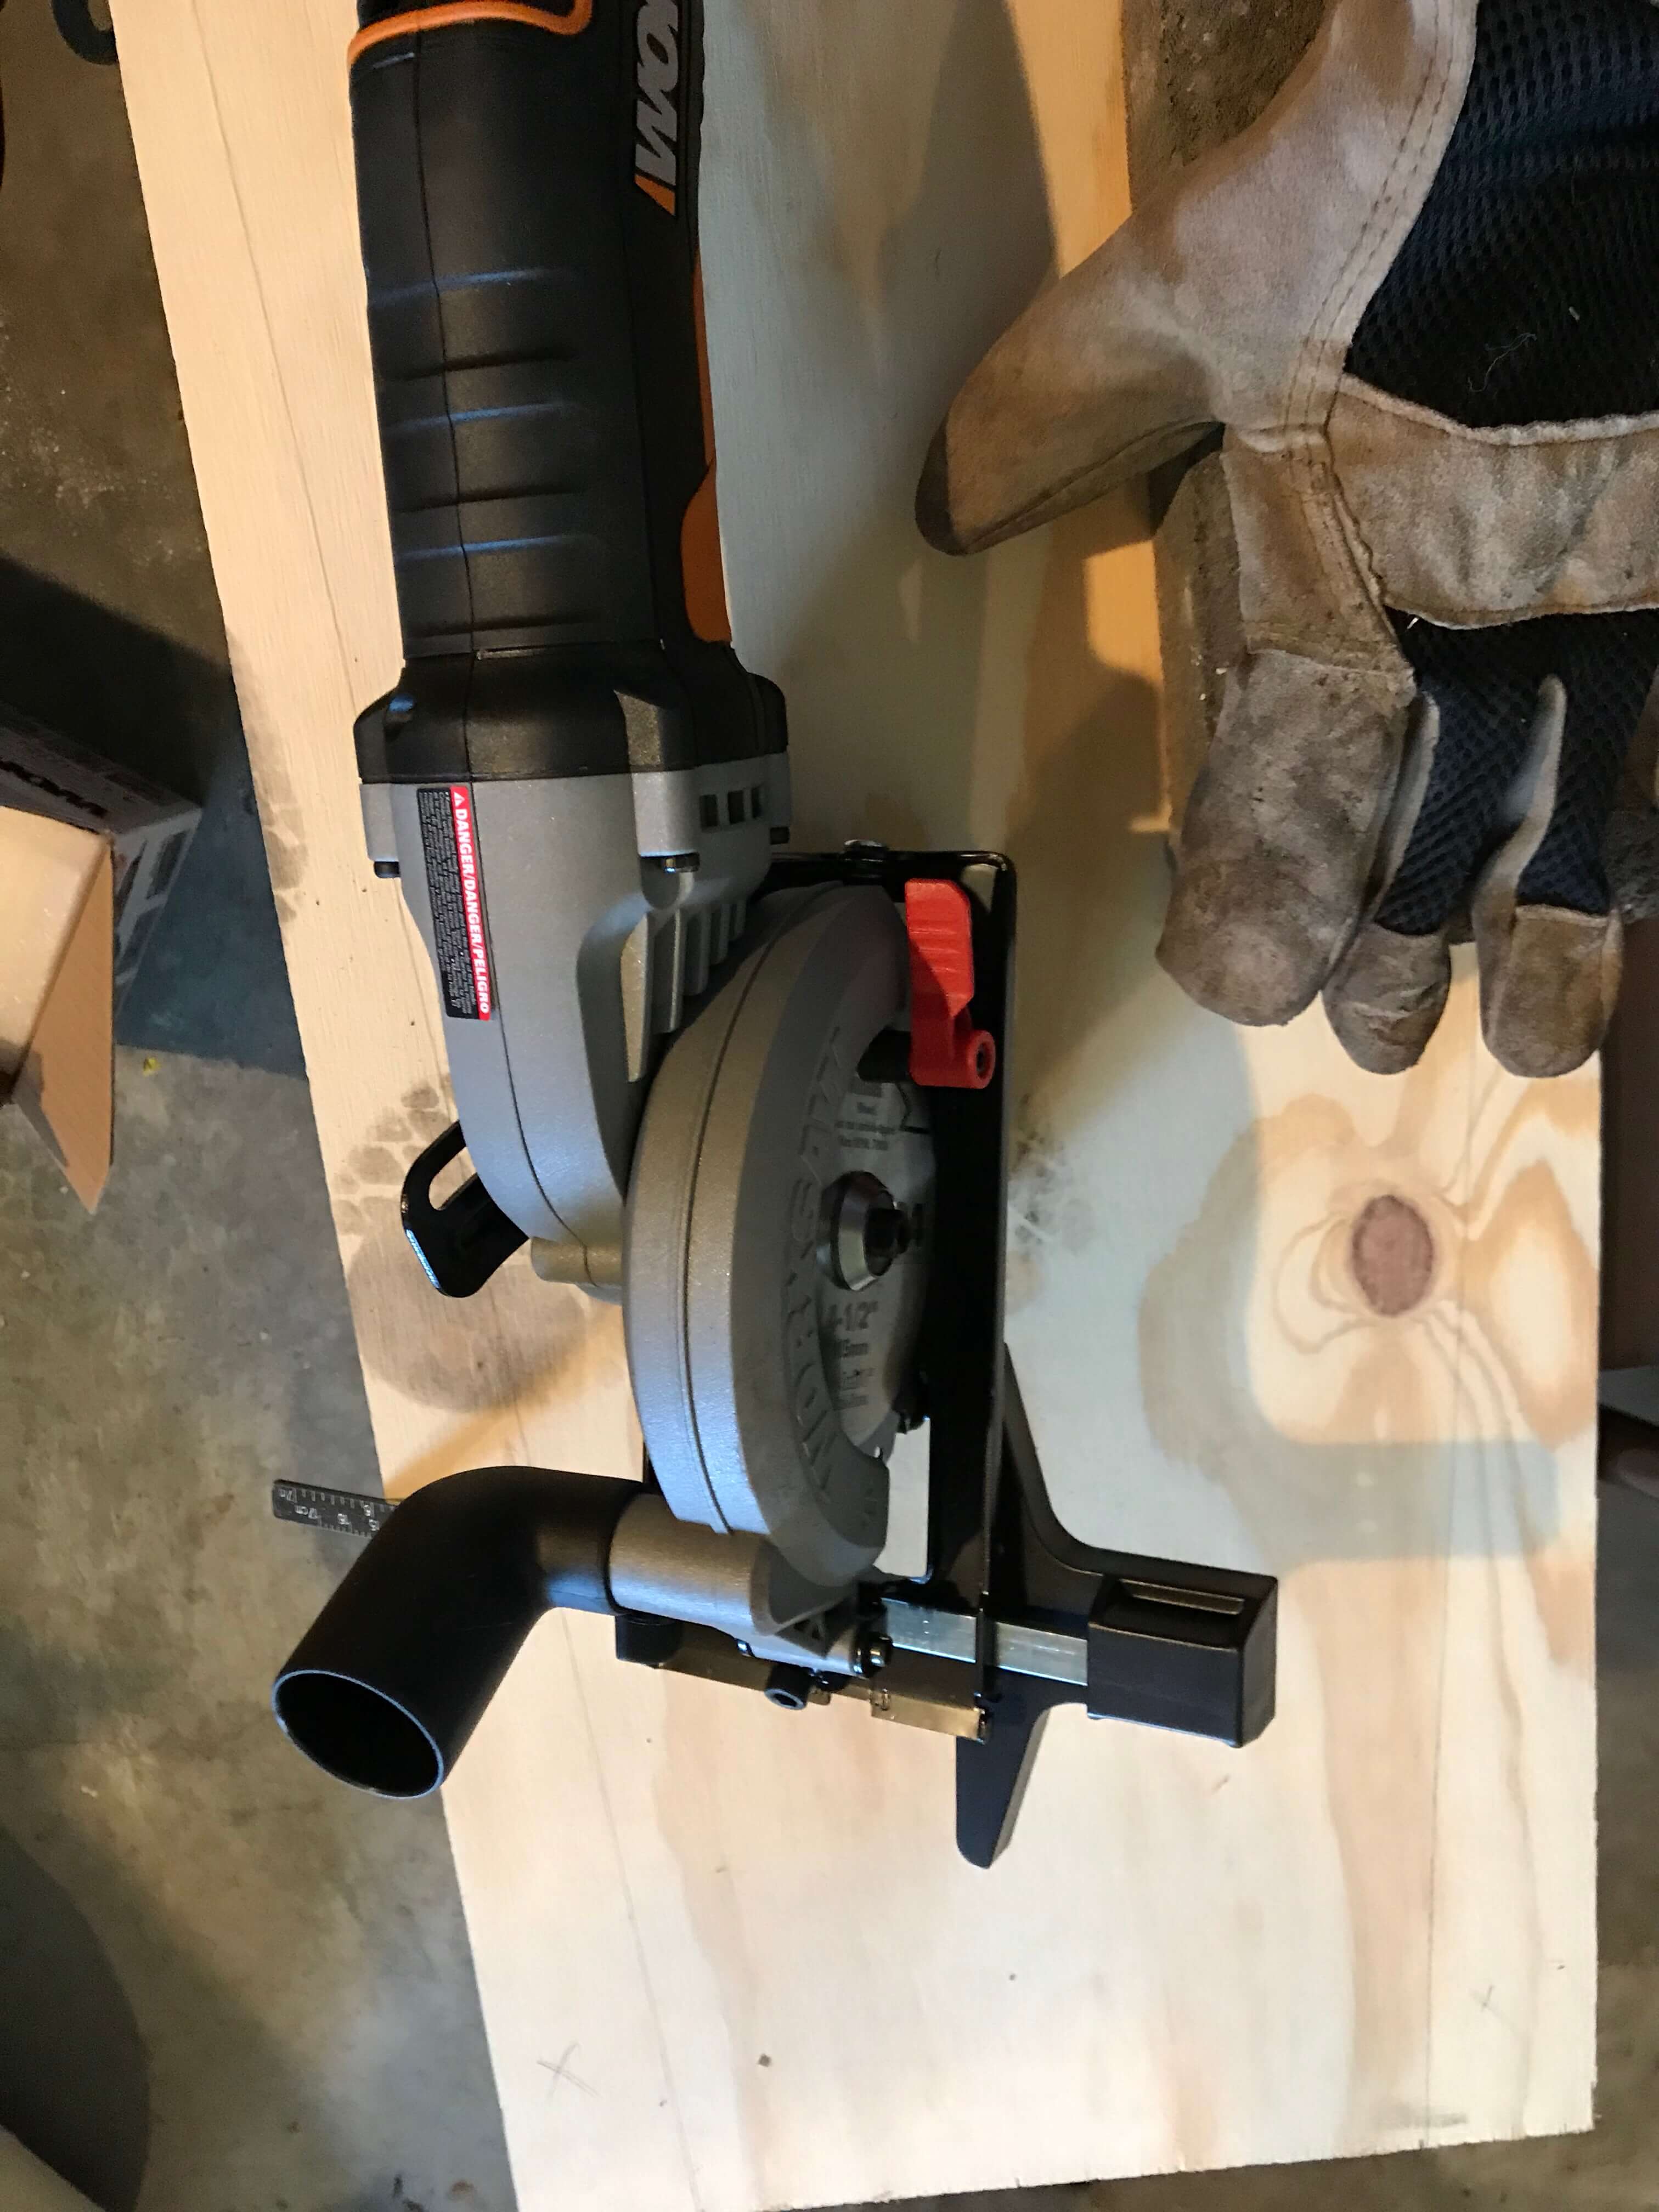
- Hand-held circular saw
- Eye protection
- Gloves
- Pencil
- Measuring Tape
- Power Drill
- Ear protection
Supplies to Buy:
- Screws, Nails (I used what I had on hand in the garage.)
- 8 2x2s ($1 each)
- 1 4×8 plywood board (~$16)
- Paint (I used leftovers from other projects. Bonus: They match other accents of the house, like our nook bench and our porch railing.)
Tip: If you want to minimize the amount of cutting that you’ll be doing with the circular saw, get an employee at the hardware store to make the following cuts for you for FREE before you check out. This prevents my inevitable cutting errors and saves me a lot of time!
Cut each 3-ft 2×2 into 3 12-inch pieces (for a total of 24 pieces). You will be using 8 for each of the three tall planters.
12 in 12 in 12 in
|————|————|————|
|————|————|————|
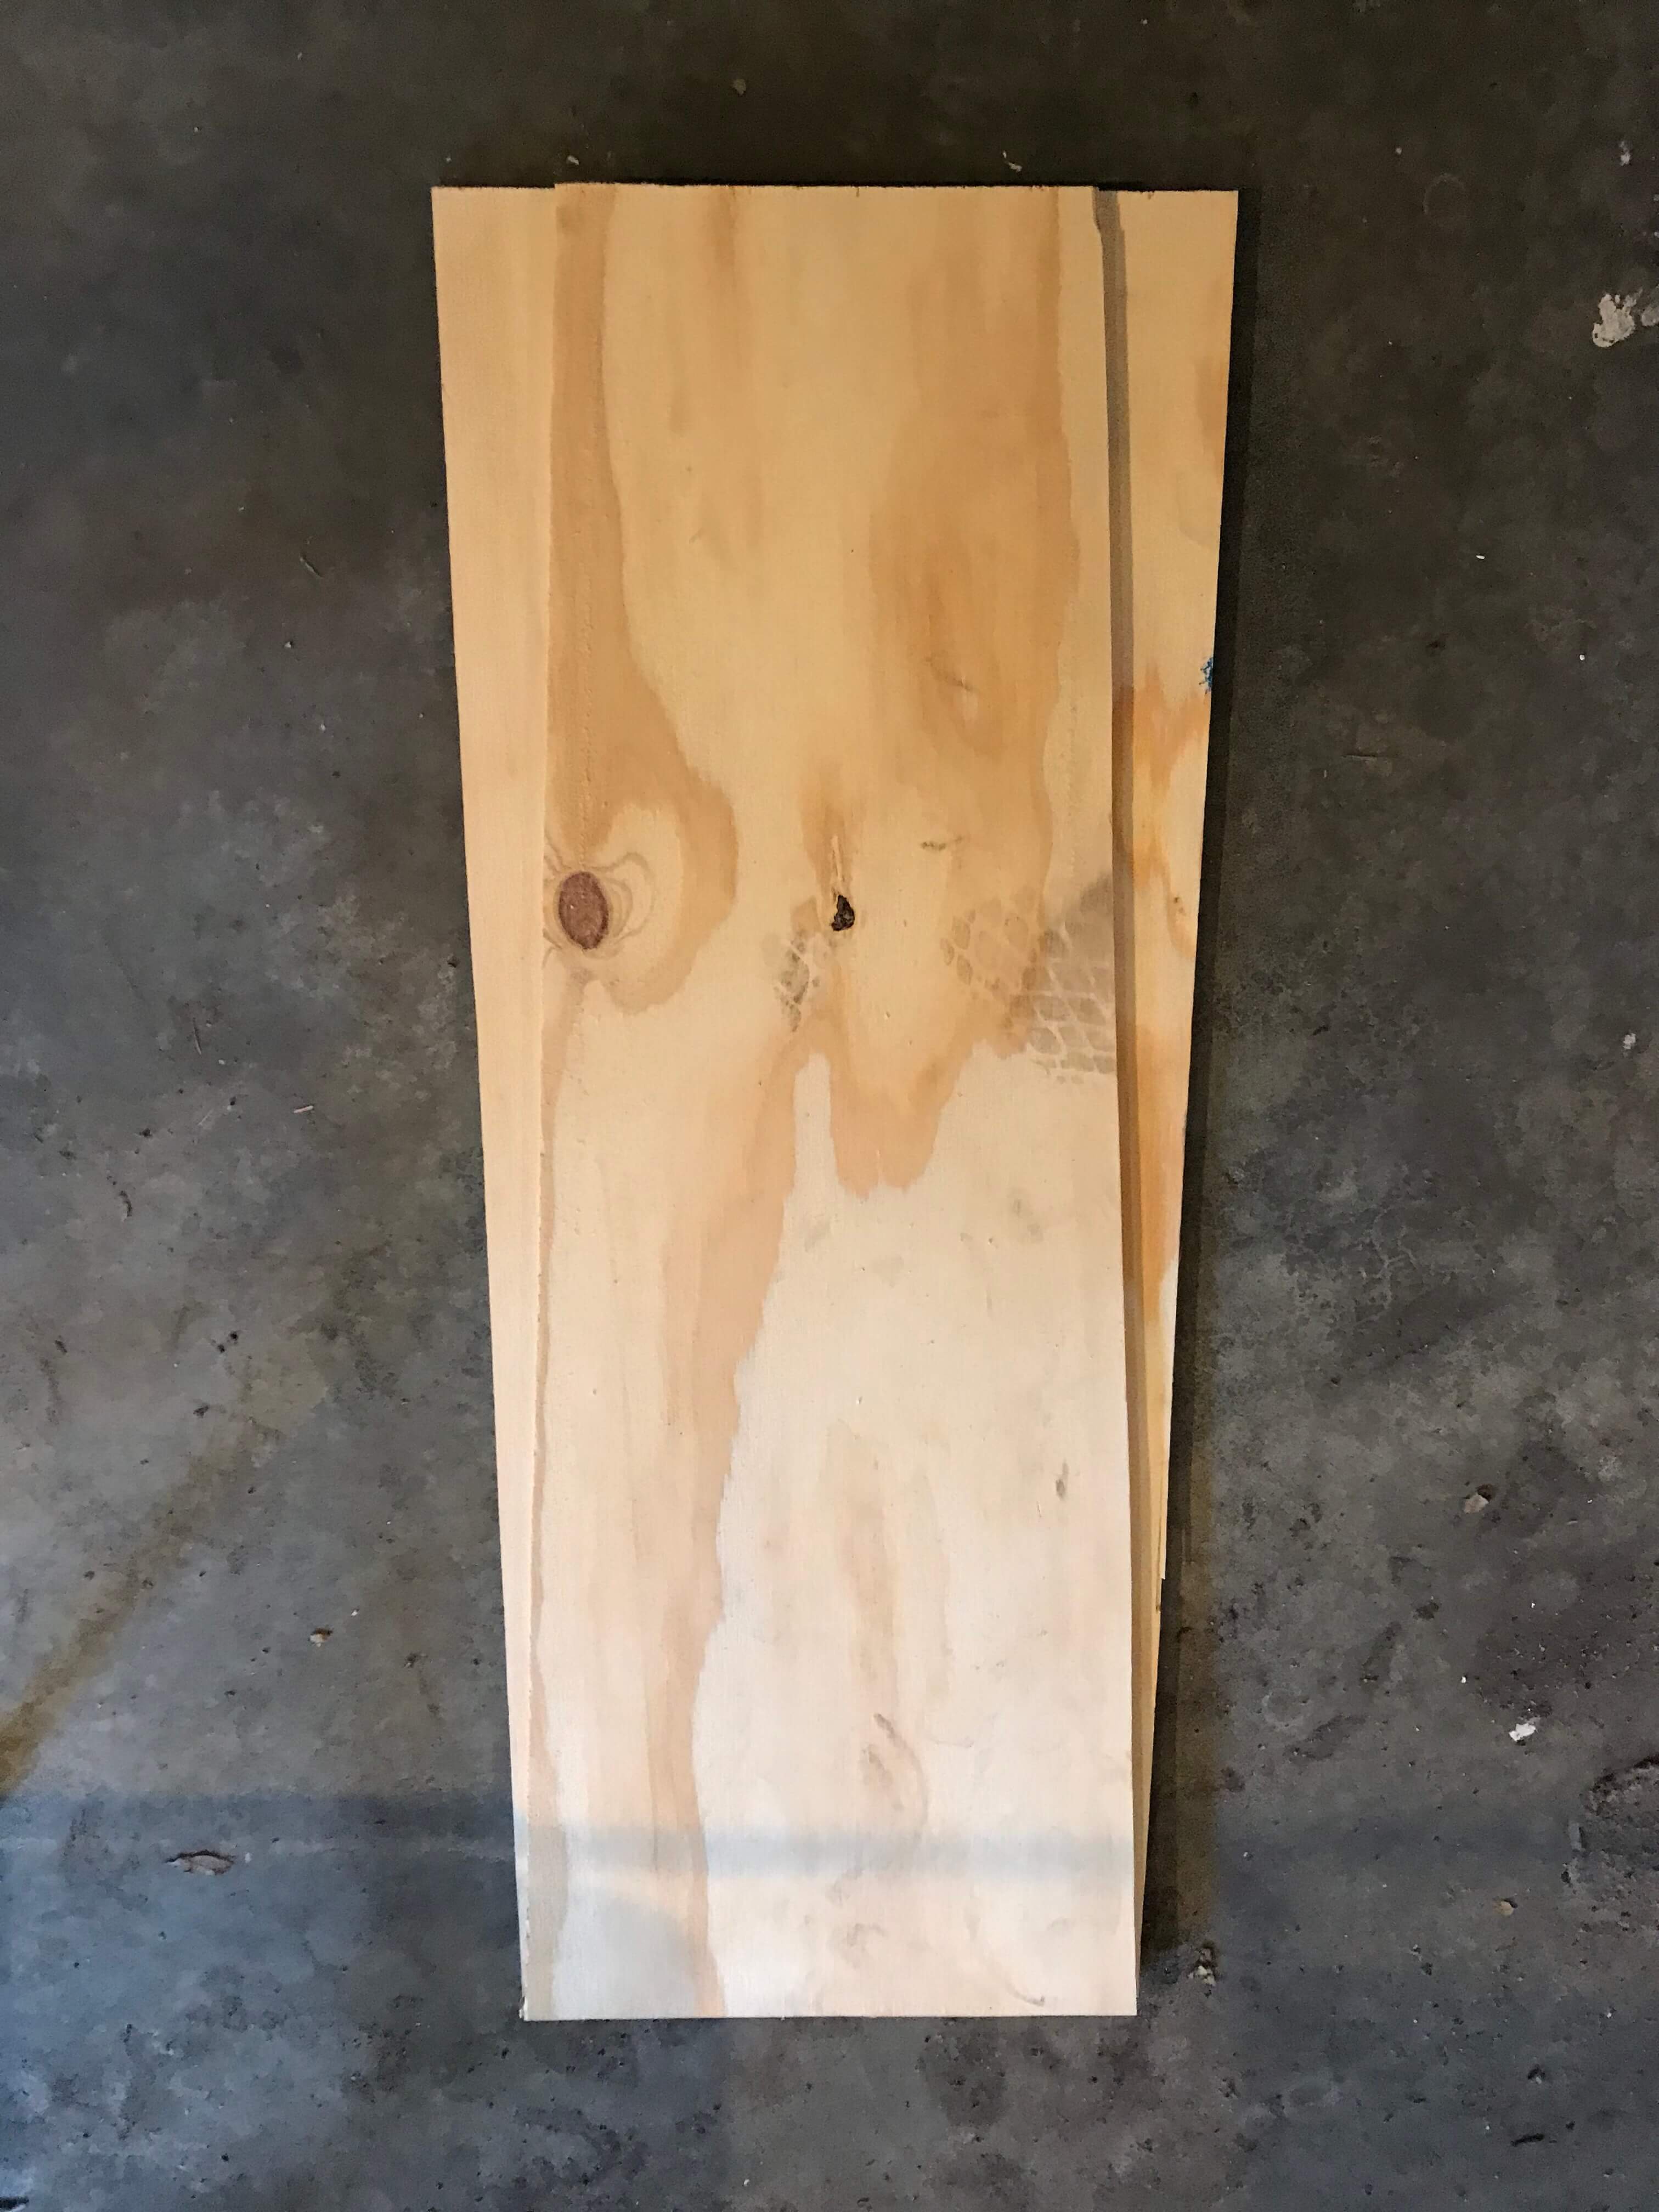
Cut the 4×8 plywood board into 12-inch x 32-inch pieces (for a total of 12). You will be using 4 for each of the three tall planters.
32 in 32 in 32 in
|———————–|————————|———————–|
| | | | 12 in
|———————–|————————|———————–|
| | | | 12 in
|———————–|————————|———————–|
| | | | 12 in
|———————–|————————|———————–|
| | | | 12 in
|———————–|————————|———————–|
Step 1:
This step is optional if you want your planters to be straight box-shaped.Otherwise, follow this step to make your tall planters slightly tapered at the bottom.
Measure 2 inches from each side of the bottom of one piece of plywood board. Draw a line from the top left and right corners to the marks you made at the bottom. Then use your hand-held circular saw to cut along the lines.
Step 2:
The board you cut in the Step 1 is going to be your stencil for making the other three boards for your first planter. Just set it on top of the next board and use it to draw the lines–then cut. Once you have all 4 boards cut and slightly tapered at the bottom, move onto Step 3.
Step 3:
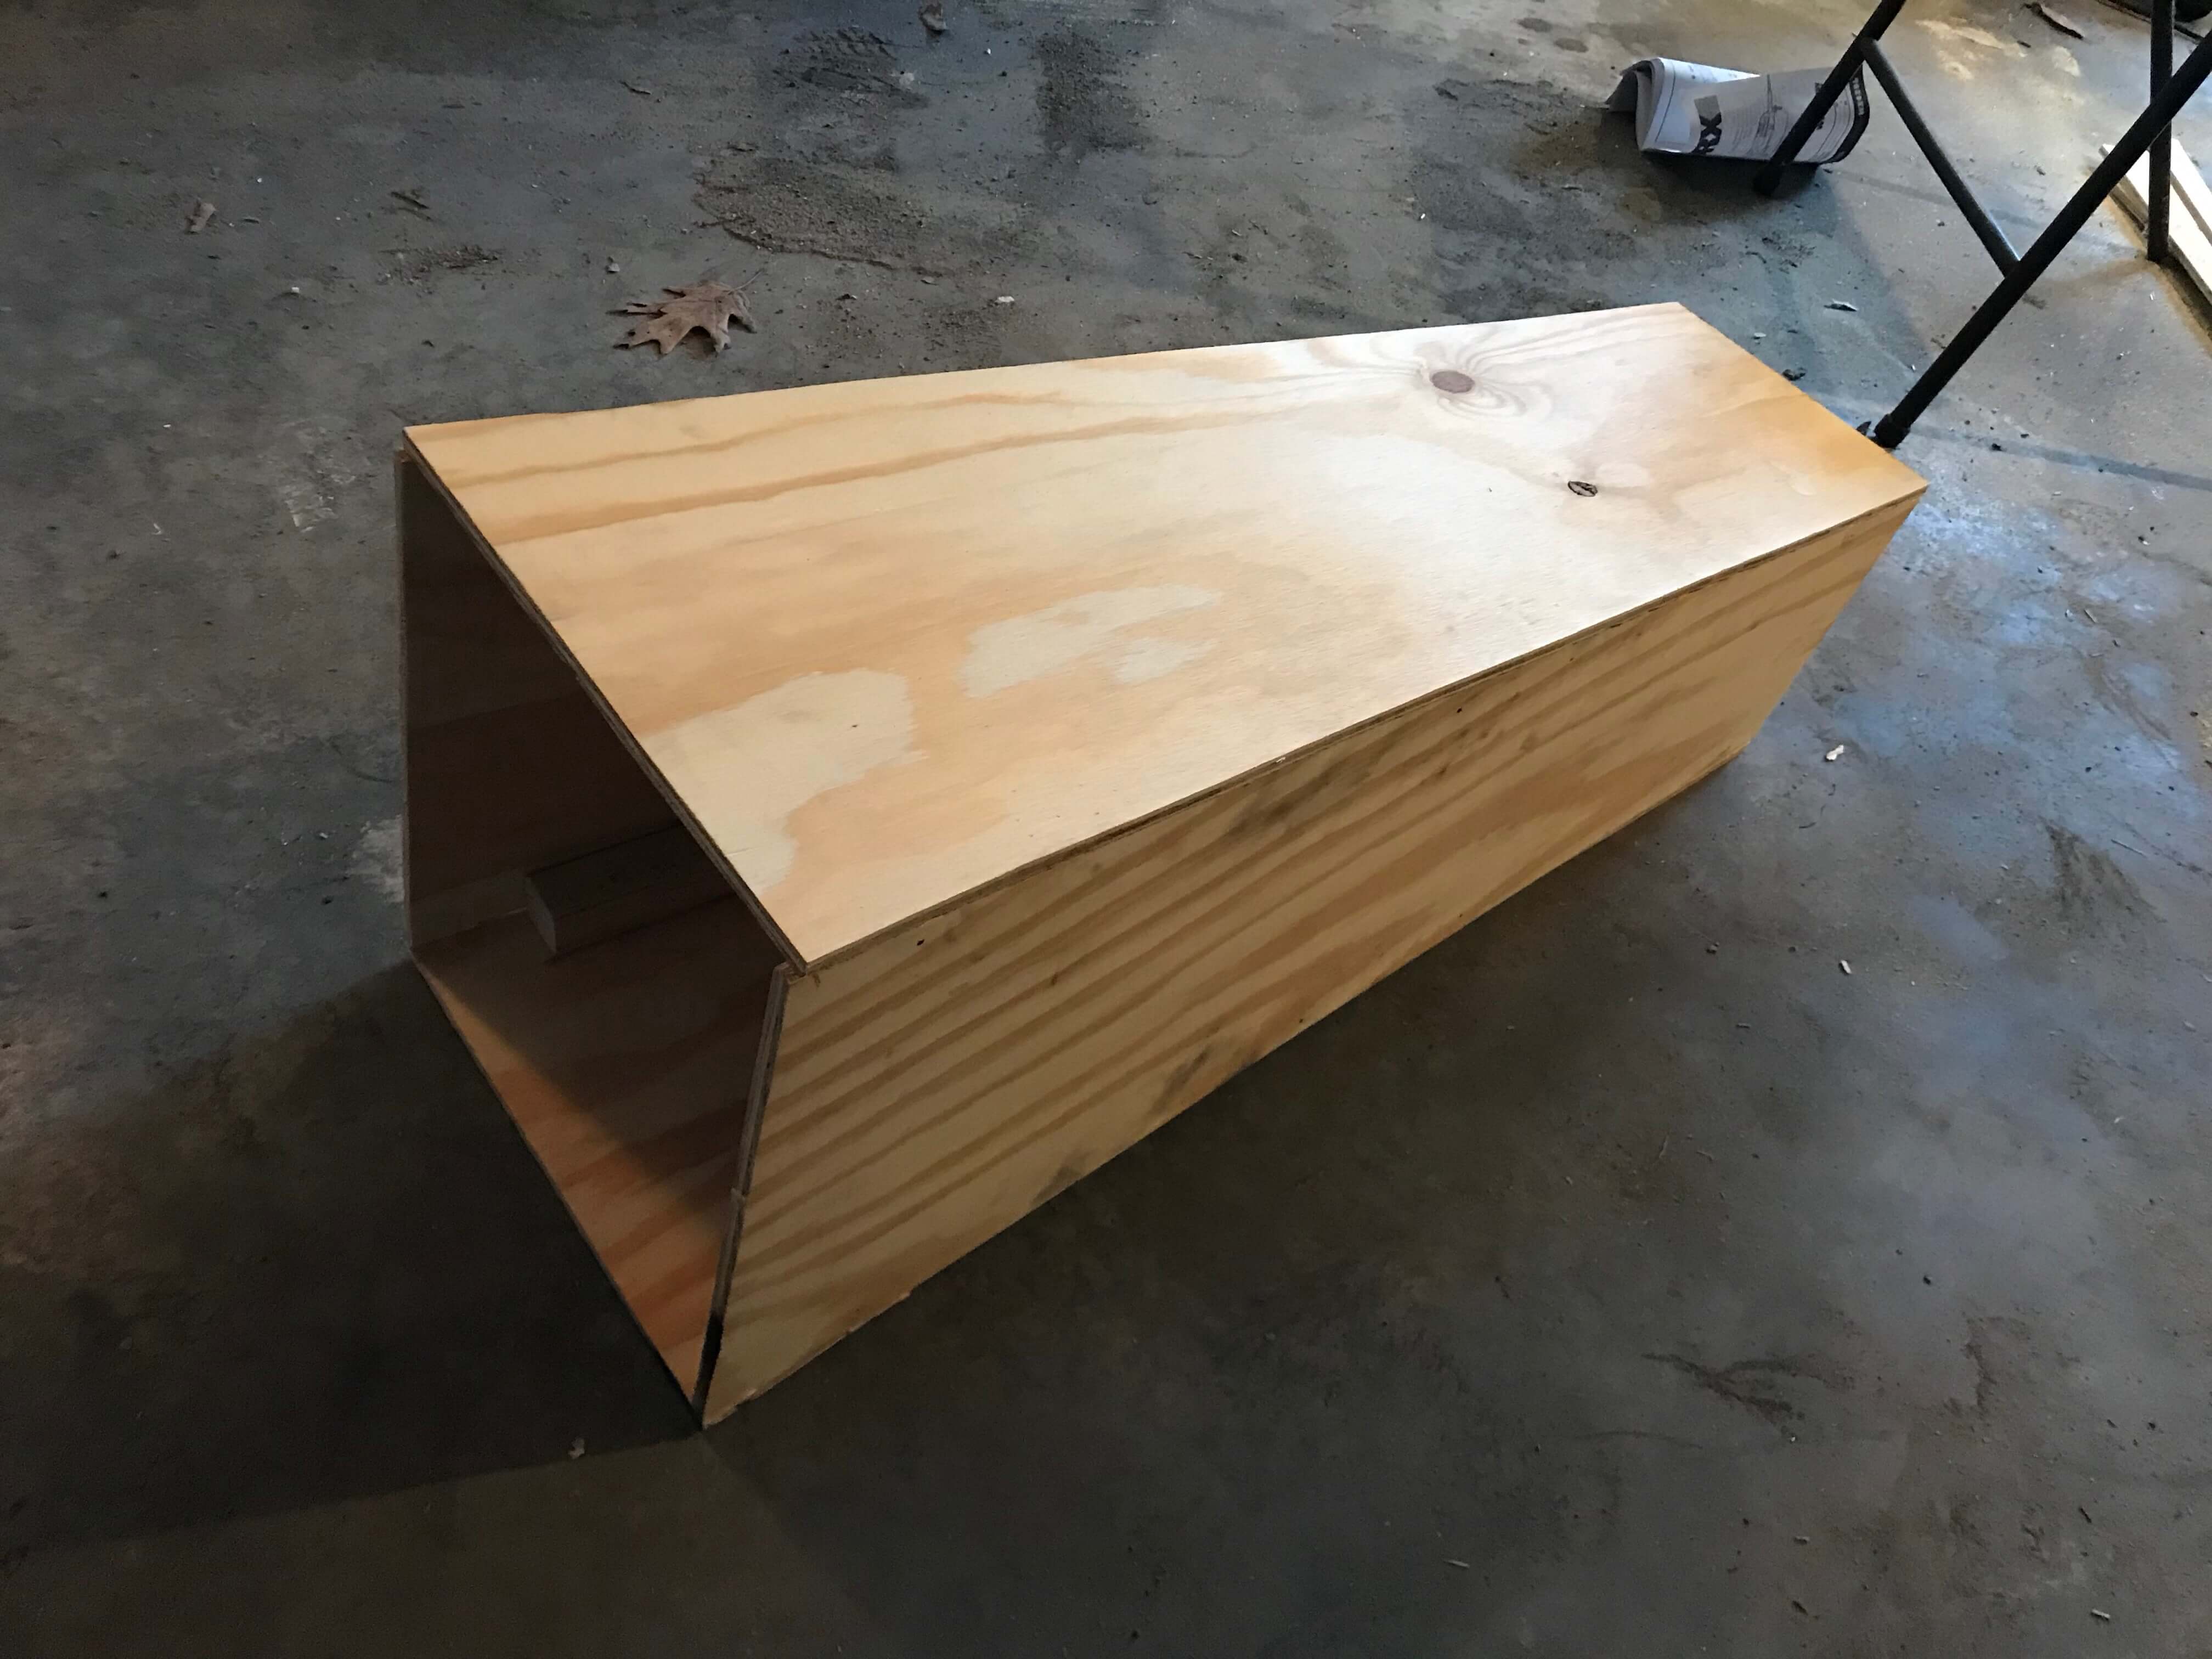
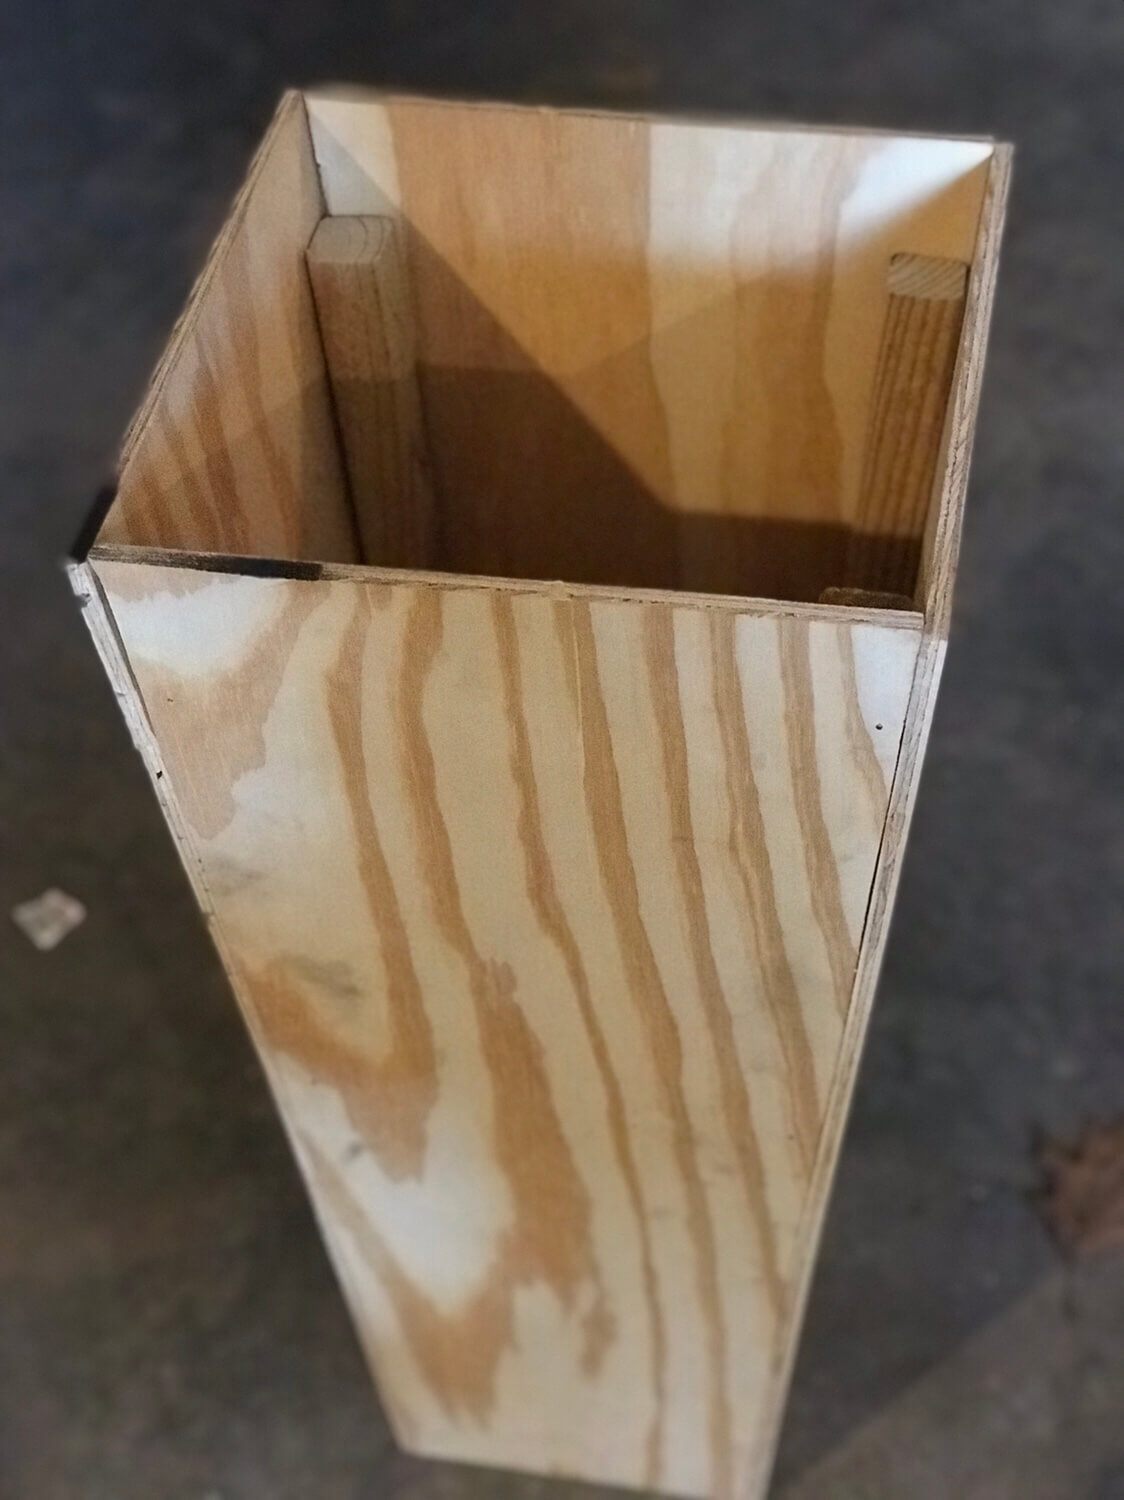
Get out 8 of your 1-foot 2x2s. You’re going to nail and screw two into each side of your first 2 plywood boards. Space them out slightly as your board is 32 inches long and your two 2x2s are only 24 inches long.
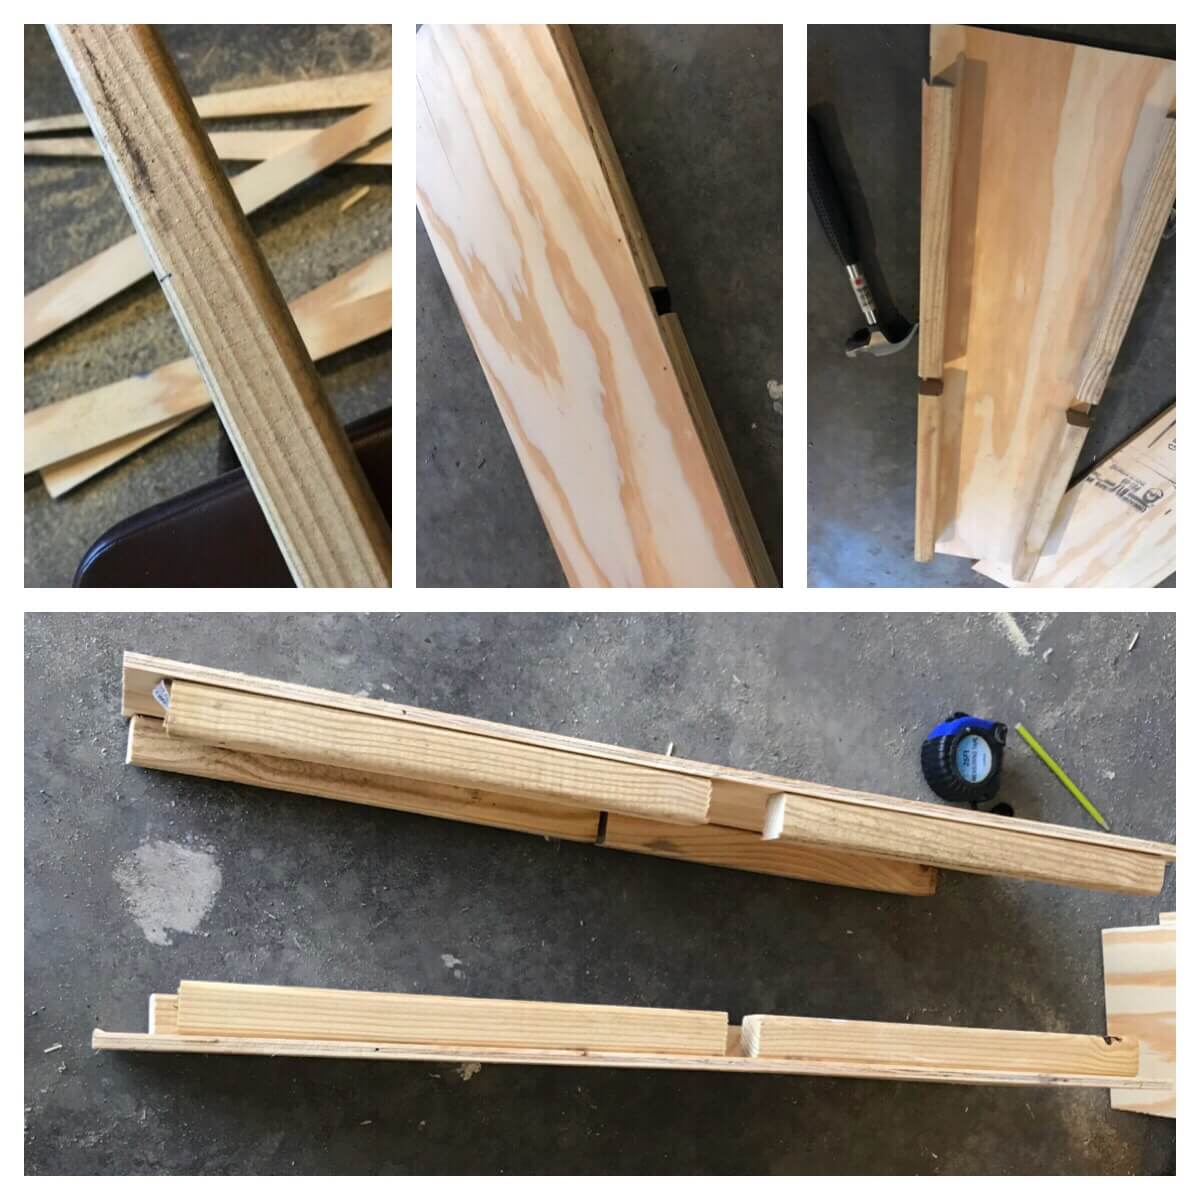
Step 4:
Add the last two sides with some nails and screws. Voila! The planter is taking shape.
Step 5:
Time to paint! You can get creative here or be boring like me. I just painted mine with leftover brown paint that we used on a wood bench and railing last year.
Step 6:
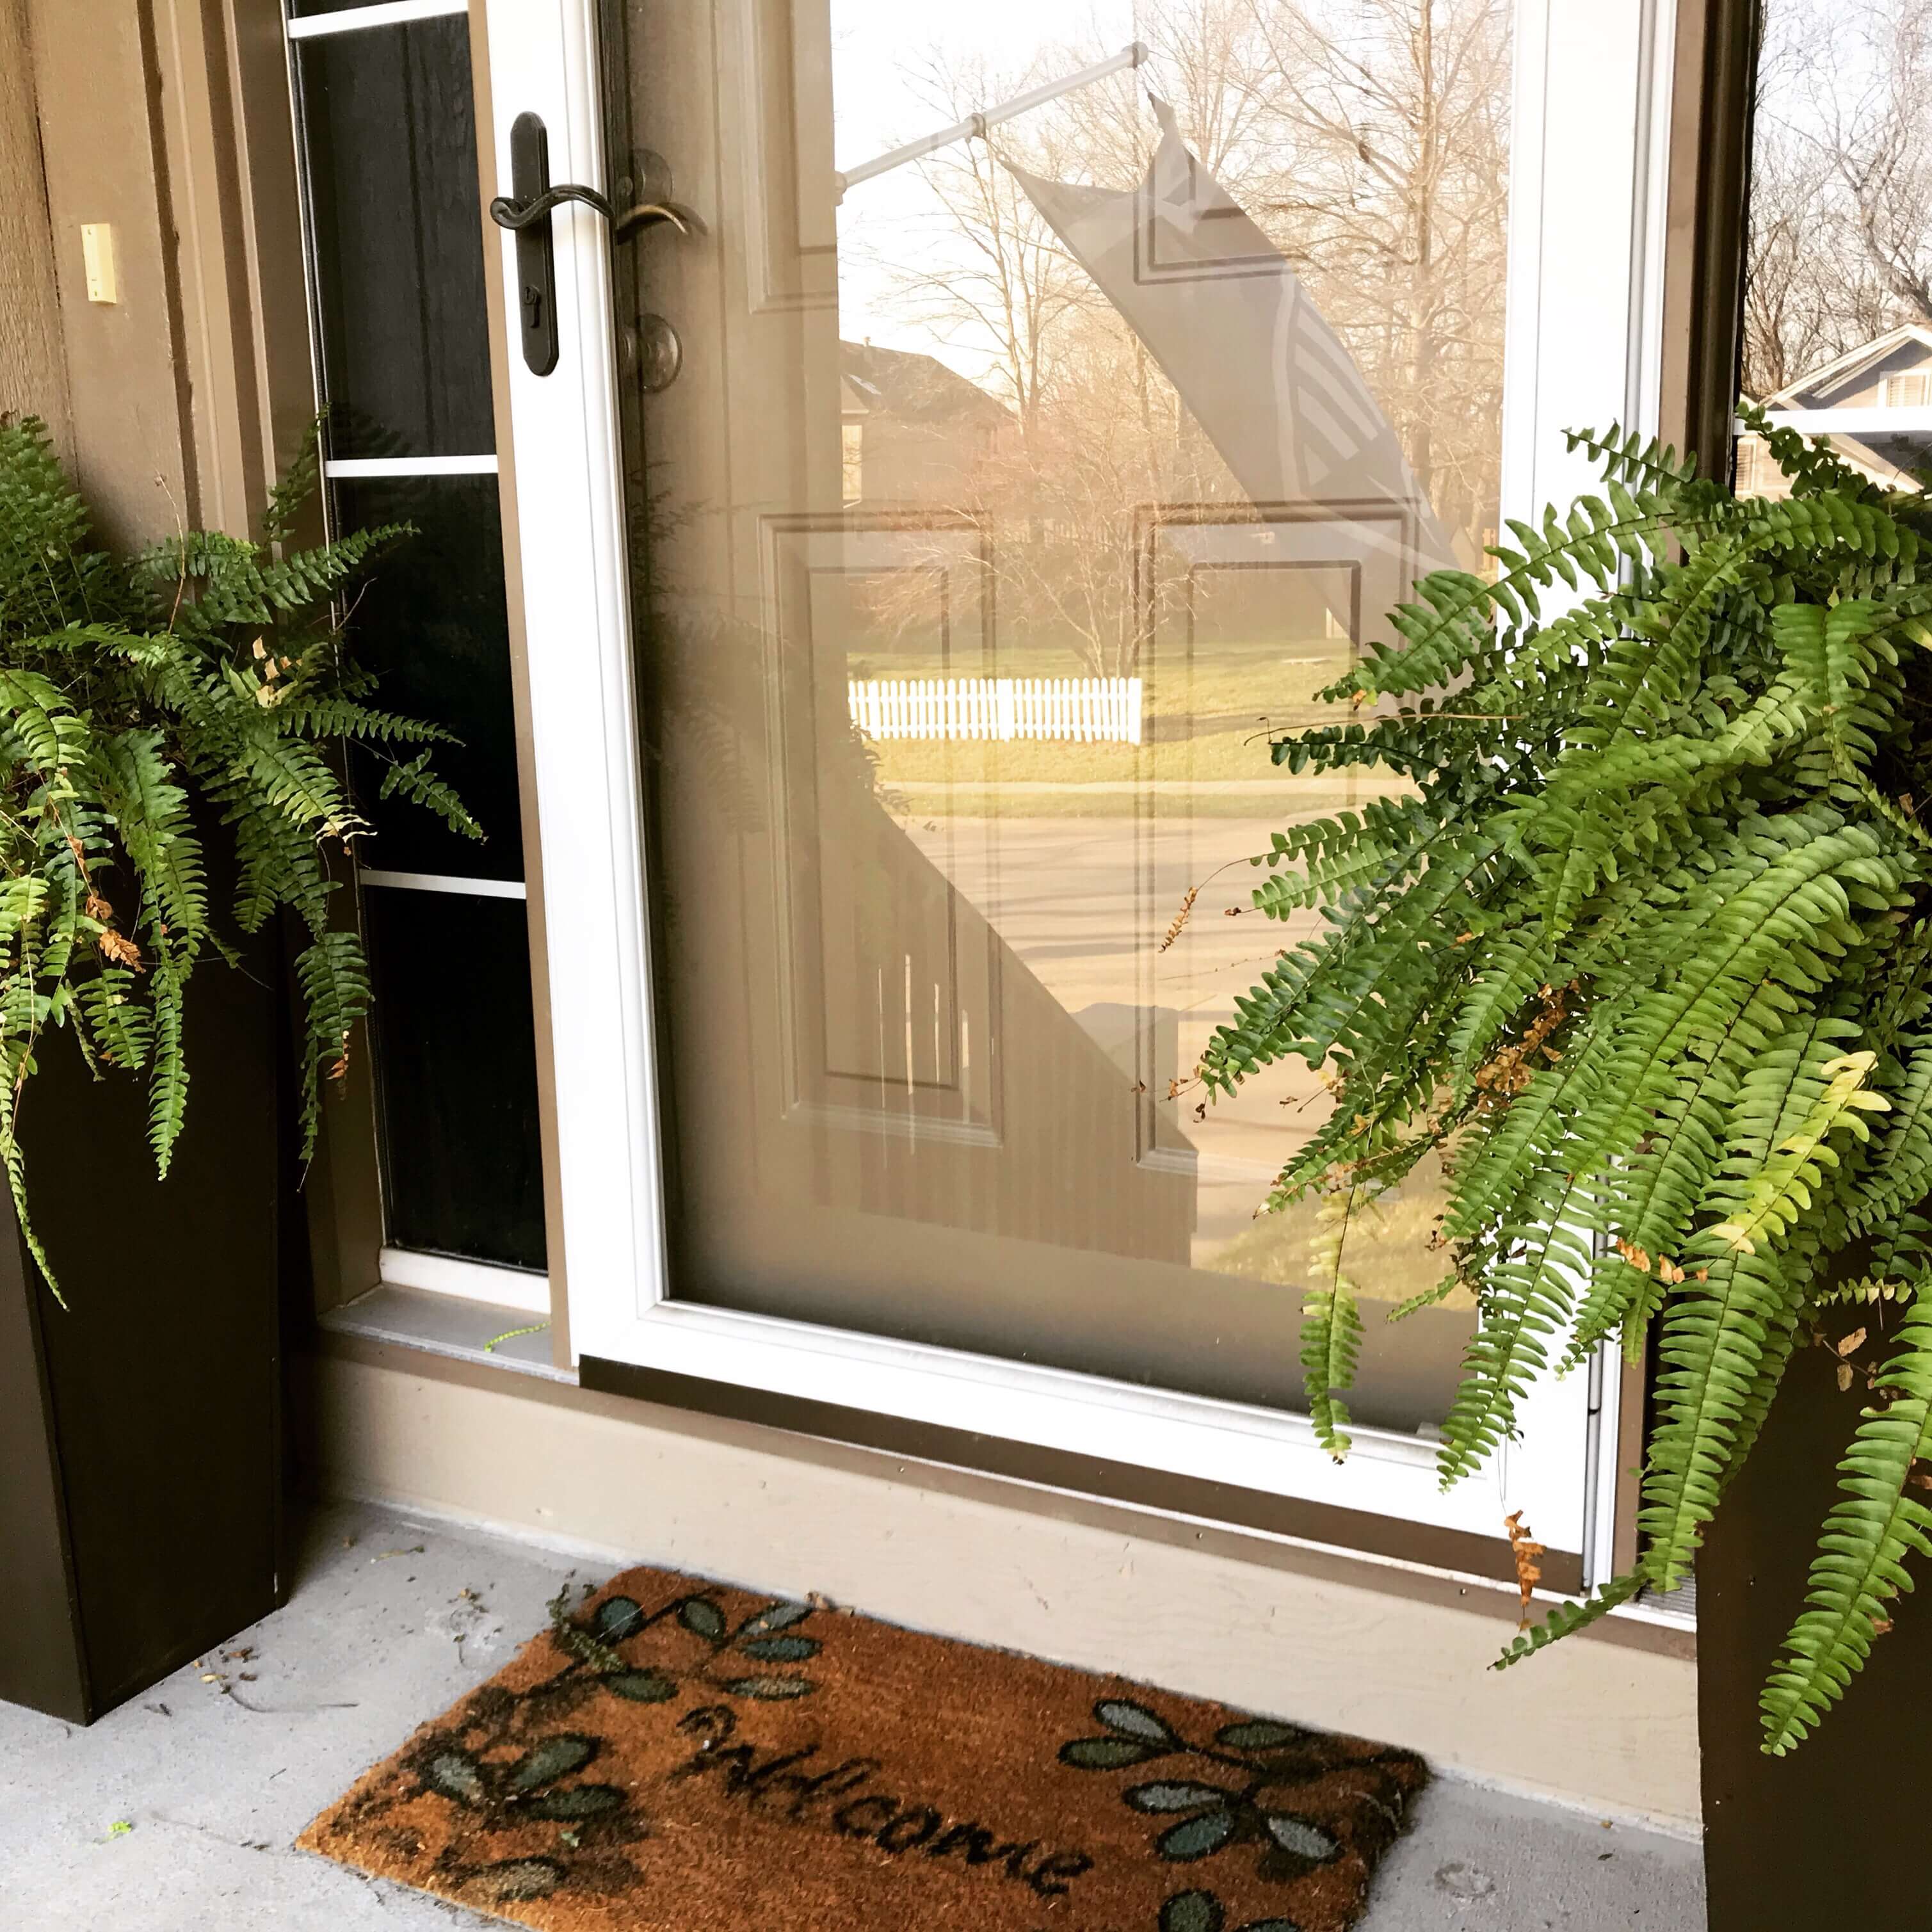
Stabilize the planters with a brick inside the bottom. This is more important if your planters will be subject to the elements and can get blown over. Then fill the planter with leftover styrofoam and/or air bags from packaging, and top with a potted plant. I reused some leafy ferns that I bought two years ago and have been wintering over.
And that’s it! You’ve made three tall planters all by yourself for about $25!
I made all three in one afternoon.
I just love how ours turned out.
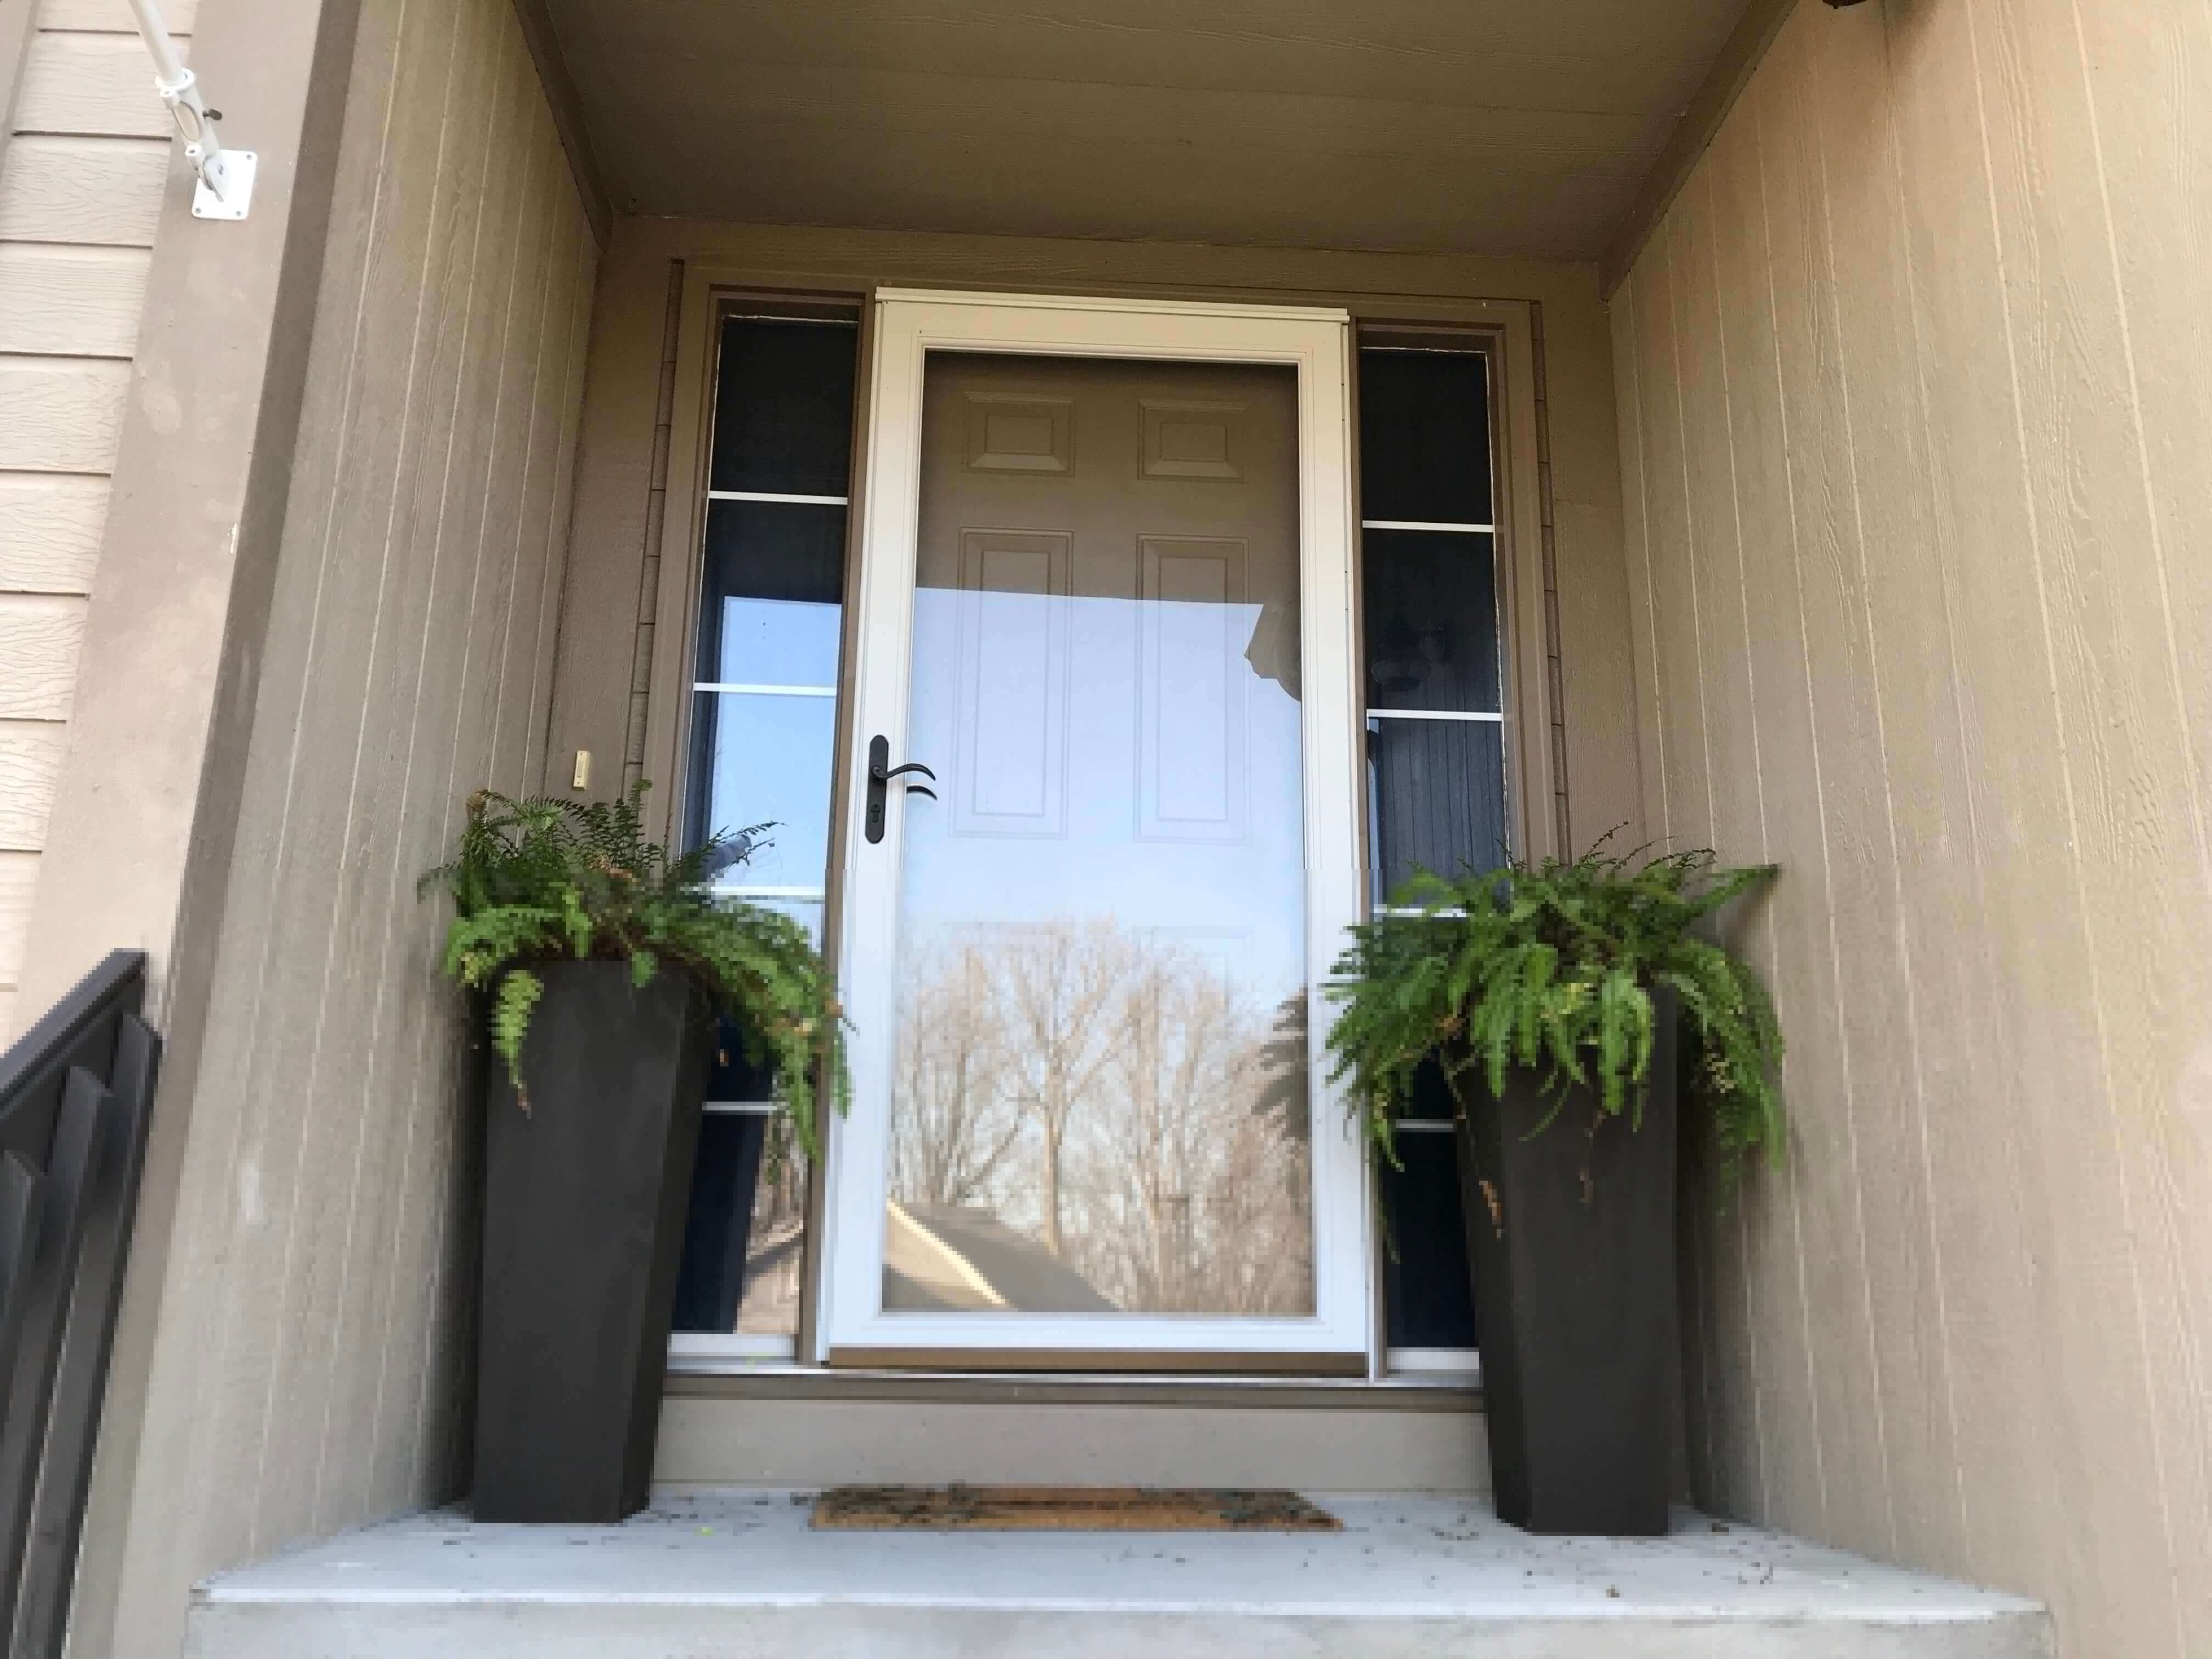
It really adds a homey feel to our front porch.
I hope you feel like you can take on this project yourself now, and save yourself a lot of money. Let me know if this helped you in the comments.
Yours Truly,
Joni S. (The Frugal Thumb)
12 comments
I am in the middle of making these, did you have any screws showing on the outside of the planter?
Yes, they’re visible, but I painted them along with the rest of the planters so they blend in. If you’d rather they didn’t show at all, you can use wood filler before painting to make them completely invisible.
I am in the middle of making these now!! So easy!! However, you forgot to account for the bottoms. Just sayin…I’m actually hoping I can find a pot to sit on top of the 2×2’s and then I can forgo the bottom. But I’m also thinking I should go ahead and put a bottom on. Just wanted you to know. I followed instructions and realized, while in the middle of the making the first one, that those are missing. Lol. But thanks for sharing! I’m excited to get them painted. 🙂
I can’t wait to make these! What type of wood did you use?
Sweet! You could use any wood you like- but I just bought the cheapest 4×8 foot piece of plywood I could find (which I think was pine?), similar to this one at Lowe’s: https://www.lowes.com/pd/Plytanium-15-32-CAT-PS1-09-Pine-Plywood-Sheathing-Application-as-4-x-8/3010063
Have fun with your project!!! 🙂
I have been thinking of making planters. This is a good pattern. You could even take it up a notch and add some trim on the top rim and on the bottom. If you wanted to add dirt, I would suggest cutting a board the same dimension as the planter, half way down,as a false bottom to save on dirt. I would also look for a bin at the dollar store that would fit in the planter as a liner. Maybe find that first and then tweak the measurements of the planter to fit the liner . Thanks for posting.
Yes! Those are all great, simple, and affordable tweaks to this pattern. Thank you so much for sharing your ideas, Evelyn!
Thumbs up ! And might I add beautiful good job and thank you for the input. I have been looking for tall planters and don’t want to spend 90$ each. I will definitely be making these.
Regards,
Christine
Thank you, Christine! They’ve held up well over the winter, and there was only some nails that needed to be hammered back down on one of them. If I make more, I’ll probably use screws exclusively and no nails.
Have fun making yours! I’d love to hear how they turn out!