
This post may contain affiliate links, meaning, at no additional cost to you, I will earn a commission if you click through and make a qualifying purchase.
I love the look of gazebos and pergolas. In all those home and garden magazines, they always make the outdoor space something special. And I wanted that for my backyard! For me, it turns out that patio curtains are a viable and waaay more affordable alternative.
I’d stare out the window at our patio and daydream about how it would look with some kind of wall or roof. Our patio overlooks the backyards of about 5 of our neighbors’ backyards, so I wanted something that would give us a little extra privacy while we’re out there enjoying the space. I’d check out the pergola/gazebo kits every time I went to the hardware store. I was especially drawn to the ones with some kind of curtain option that could be opened or closed at will. But there were always a few problems with the ones for sale:
- Dimensions. They’re never the right length and width for my patio. The space that would be left uncovered by a square-shaped gazebo on top of my patio would be strange. Or it would be too short and block my window to the backyard which is unacceptable.
- Anchoring options. Most need to be anchored somehow, whether that’s screwing into cement/patio or into the dirt. I didn’t want to put holes in my patio and the dirt was not an option. One side of my patio is a retaining wall that drops off into a flower bed a few feet below. Some kits would attach to the side of the house, but we have a chimney in the way, so that option was also out.
- Quality. I’d read the reviews on sites like Amazon and so many people would say they would get rusty or the roof needed replacing after one season.
- Price, obvs. I had to include this reason! 😉 The cheapest ones that still look nice seem to be $500 or more. That’s a lot of money to drop, especially when combined with the above problems. I definitely didn’t want to spend so much money on an imperfectly-sized, unanchorable, soon-to-be rusty gazebo/pergola.
So I decided that these problems could only be fixed with a custom solution. At one point, I even had a company come to the house to give us an estimate on the cost to build us a custom pergola. I was curious what they were going for – turns out it would be thousands.
And with that, I started looking for my own custom solution.

I decided that I wanted everything to be move-able so that I could easily change the look when I wanted, and also be able to break it down and keep it in the garage during the winter. (I do not hang out on my patio in the winter! I loathe the cold, ha ha. Instead, I use it as a winter bird oasis.)
I turned to Pinterest for inspiration, and it helped me out. I found someone who made posts using flower planters. Score! I already had three matching large planters on my patio. I could use these to hold up curtain rods AND have plants all around the patio. I loved how they used theirs with twinkle lights, and I plan on adding those to mine too when I have time–I can just use some strands of our Christmas lights to add some night-time charm, without spending any more money… But I digress.
I decided that I’d hang curtain rods between the planter posts. I’d made my own curtain rods in the past, and decided to use the same technique for my patio- with electrical conduit and hooks.
Then I could hang curtains for more privacy and the entire thing would be completely customize-able, resize-able, and move-able to anywhere I wanted on the patio.
Tools Needed:
- Hand-held circular saw
- Eye protection
- Gloves
- Pencil
- Measuring Tape
- Power Drill
- Ladder
Supplies to buy:
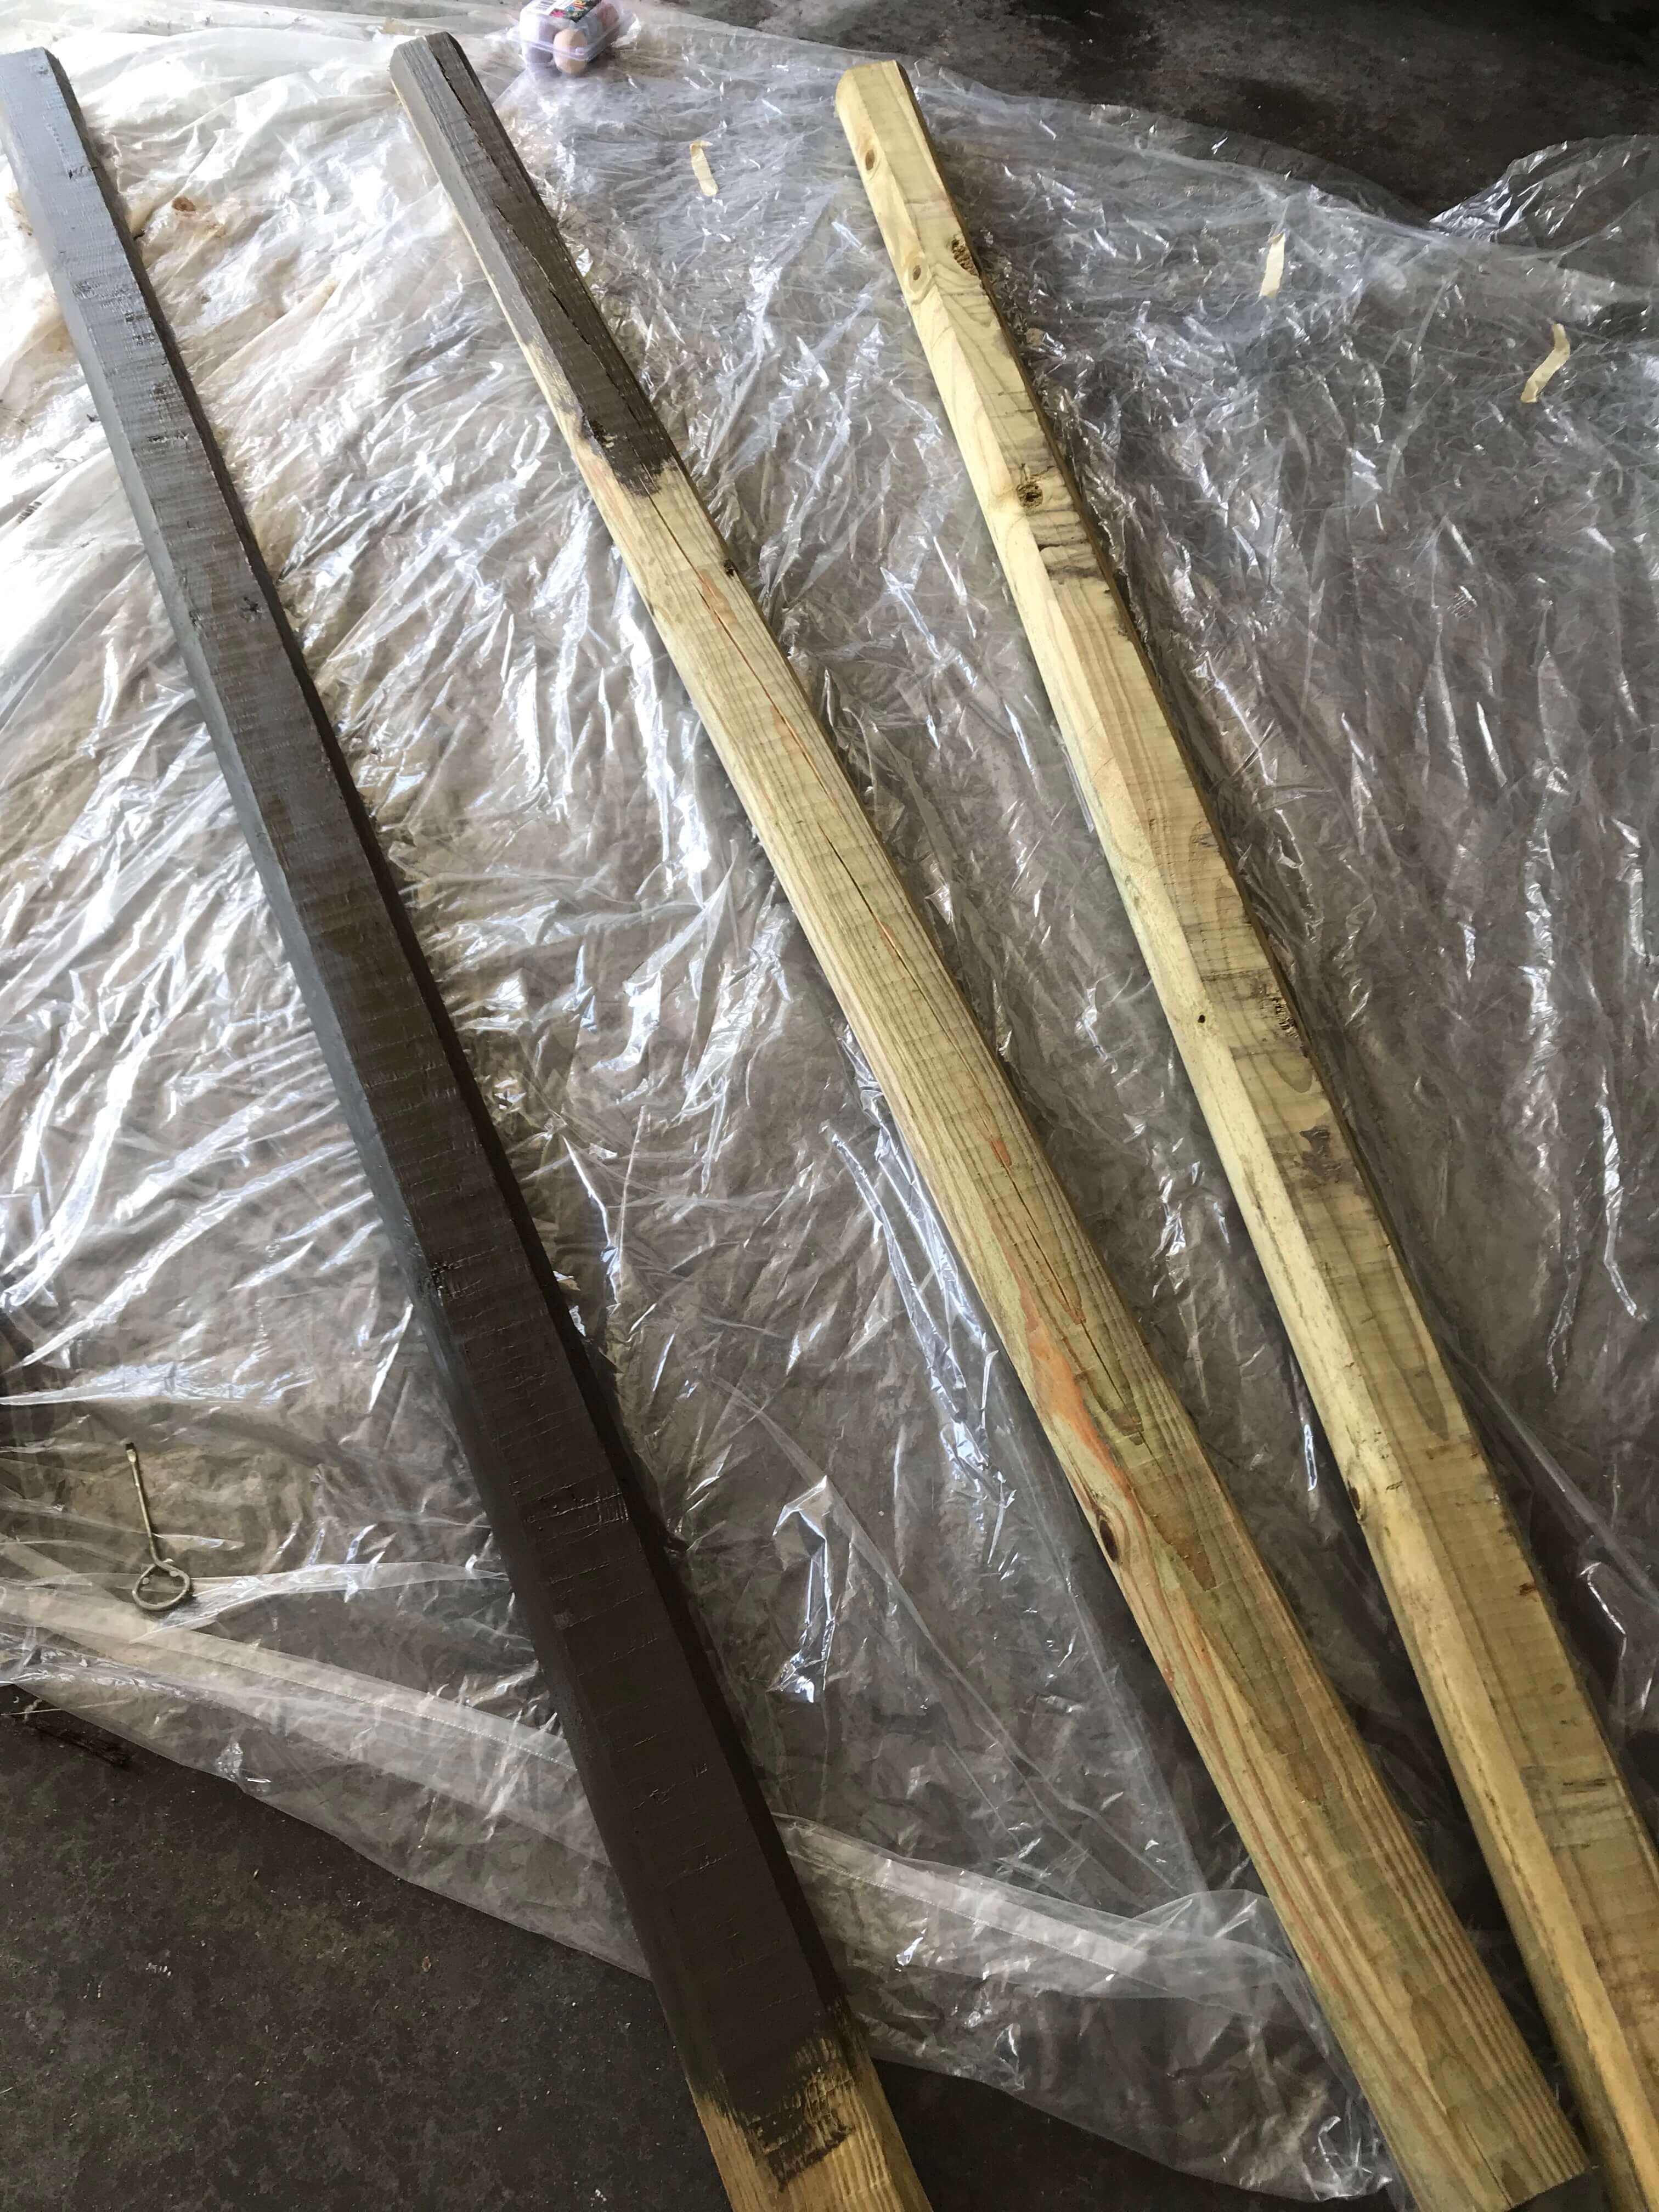
- 3 – 8ft 4x4s (~$4 each, total $12)
- Paint for wood (I used leftover paint from another project)
- 2 – 10ft electrical conduit 3/4 inch (~$3 each, total $6)
- 4 – 3″ hooks (or whatever size will hold your electrical conduit. I bought a bag of 25 hooks for $10 with plans for other projects)
- 1 – 50lb bag of concrete for posts (~$5)
- 2 – bags of pea gravel for posts (~$3 each, total $6)
- 3 – planters (I used ones that I already had)
- Curtains (I already had 2 blue curtains that we no longer used in the house and bought 5 new sheer white curtains on Amazon for $20.)
Project Total: $59
Note: This project could be done in a day if you have all of your tools and supplies ready, but it took me nearly a week because I kept trying to cut corners on the cement required and had to redo the posts multiple times to make them good and solid. Plus, at one point, I decided that I wanted to anchor my curtains at the bottom with some bricks because I didn’t like how much they were flapping in the breeze on a particularly windy day. Learn from me and do not do that. I stopped the curtains from blowing in the wind so well that the whole set up blew over. I was lucky- I wasn’t under it at the time, and it only made one of my posts slightly off-kilter when I got the whole thing stood back up. SMH.
Step 1:
Paint your posts. This is not a requirement, but I wanted mine to match the other outdoor wood pieces that I’ve painted recently – my DIY tall planters, a bench in our reading nook, and the stair railing to our front porch.
Step 2:
Put your posts in the planters and pour in some of the pea gravel to hold it up. I used/cut a few extra pieces of wood from our wood pile to then hold the post straight up. To make sure this was just right, this required a lazy walk around the post, eyeballing it to ensure it looked straight from all sides.
Hint: Set these planters up close to where you’re going to have them so you don’t have to try to carry them across your yard. After all this, they’re quite heavy. Plus, you can ensure they’re going to look straight wherever they’re going to be standing. My patio is not perfectly level…
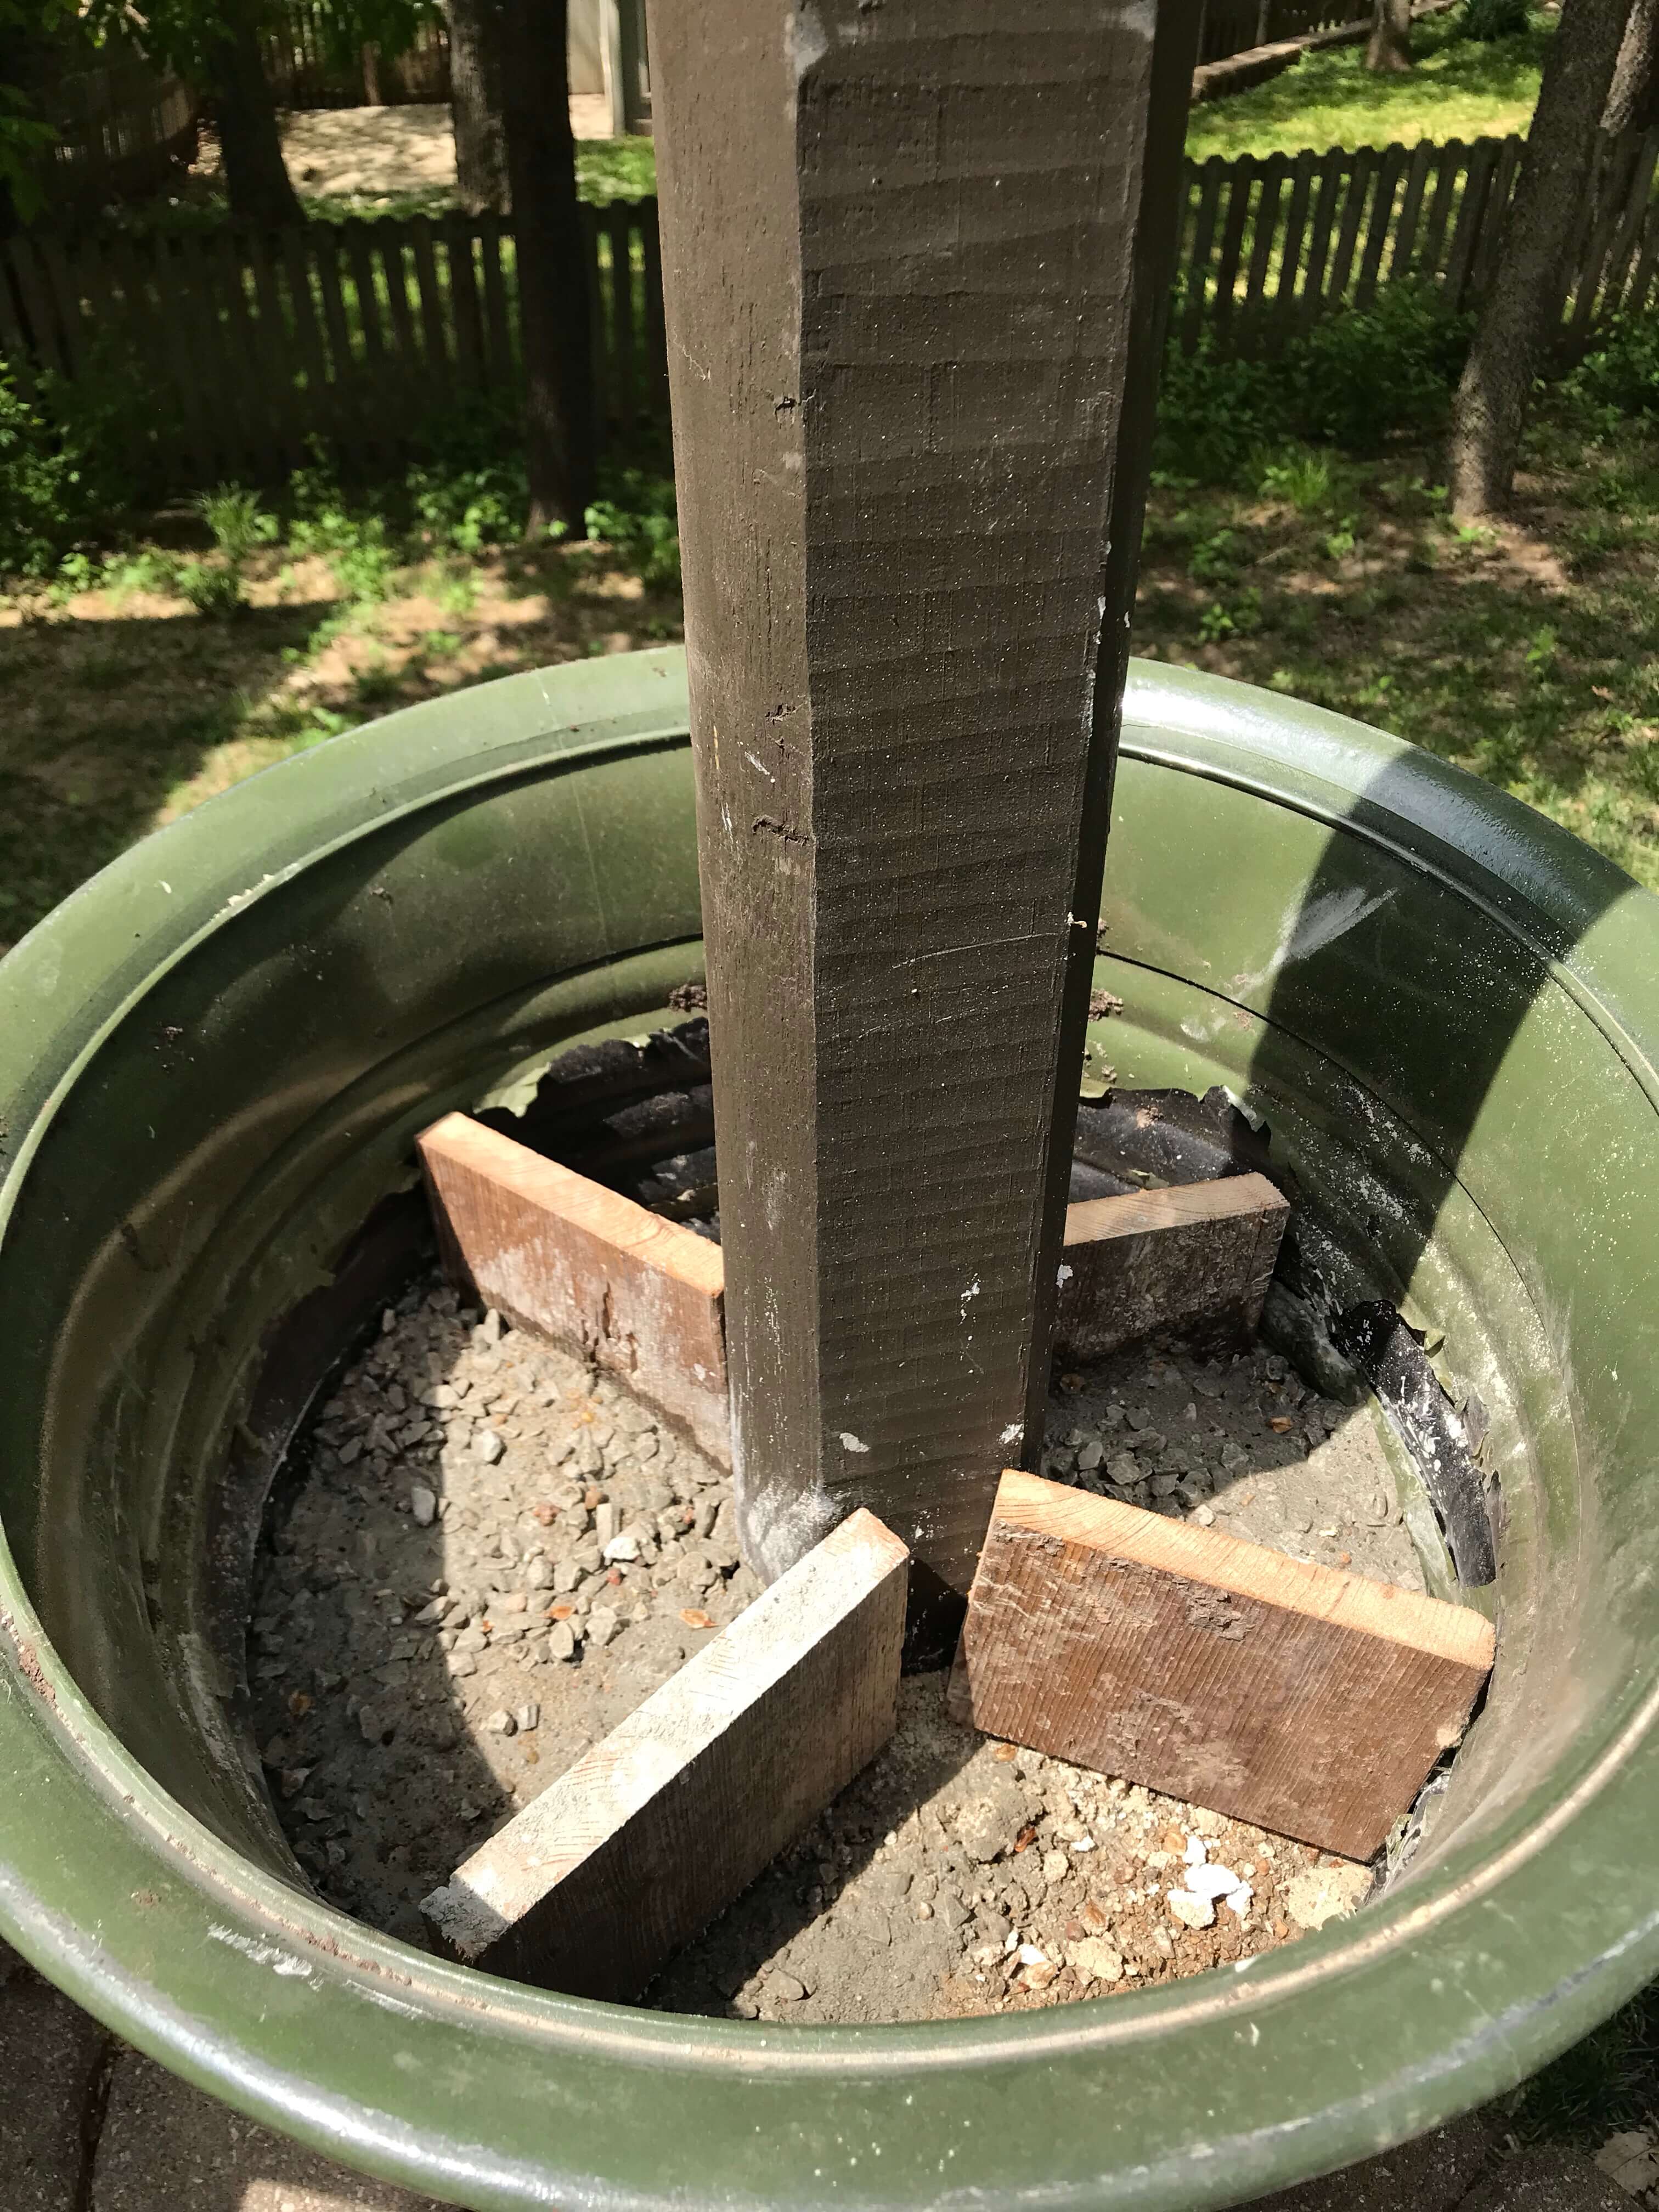
Step 3:
Once you’re happy with the straightness of the posts, it’s time to add the cement. I poured cement into two sections created by the wood pieces and left the other sections open for water drainage (via the pea gravel). It took about an hour for the cement to dry.
Step 4:
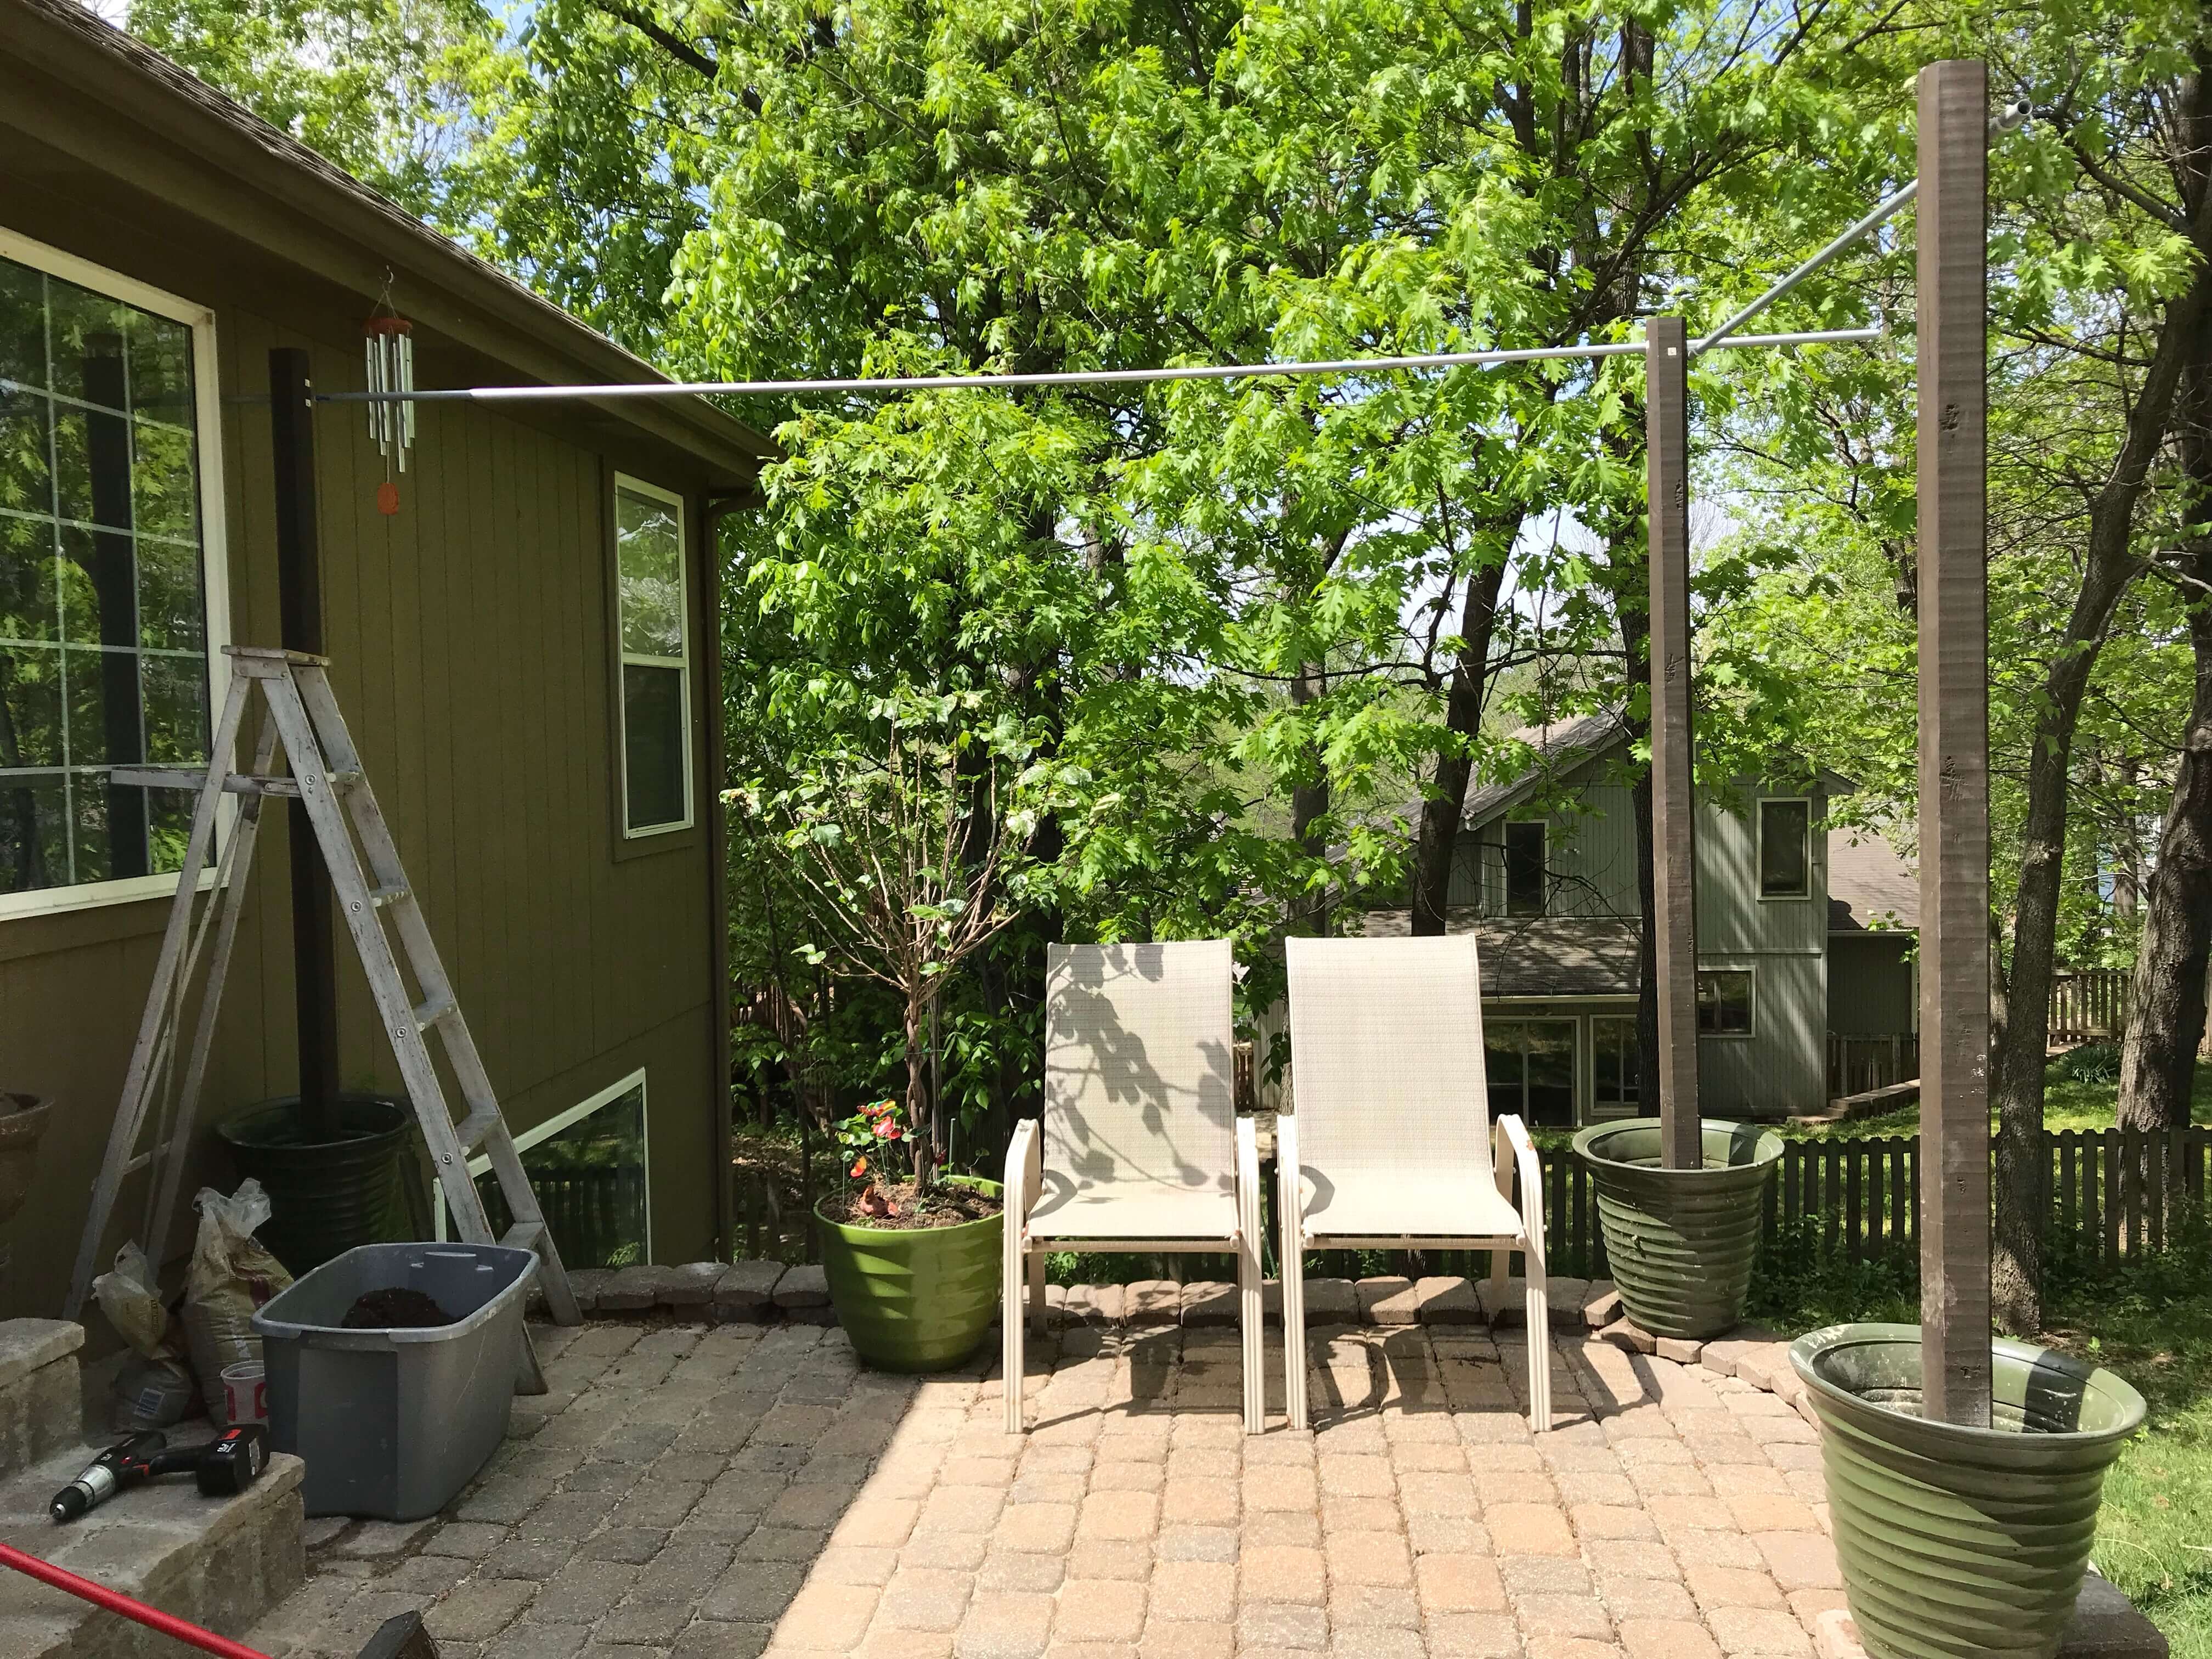
Measure the distance between your posts and determine if you need to cut your electrical conduit. The distances between mine were a little over 12 feet and a little over 5 feet. So I cut one of my 10-foot pieces as the 5.5-foot curtain rod, and then attached the extra piece to the second 10-foot rod for the 12-foot distance. You can get an attachment piece to connect the two pieces of conduit. I had a little extra smaller conduit laying around so I put it inside the two pieces and duct-taped it together.
Hint: Make sure you cut the conduit a few inches, even a foot, longer than where your hooks will be so it won’t shift and fall off the hooks easily.
Step 5:
Ladder time! I measured and marked where the hooks needed to go on the posts so that the curtain rods would hang level across. Then I used my power drill to start holes and screwed in the hooks. Once the hooks are solid, you can hang the electrical conduit to make sure you’ve got the hooks where you want them. If it’s nice and straight, you’re ready for the last step!
Step 6:
Hang the curtains. I had only bought 3 sheer white curtains initially. That’s when I realized I needed to order a couple more.
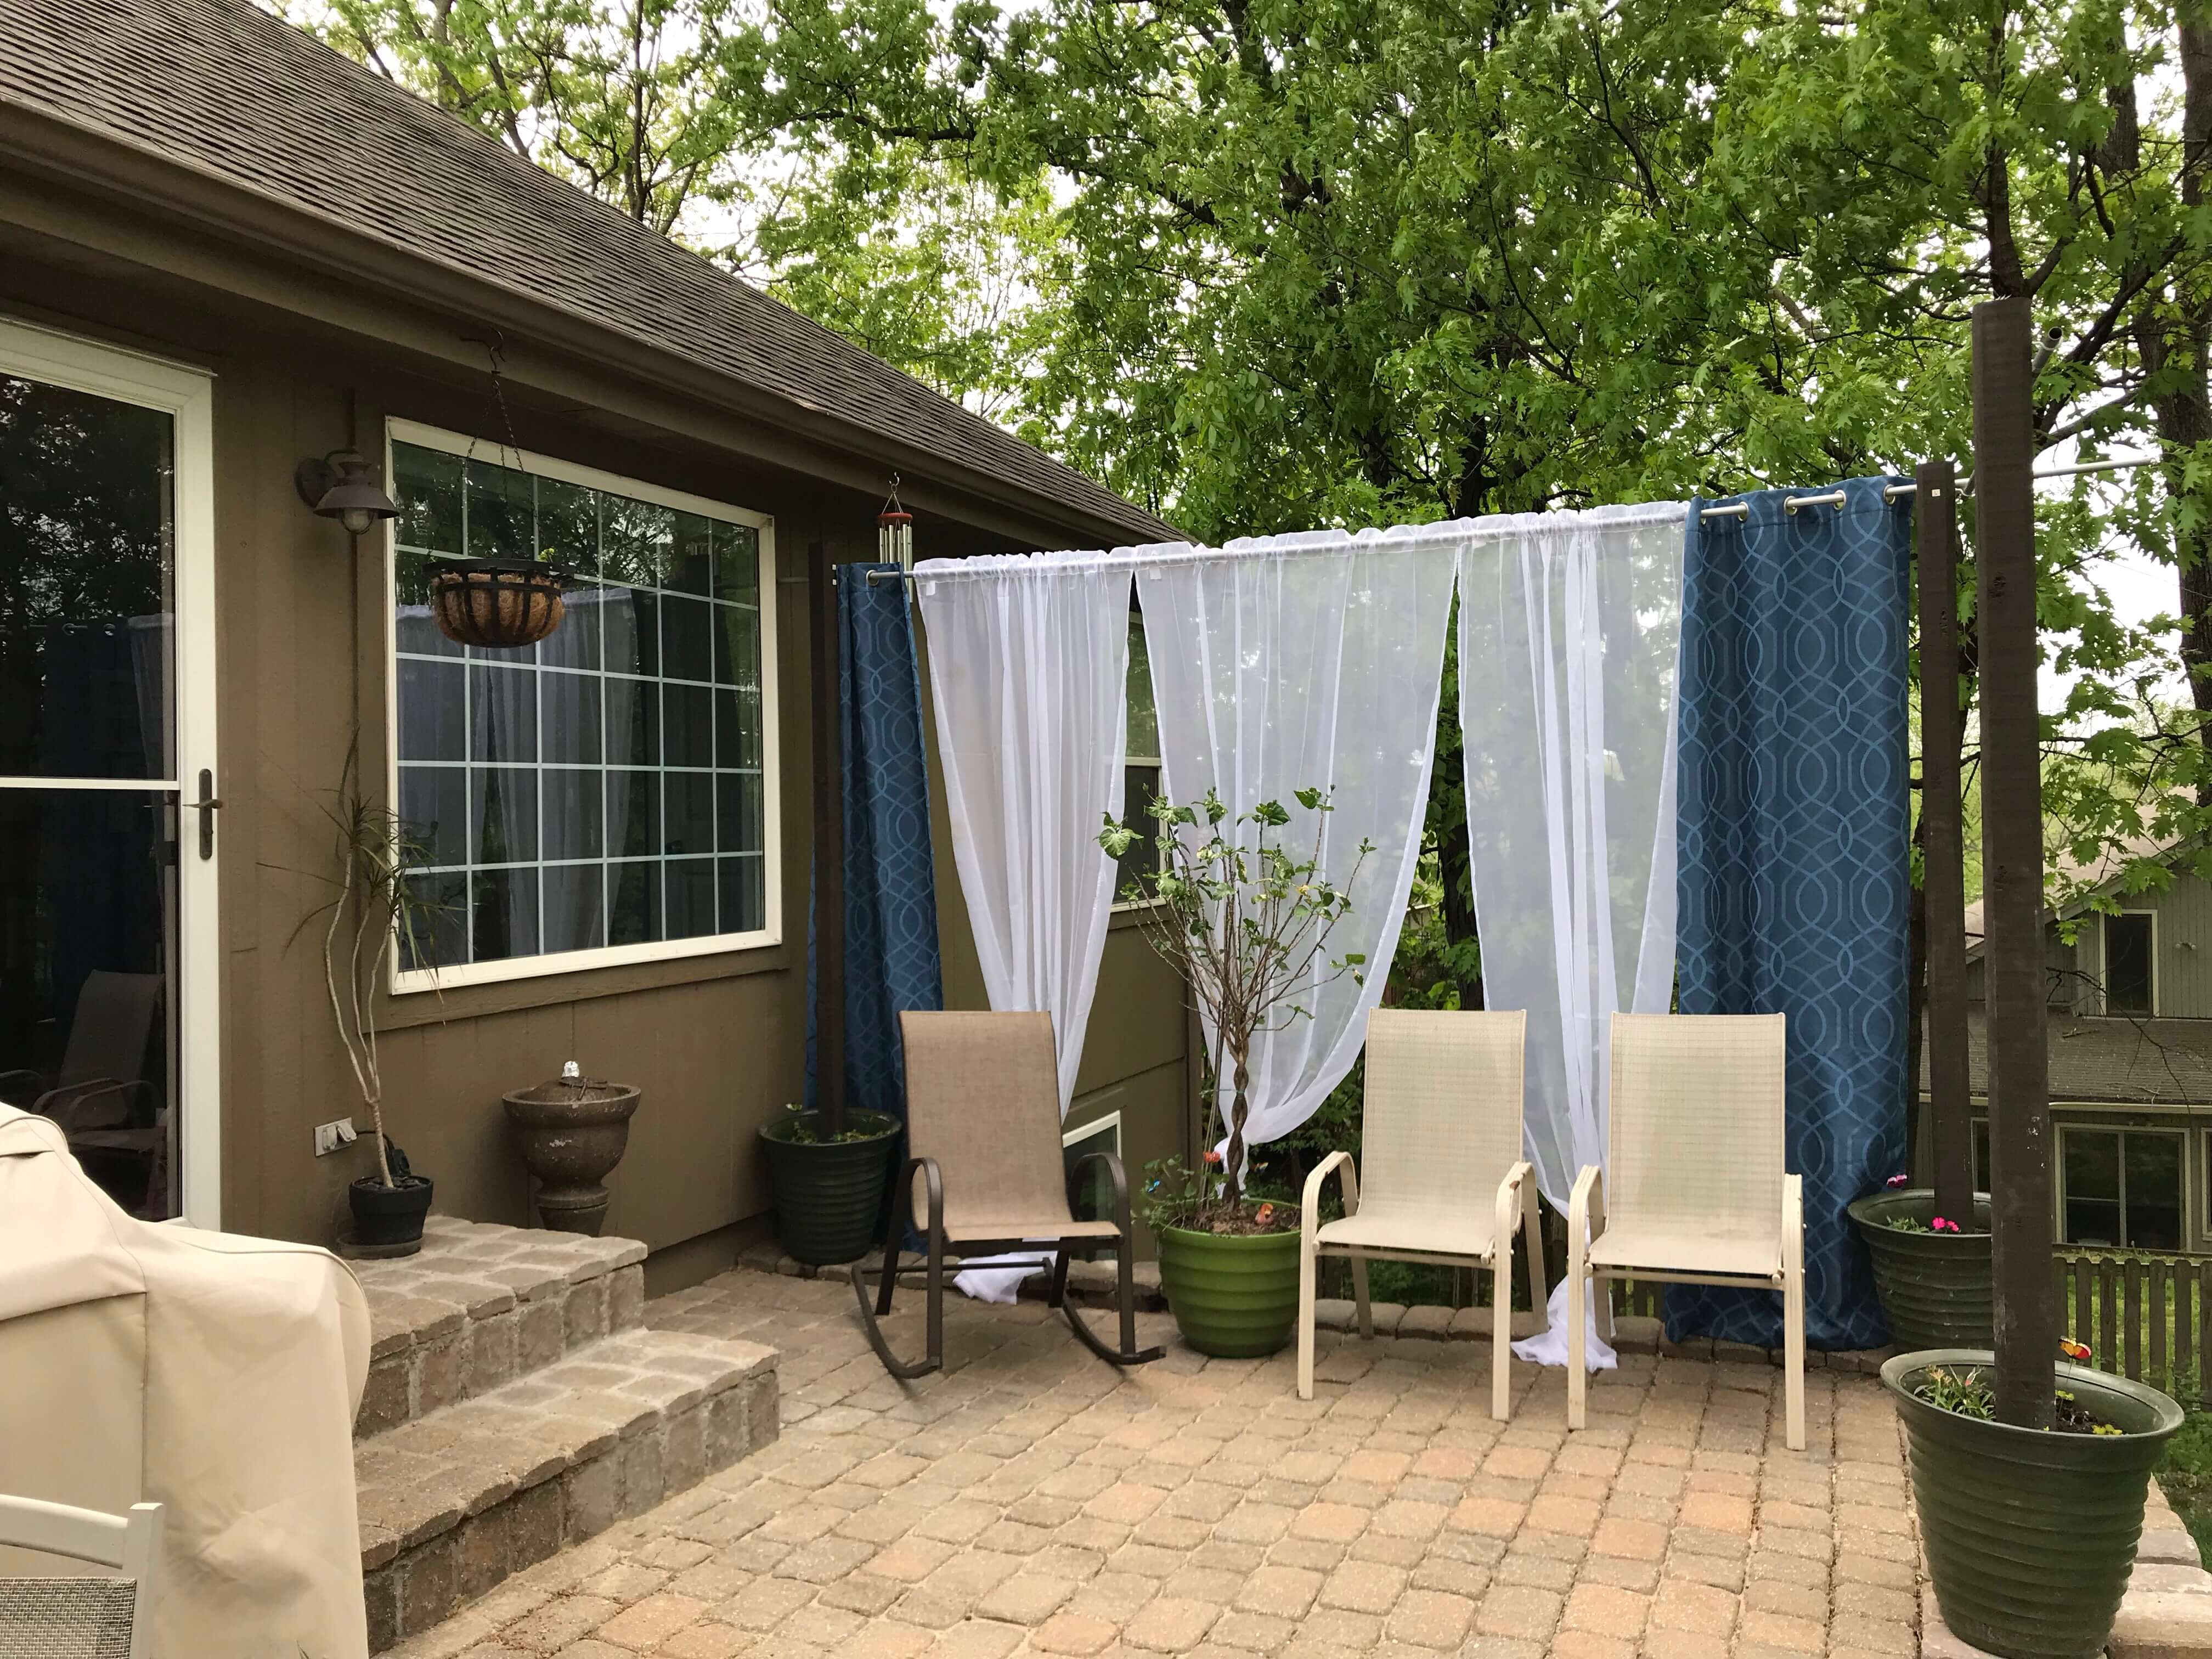
But at only $4 per curtain, I was okay with that. Here’s the final look! The curtains I ordered also turned out to be a bit too long, but it actually ended up being a good thing because I tied knots in them to shorten them up and I think it gave the space a better vibe.

I now love sitting out on my patio enjoying the scenery! Best of all, this project was cheap enough that I can do it again next year if it doesn’t hold up. OR I can add more posts if it does! Or even possibly make some more roof-like pergola plans! Ah, the daydreaming never ends.
What are you doing to enjoy your backyard this year?
4 comments
This is a great idea! Cheaper and prettier than a privacy fence! Question: How have they faired in stormy/rainy weather?Do you take them in if its going to rain?
Those are great questions! It’s been up for only about two weeks now, but we’ve had a lot of rain and wind this past week. I didn’t do anything with the curtains through all that and they made it through perfectly so far! However, it would be easy to grab a step ladder and take down the curtain rods/curtains when a big storm was expected. Since this project was so low cost, I’m testing it out this year to see how it goes and determine if any tweaks are needed.