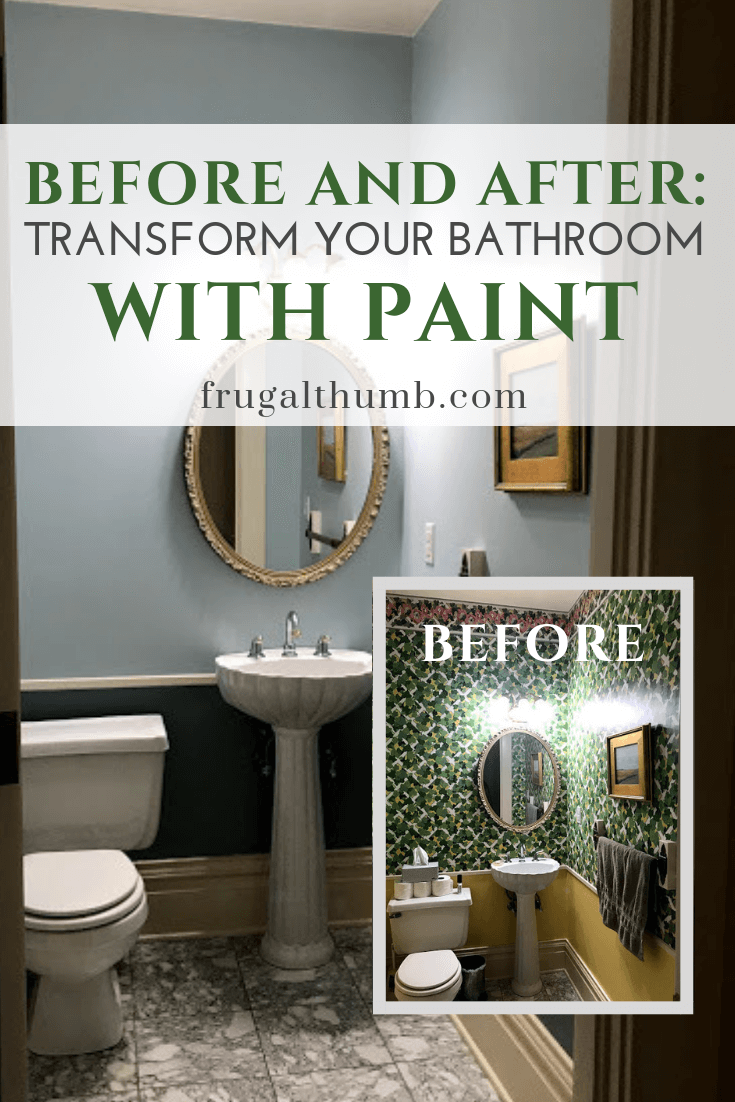
This post may contain affiliate links, meaning, at no additional cost to you, I will earn a commission if you click through and make a qualifying purchase.
You can completely change the entire look of a room in your home simply by changing the paint on the walls. Conveniently, it’s also one of the cheapest things you can do to change up the look of your home!
In fact, painting a room can often be just a weekend project!
I was visiting a good friend over Labor Day weekend. She had moved out of state about a year ago and I was finally getting a chance to see her! We got to catch up and spend some quality time together. I had a lovely visit and it was really great!
But she kept mentioning how unhappy she was with the look of some of the rooms in her home, apologizing to me for it, and explaining how she just hadn’t had time to make the changes that she wanted to make. She was also very concerned about removing wallpaper and whether or not she could do it herself or should hire help. She had moved into a home with wallpaper on the walls of nearly every room, and the previous owner’s style was most definitely not the same as my friend’s.
Well, I couldn’t help myself. I actually enjoy doing these kinds of DIY projects and had to say something.
So I asked her which room she wanted to attempt first and I’d help her with it.
She said she wanted to do the small downstairs bathroom. Yesss! Project Frugal Thumb was a-go!
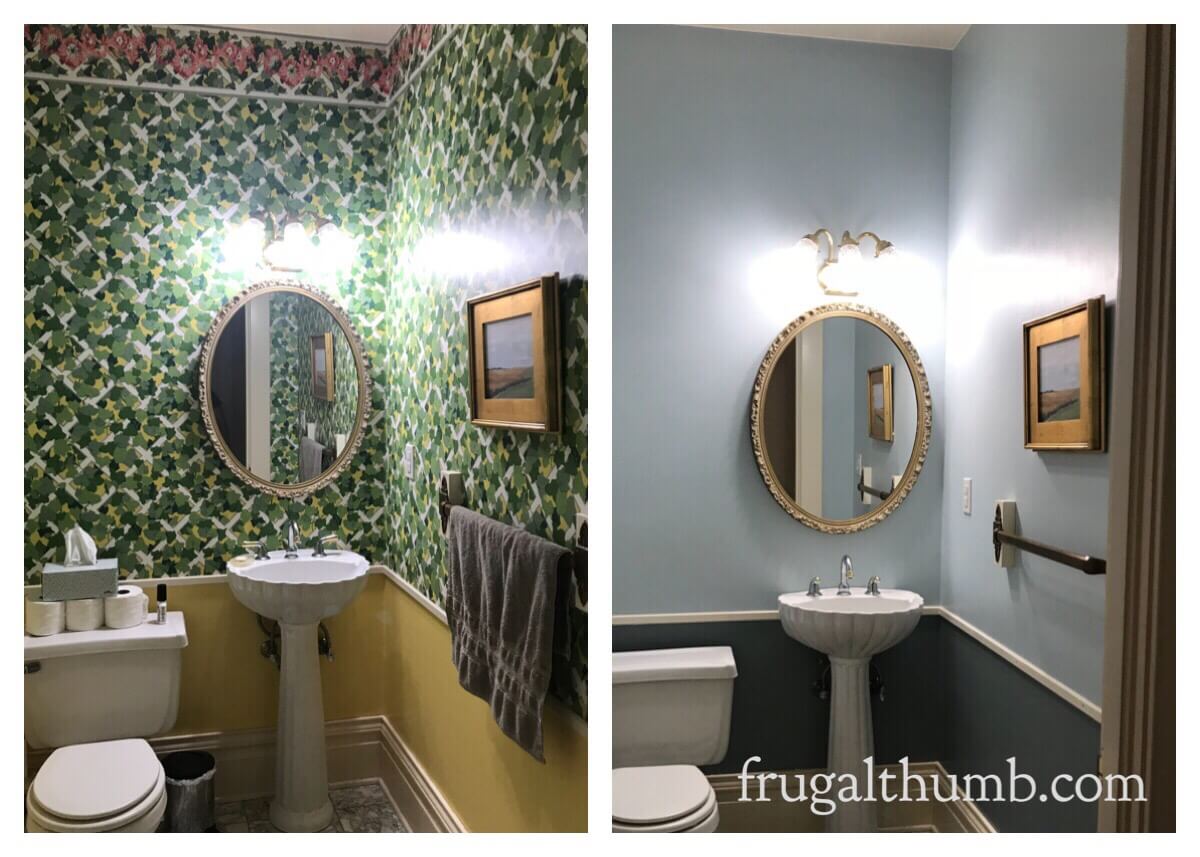
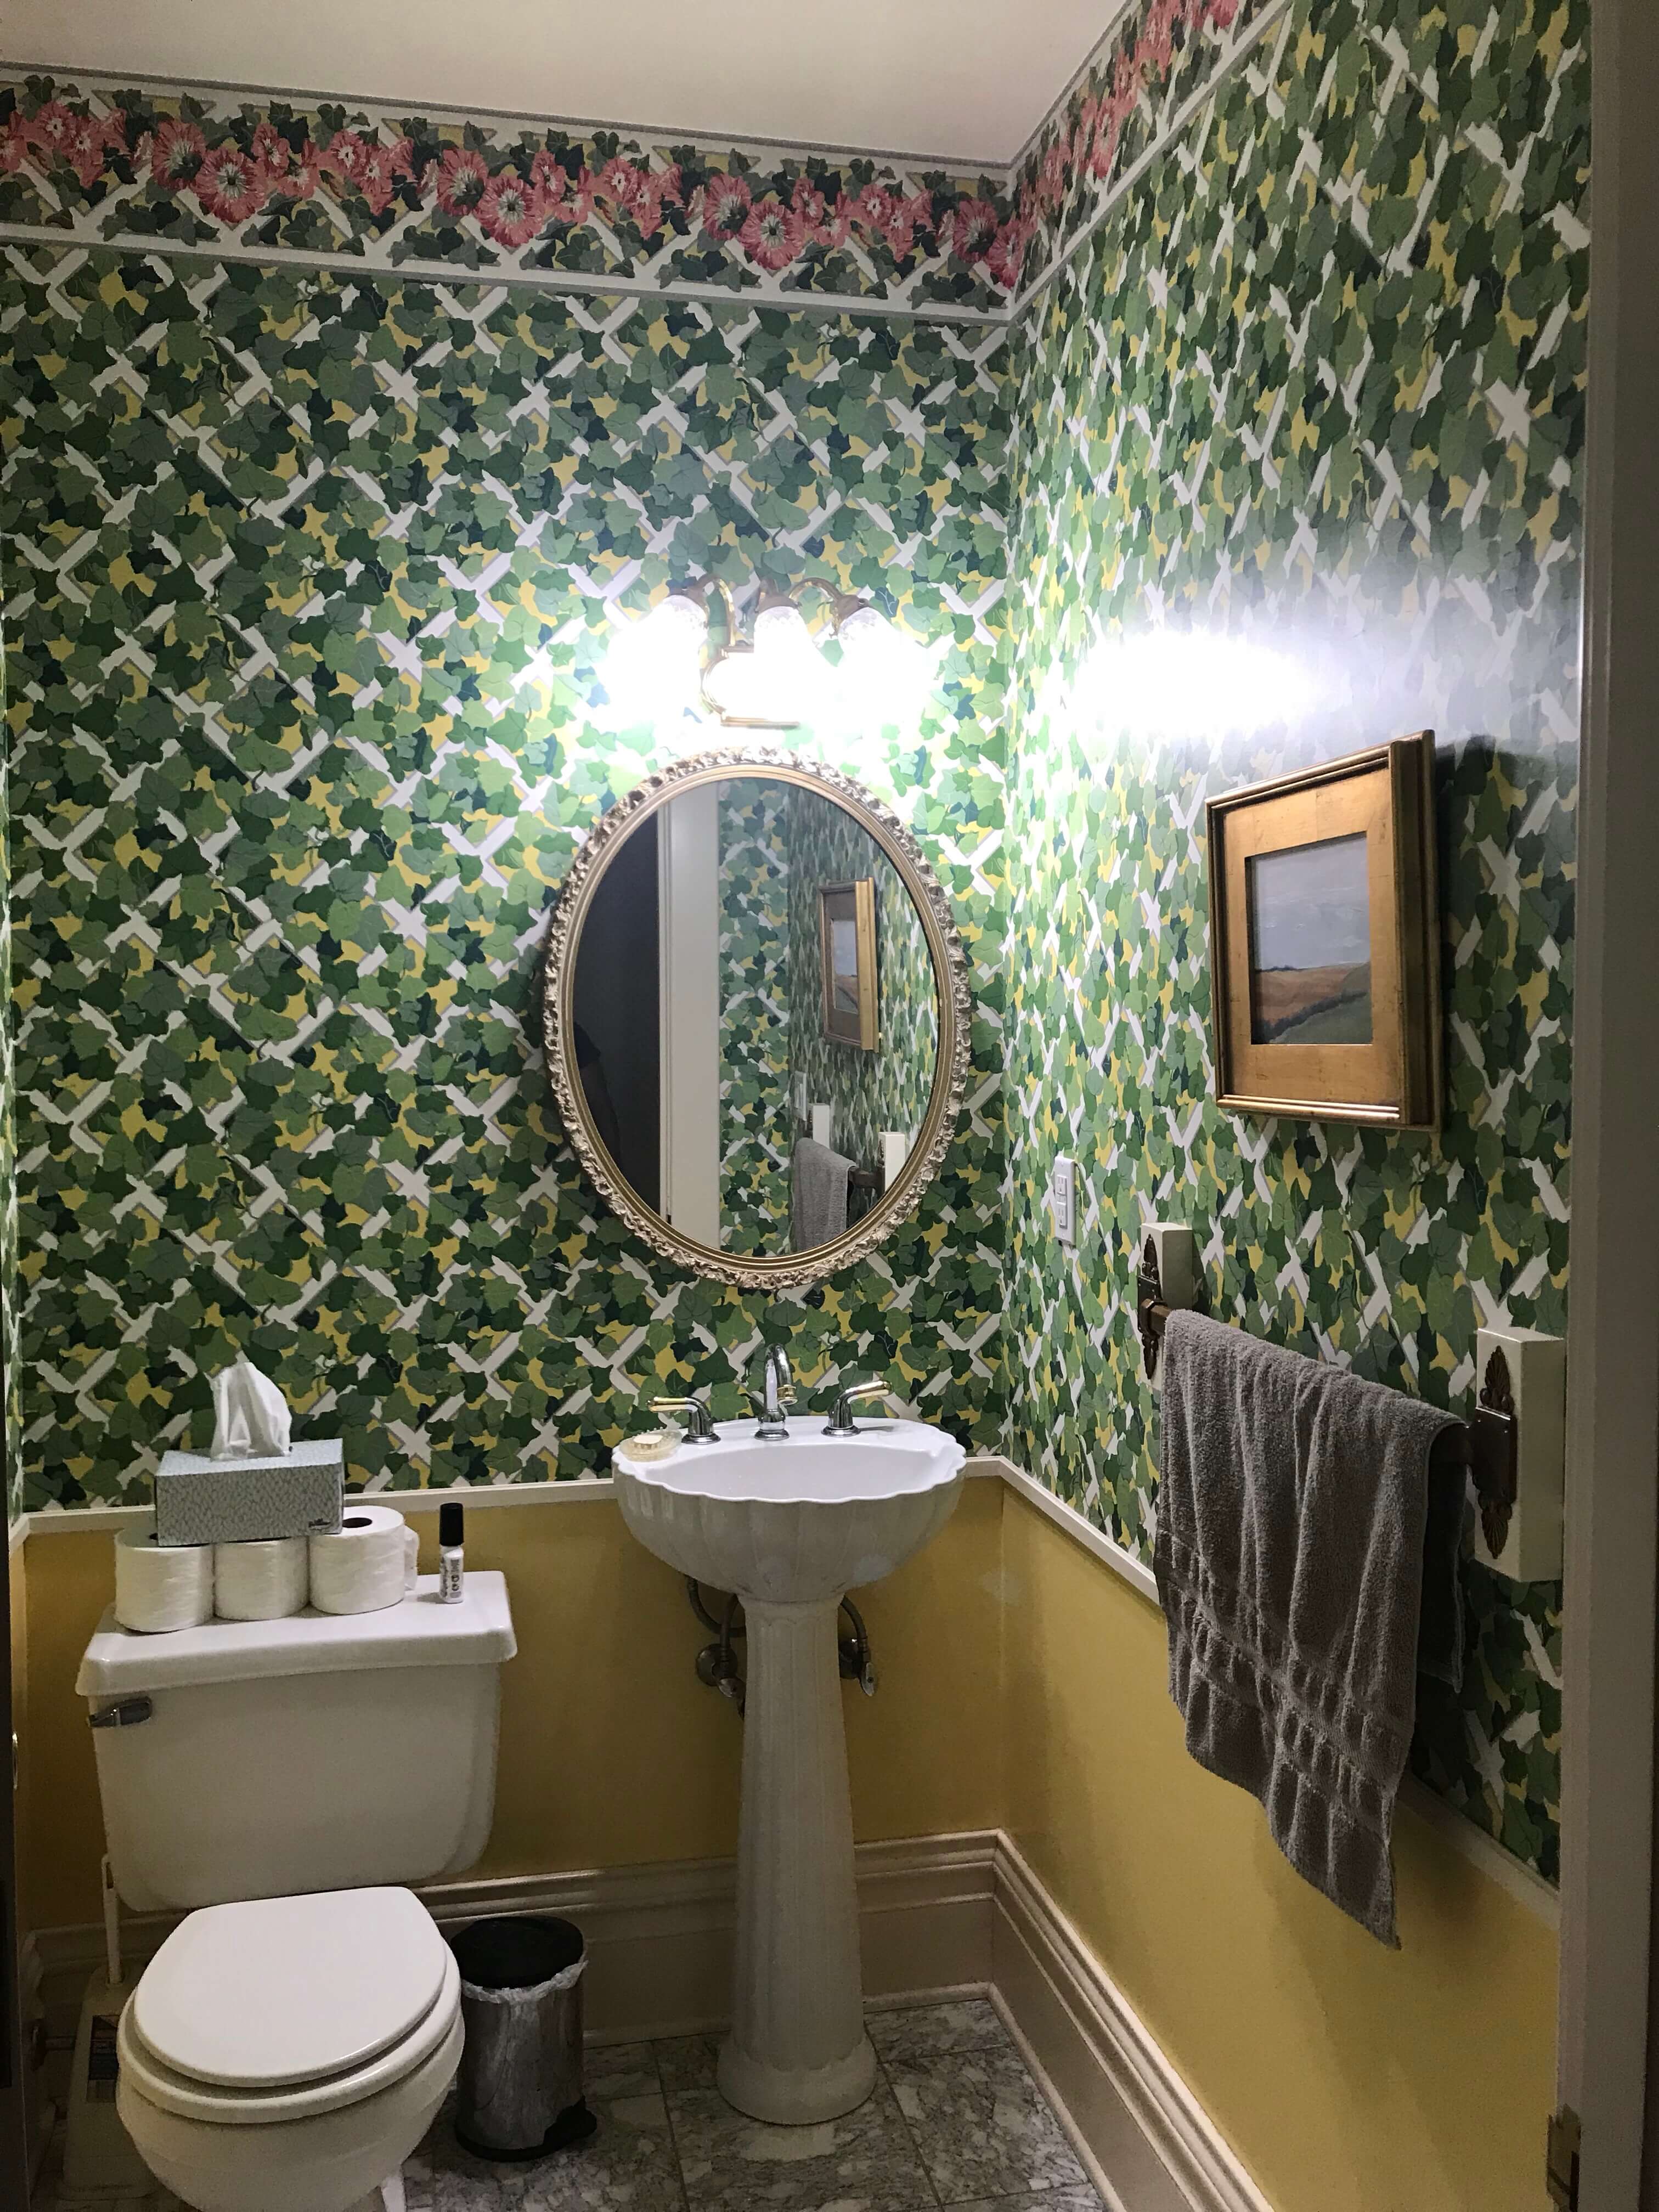
Here’s a before picture of my friend’s bathroom. The previous owner was very much into loud, intricate, “in your face” designs as you can see below. Whereas, my friend’s style is more modern, muted, warm colors, with no decorative flourishes.
So it was time to try removing that wallpaper…
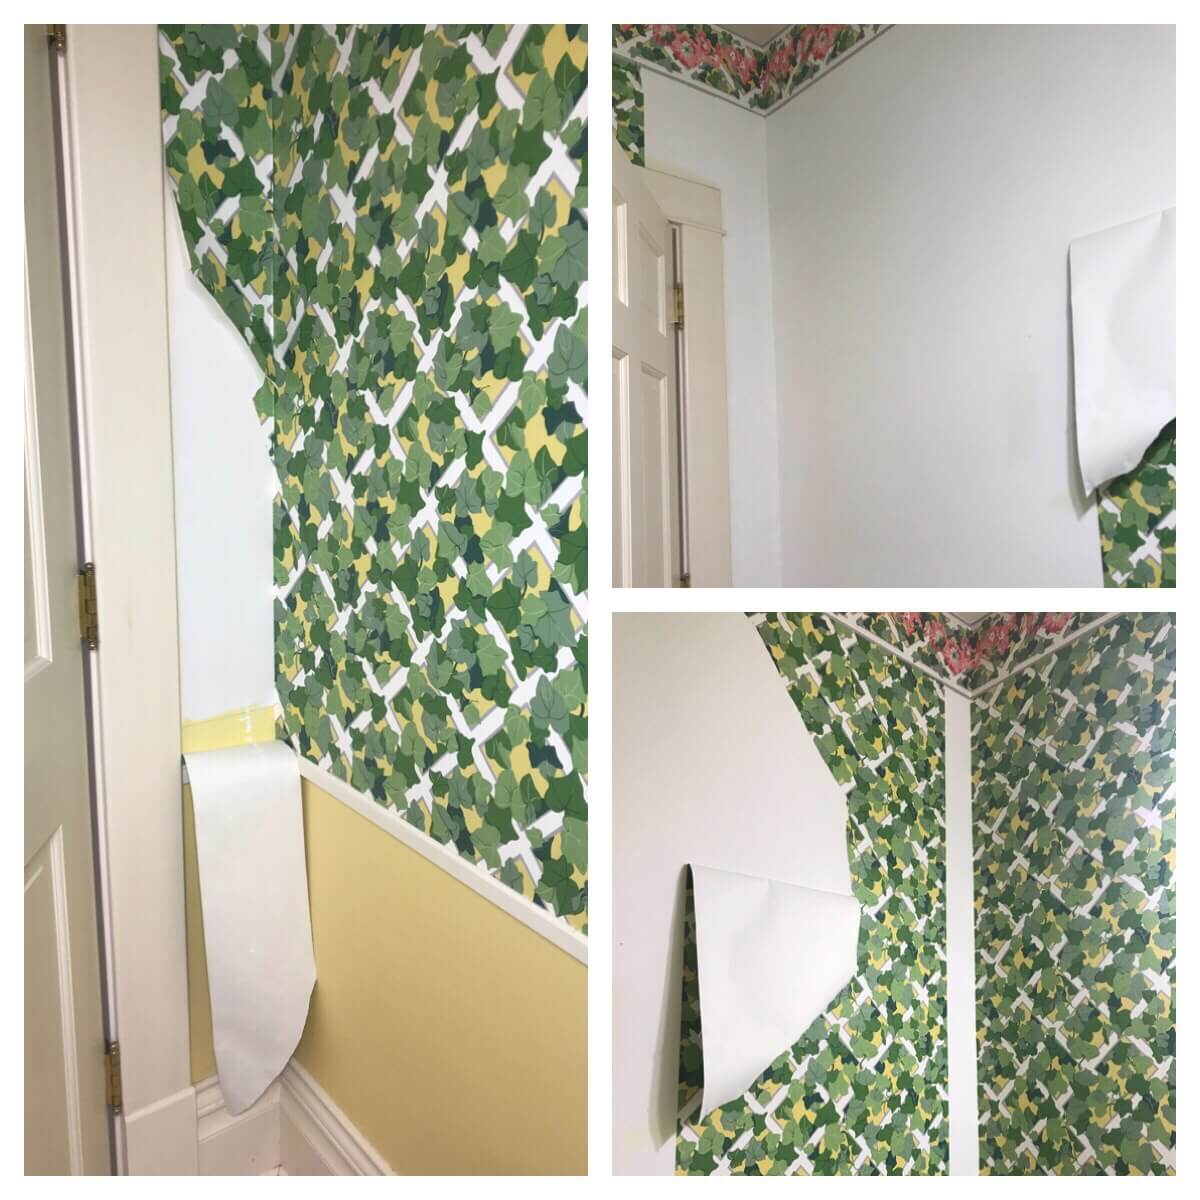
Step 1: Remove the wallpaper.
We found a spot behind the door and attempted to remove some of the wallpaper. It was easier than expected! We got lucky. Most of it peeled off in large swaths. And the few trouble spots that didn’t, we scraped and scrubbed off with our fingernails and sandpaper.
I had done a little research and expected this to be much harder, but there was no need for us to score the wallpaper or spray it with vinegar water. We lucked out this time!
Here are some more pictures of us peeling the wallpaper right off.
Step 2: Remove anything that will be in the way when painting begins.
We unscrewed and removed light fixtures, outlet covers, artwork, the sink, and mirror. This also helped us get any remnants of wallpaper that were hiding behind things

Then we removed the chair railing which was a little tricky because we wanted to save the wood and put it back on when we finished painting.
In order to successfully remove the wood without cracking or snapping it, we did the following:
- We scored along the top and bottom with a razor blade.
- Then we used a mini crow bar to pry it up a little and moved it slowly along the wood, prying up the finishing nails as we came upon them.
Frugal Thumb Tip: Be sure to lay out or mark your chair railing wood in the order that it was removed so you can remember where each piece went. We didn’t do this and it made things more difficult when it was time to nail them back to the wall.

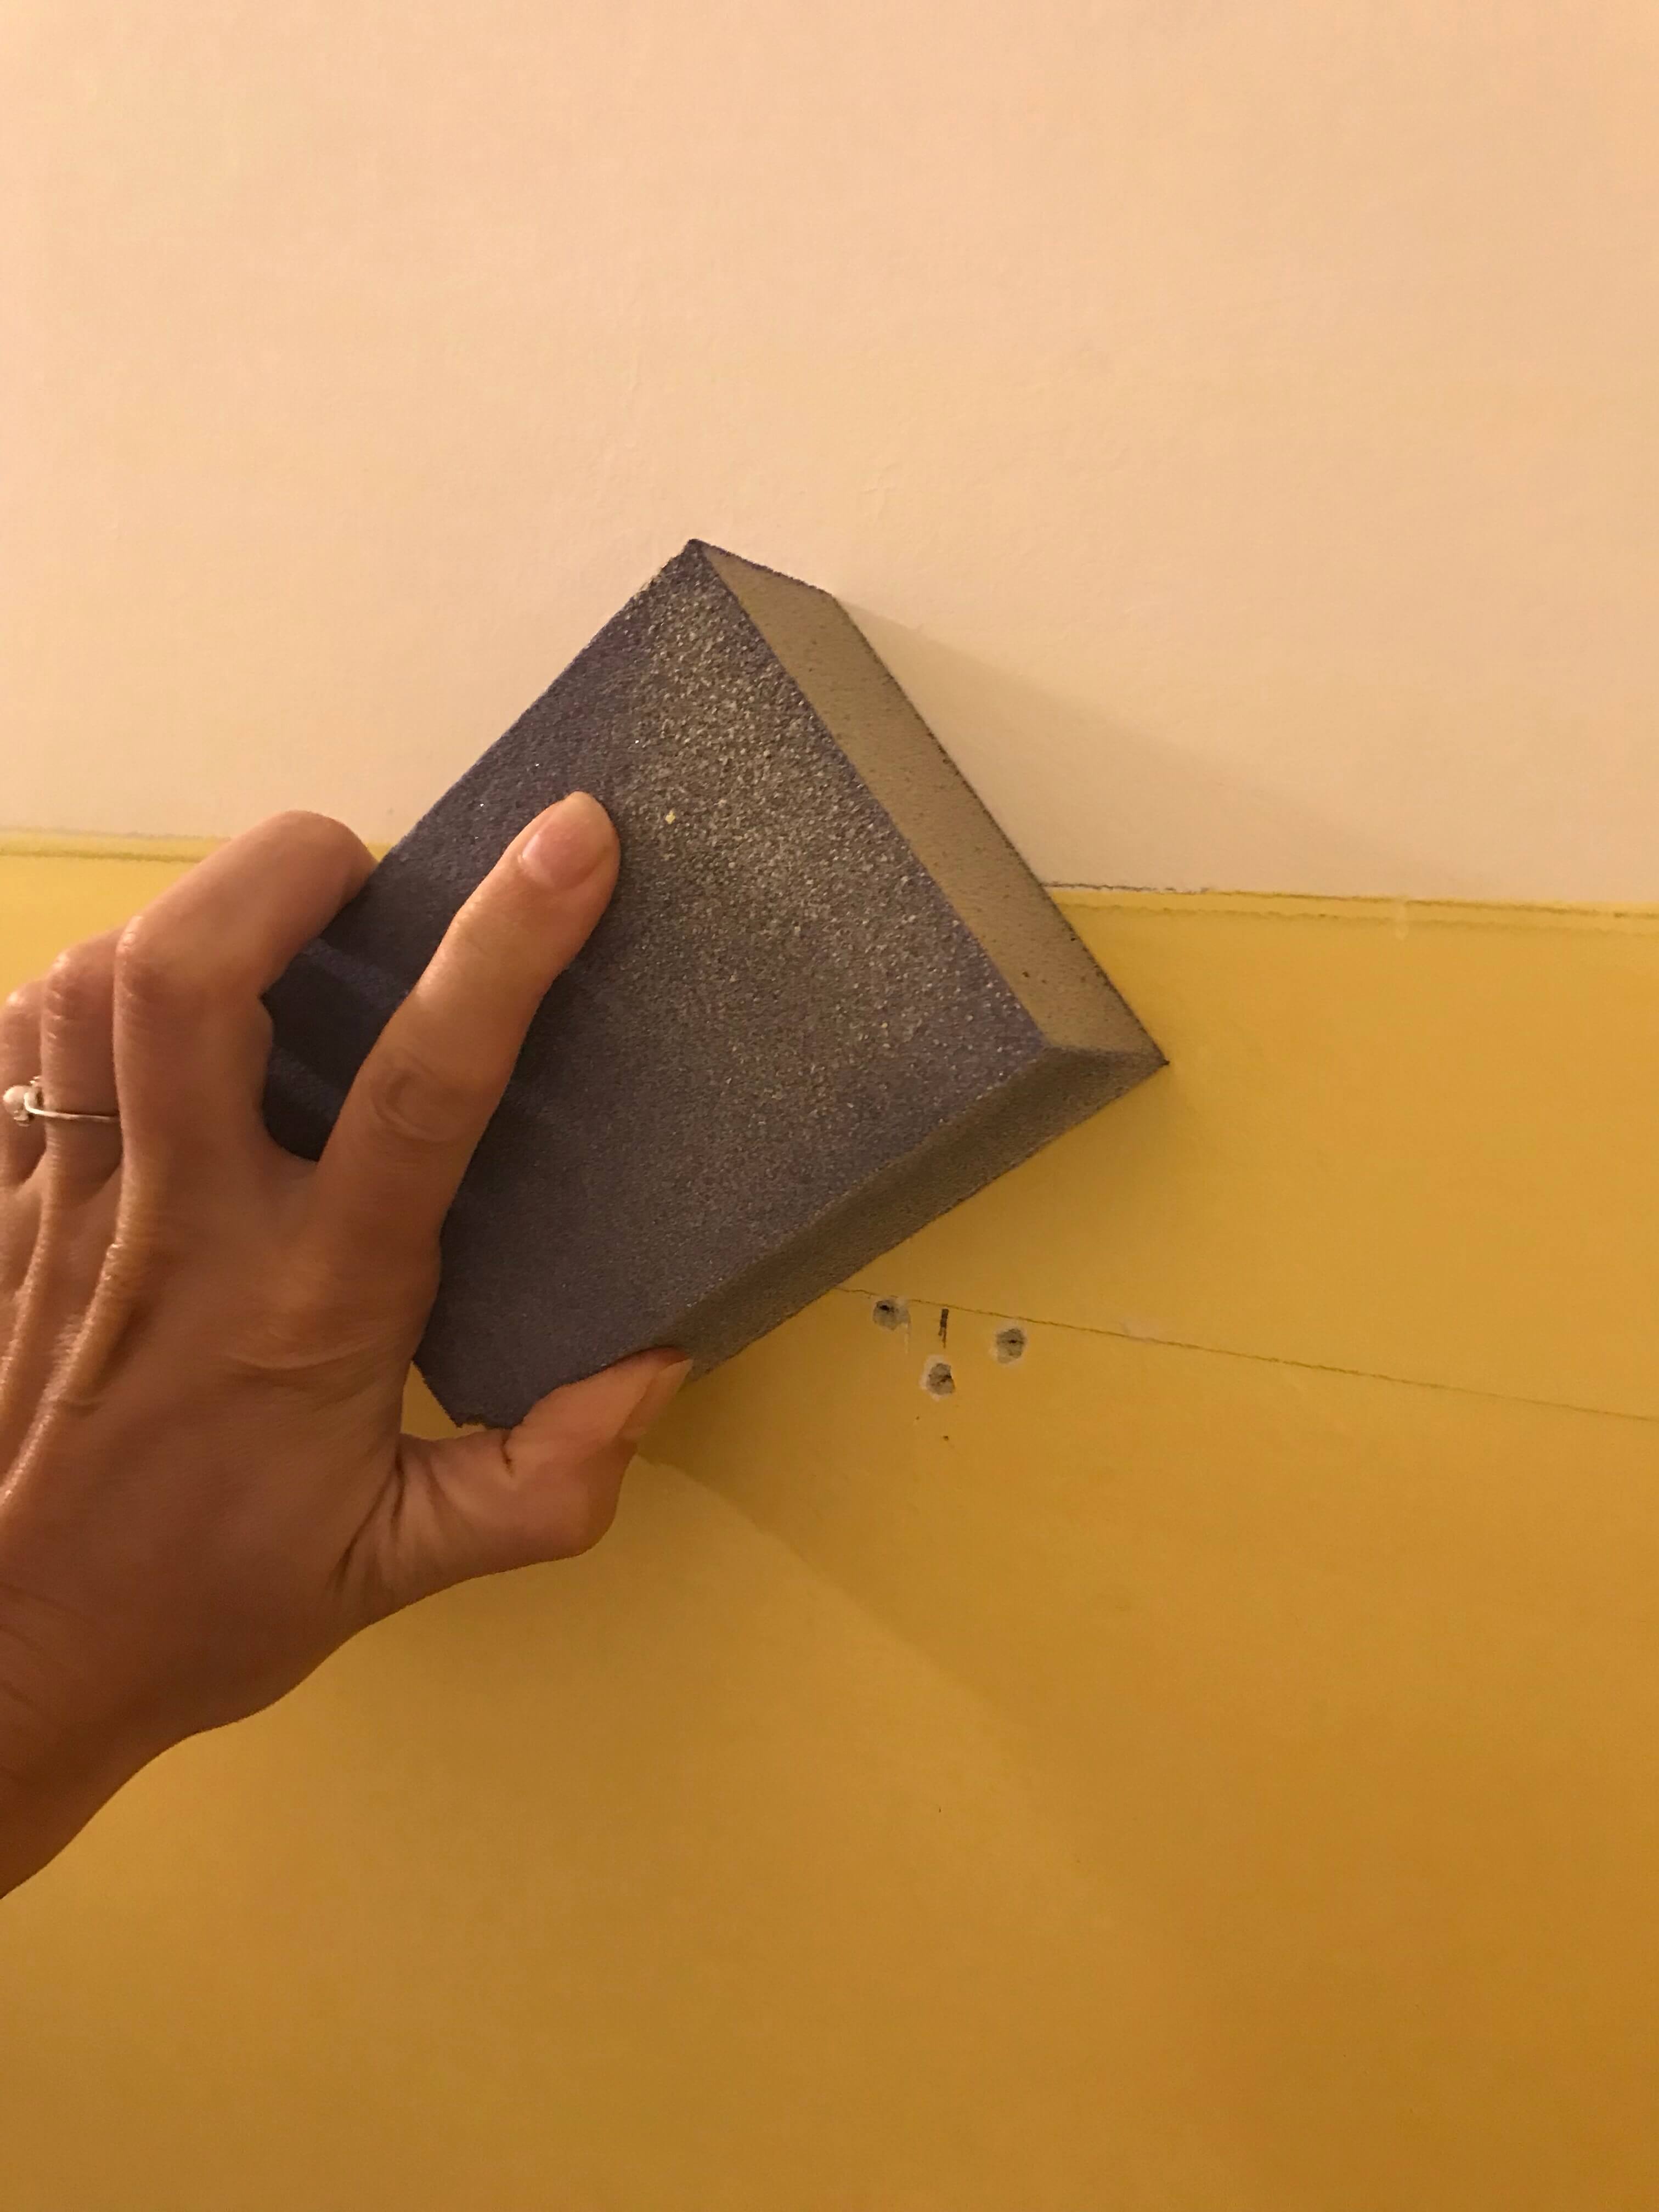
Step 3: Clean and smooth the wall as needed.
We smoothed out the wall a bit with sandpaper. The wall had texture from the old wallpaper adhesive. In retrospect, we should’ve spent more time removing that with soap and water.
But after painting multiple coats of paint to the wall, it looks purposefully textured and is an acceptable look so I think it was a win overall.
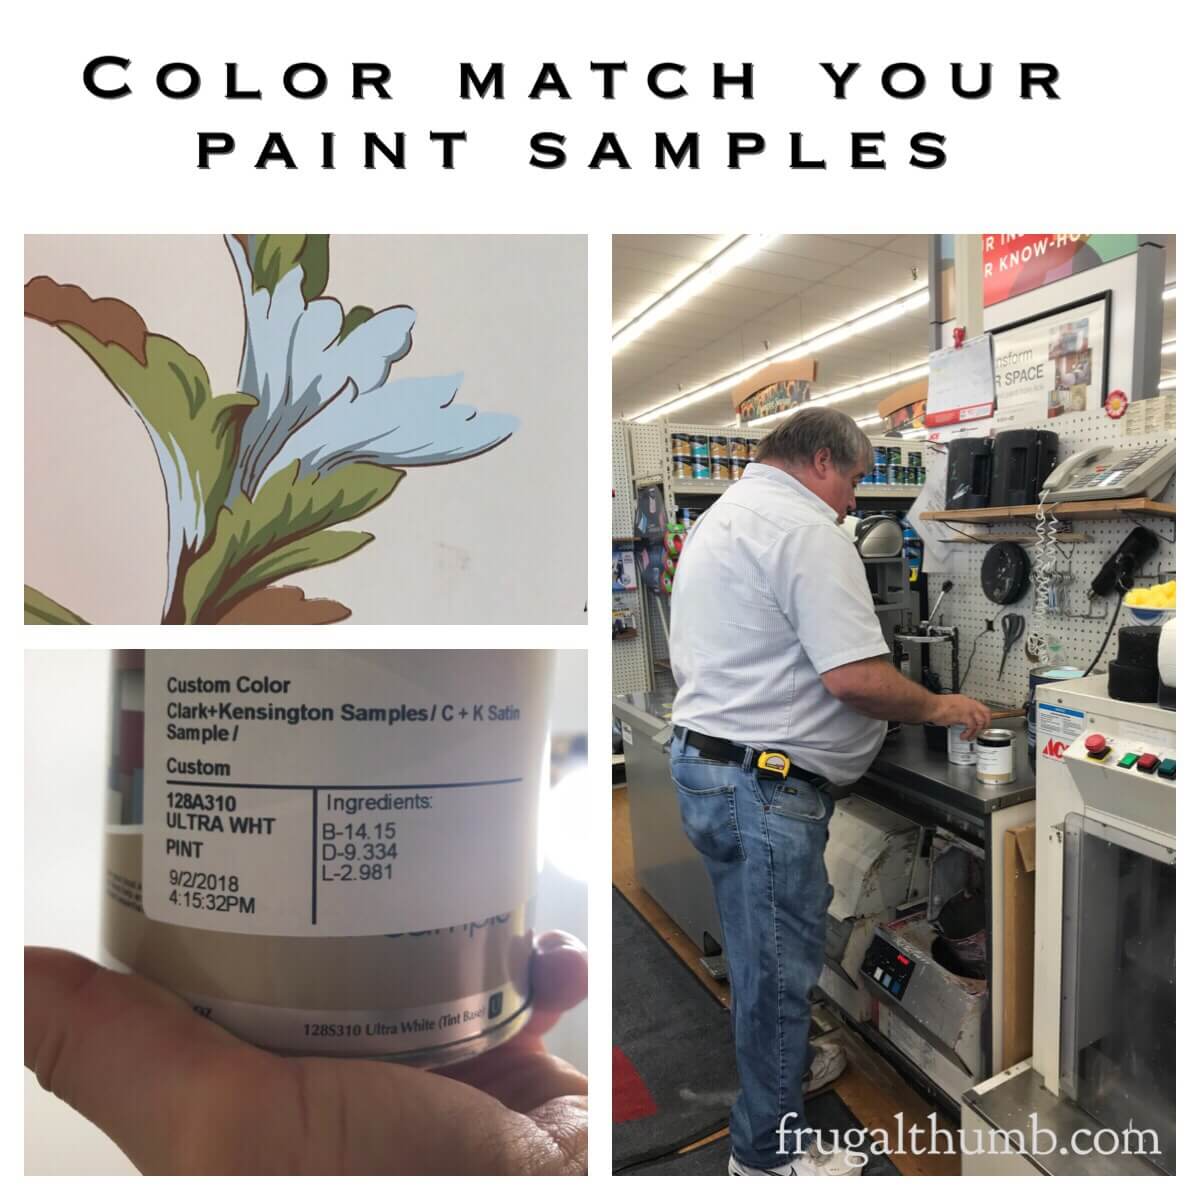
Step 4: Choose and buy your paint color(s).
The walls are now ready so you’ve got to decide on your paint colors! For this project, it meant paint matching time. My friend’s entryway had some wallpaper that she liked, and in order to tie in the hallway bathroom with the entryway, she wanted to use the light and dark blue colors from the entryway wallpaper.
Off we went to the local hardware store with our extra piece of wallpaper. The man working in the paint section color matched both shades of blue and we got them in the sample size.
Frugal Thumb Tip: Getting the colors in the sample size allows you to confirm that you really do like the colors on your wall before committing to an entire quart or gallon of paint. Plus, the hardware store might give you a coupon to buy the additional paint if you do in fact like it. For example, this hardware store gave us a $5 off coupon for paint with each paint sample.
Also, the sample size was more than enough paint for us to complete the dark blue painting below the chair railing. We only had to buy more light blue paint.
Step 5: Prep for painting.
Now that you have your paint, it’s time to finish prepping the room. You will need to lay down newspaper on the floor along the walls. I also recommend taping some to the back and top of the toilet so you don’t accidentally get paint on it. Then apply painter’s tape along the baseboards, doorframes, ceiling, and anything else you don’t want to paint (like around outlets).
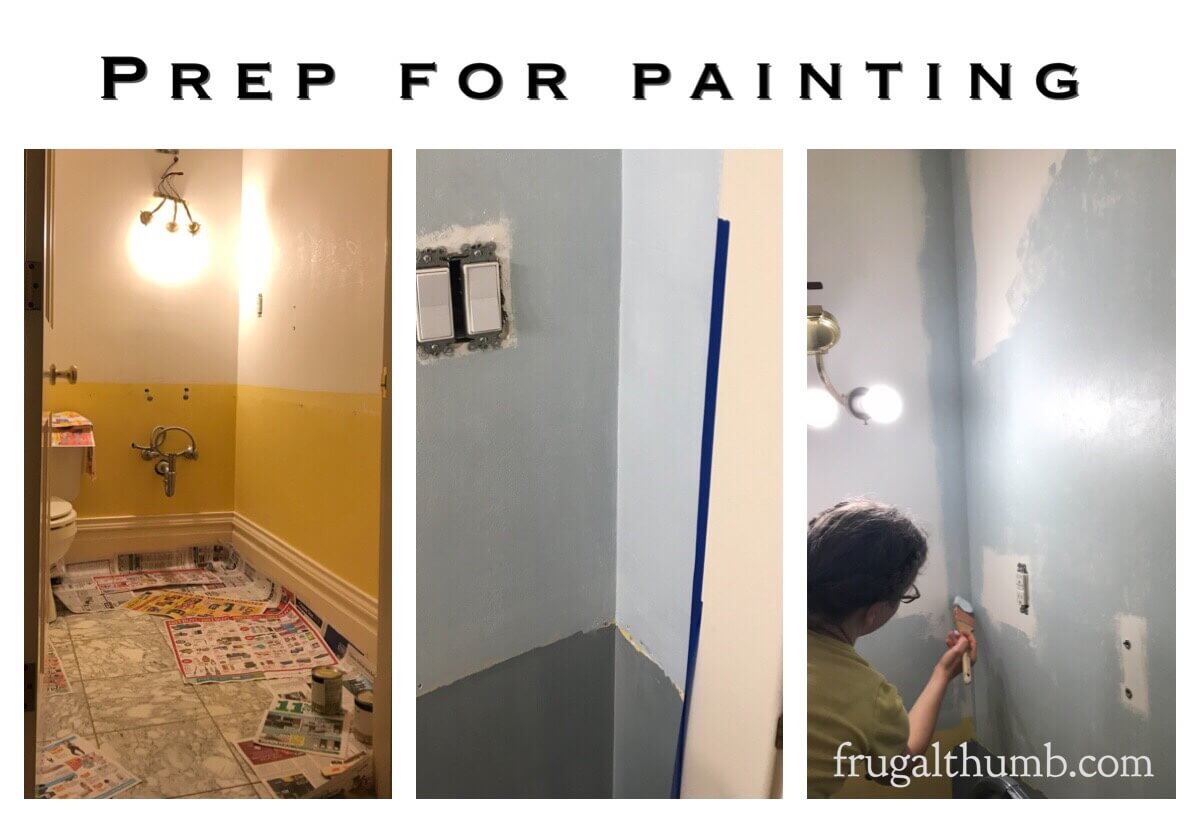
Step 6: Paint.
Then paint! You’ll want to use a paint brush to cut in along all the corners and edges of the walls, ceiling, doors, and outlets. Do this first.
For the main bulk of the walls, you’ll want to use a paint roller. It helps the paint go on smoothly (without brush marks) and you’ll get it done much quicker than using the brush!
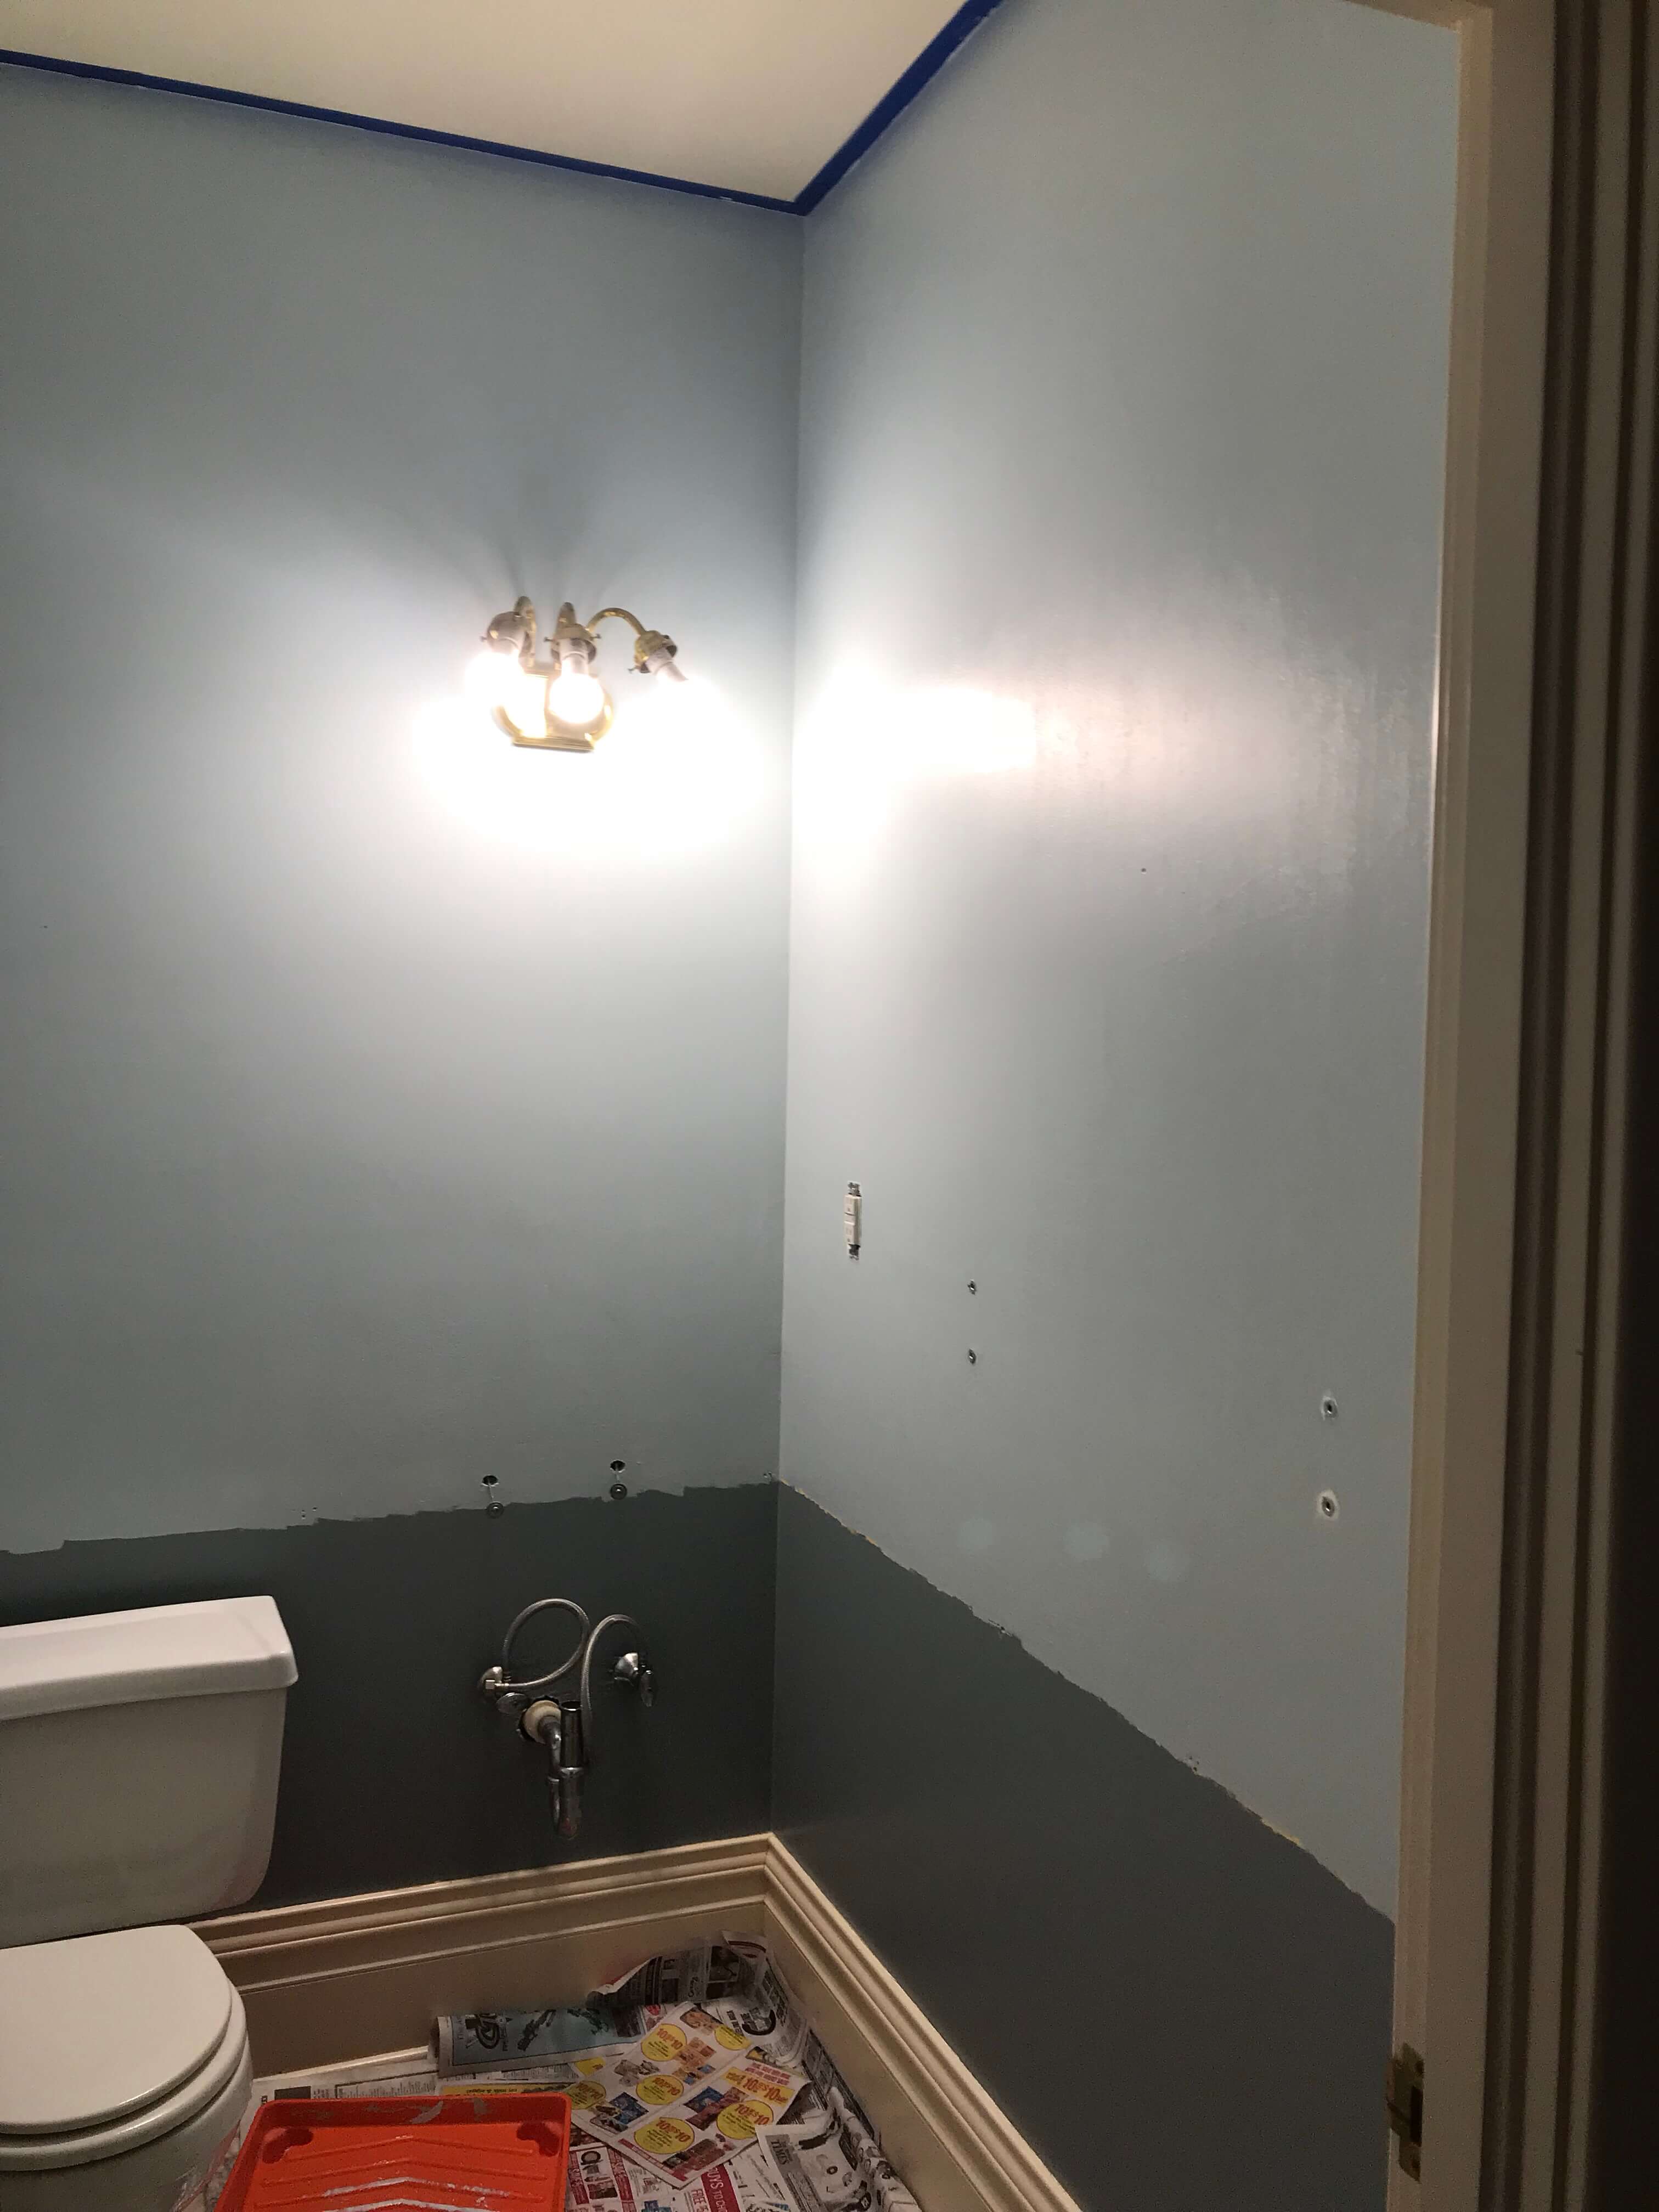
Don’t get too caught up in how it looks before it has completely dried (the color may change) or how it looks after only one coat (it may be patchy).
Usually at least two coats are needed to get complete coverage.
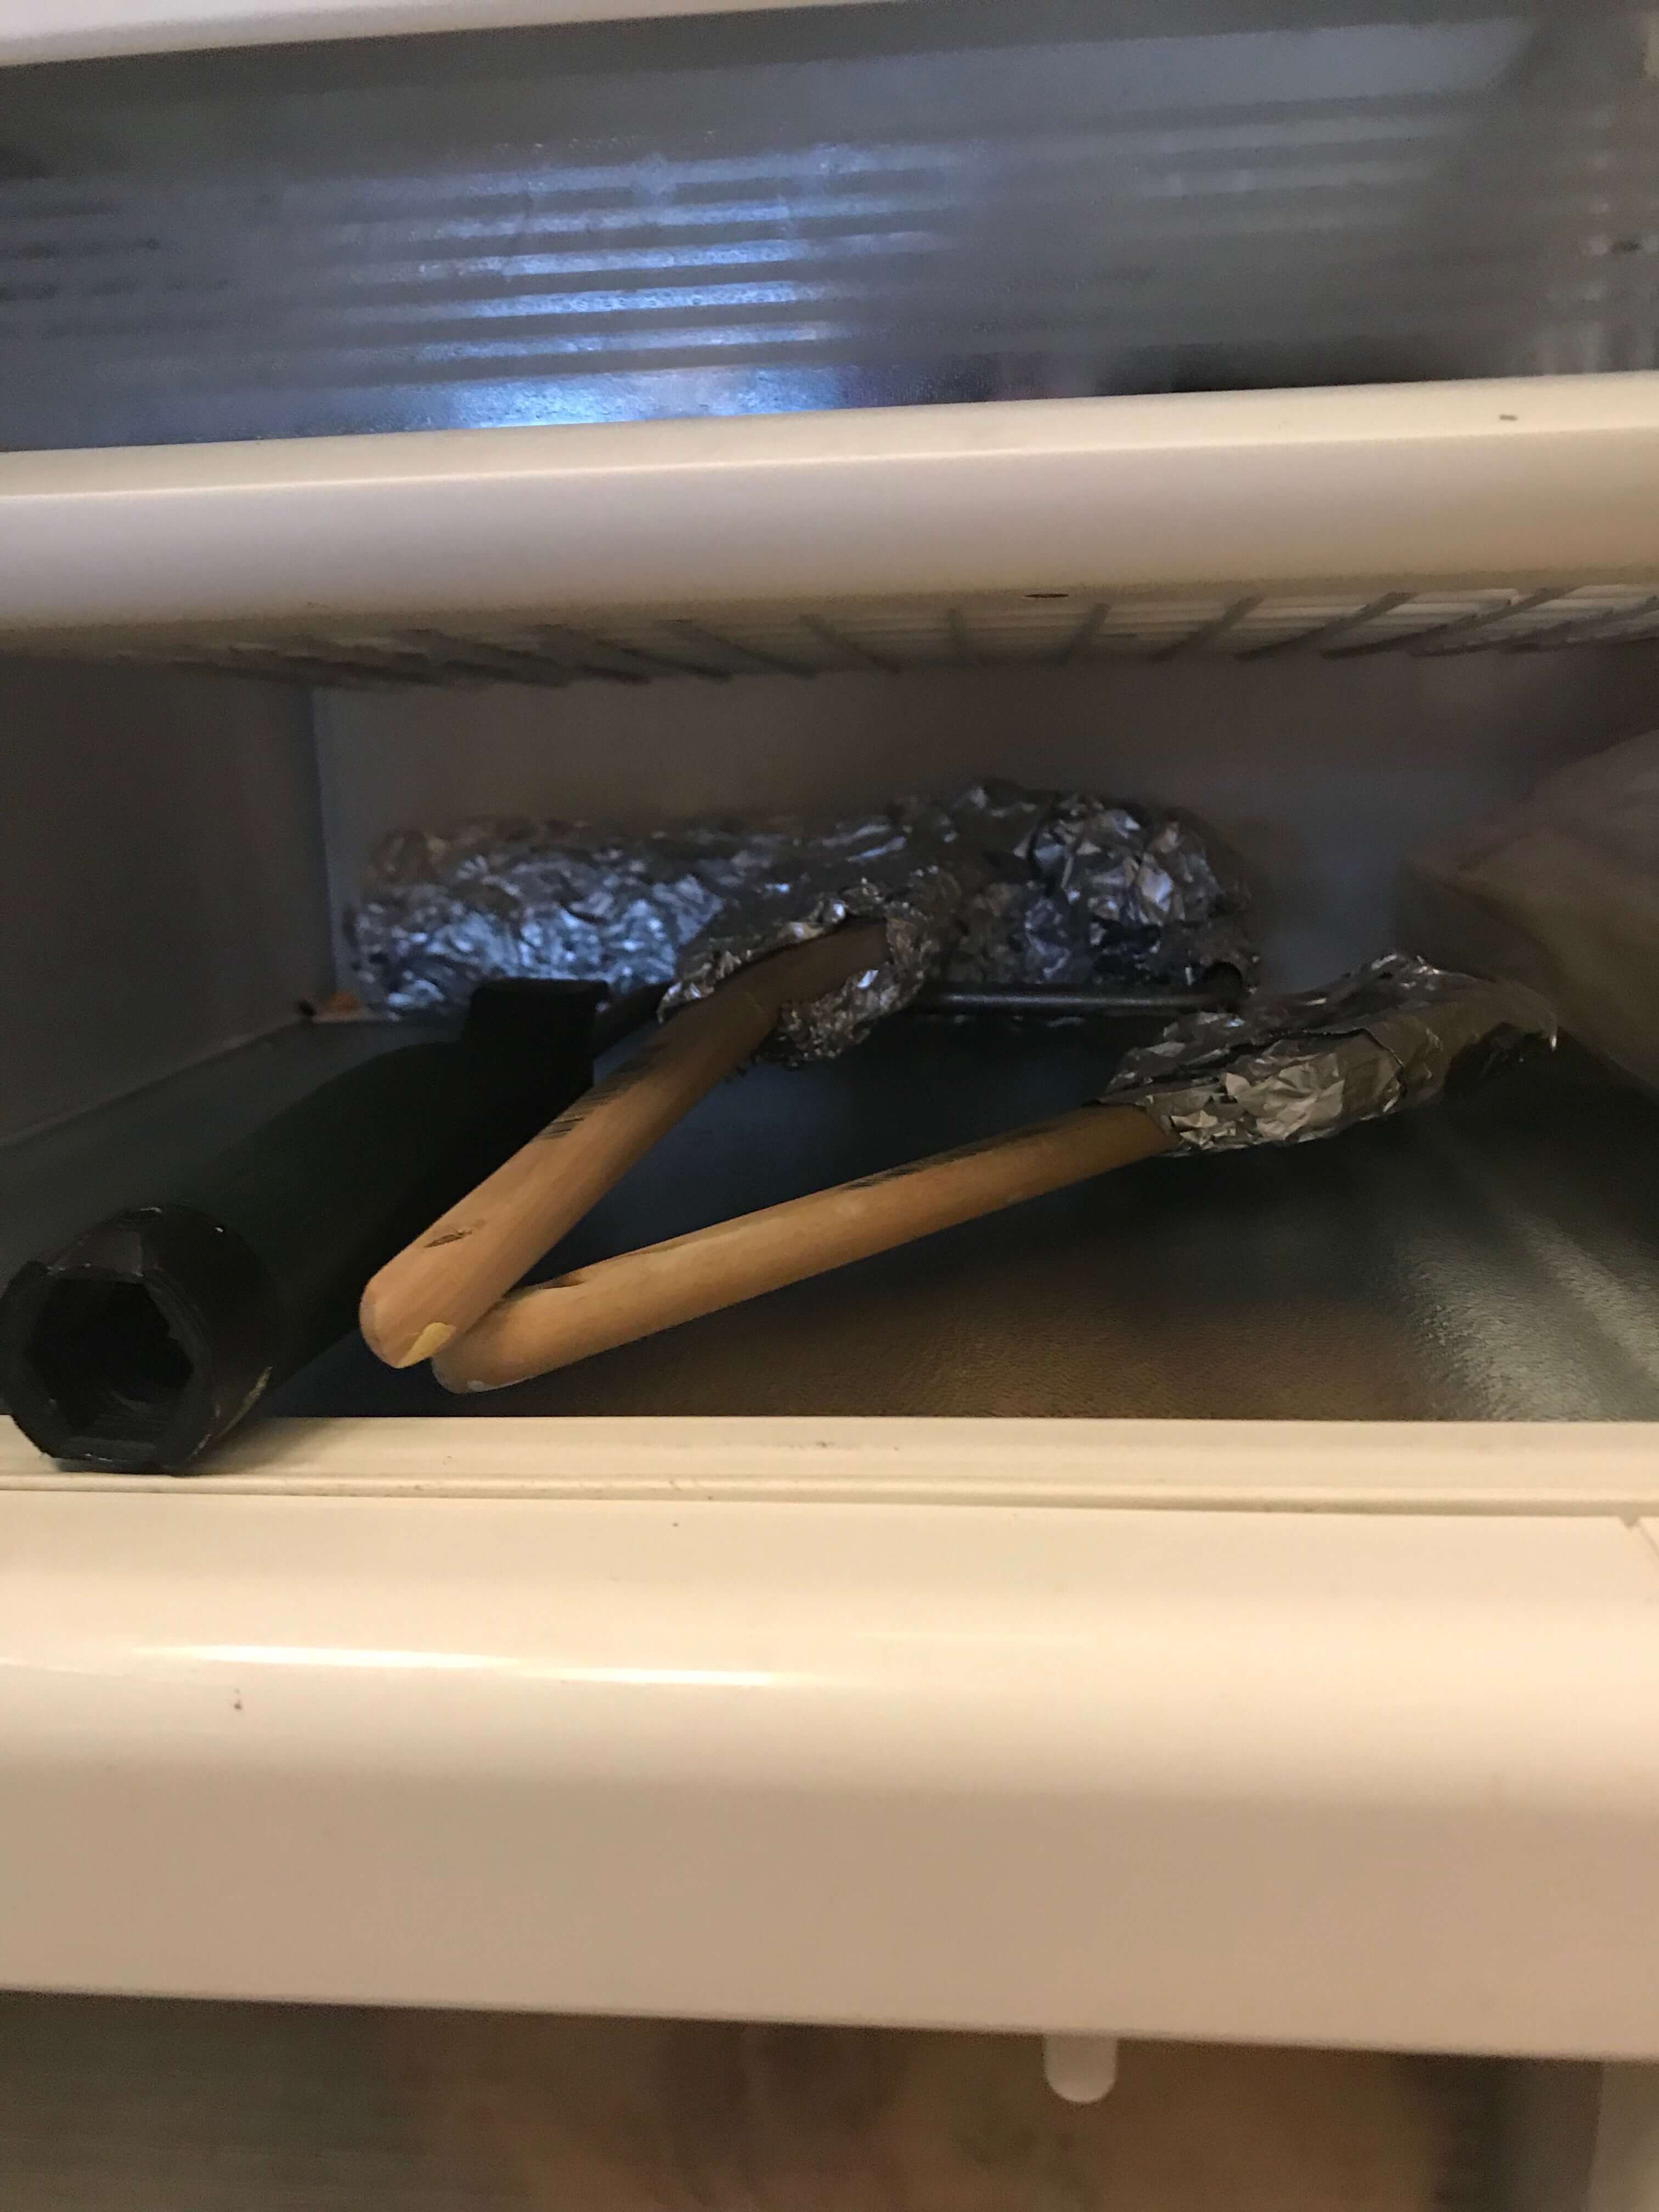
Frugal Thumb Tip: In between coats of paint, don’t wash your brushes and rollers. Save time and effort by wrapping them with aluminum foil and placing them in the fridge. This will keep them from drying out for a day or two so you can complete your entire project and only wash them once, when your project is done.
Step 7: Put everything back on the walls.
Once you’ve applied your coats of paint and let them dry, it’s time to put everything back in the room.
That’s it. You’re done.
Take a step back and enjoy your handy work.
The room is completely transformed with just a change in the wall colors.

We completed this project in two days with lots of long breaks. And the total cost for all the paint and painter’s tape required was less than $50. #winning
Before and After