
This post may contain affiliate links, meaning, at no additional cost to you, I will earn a commission if you click through and make a qualifying purchase.
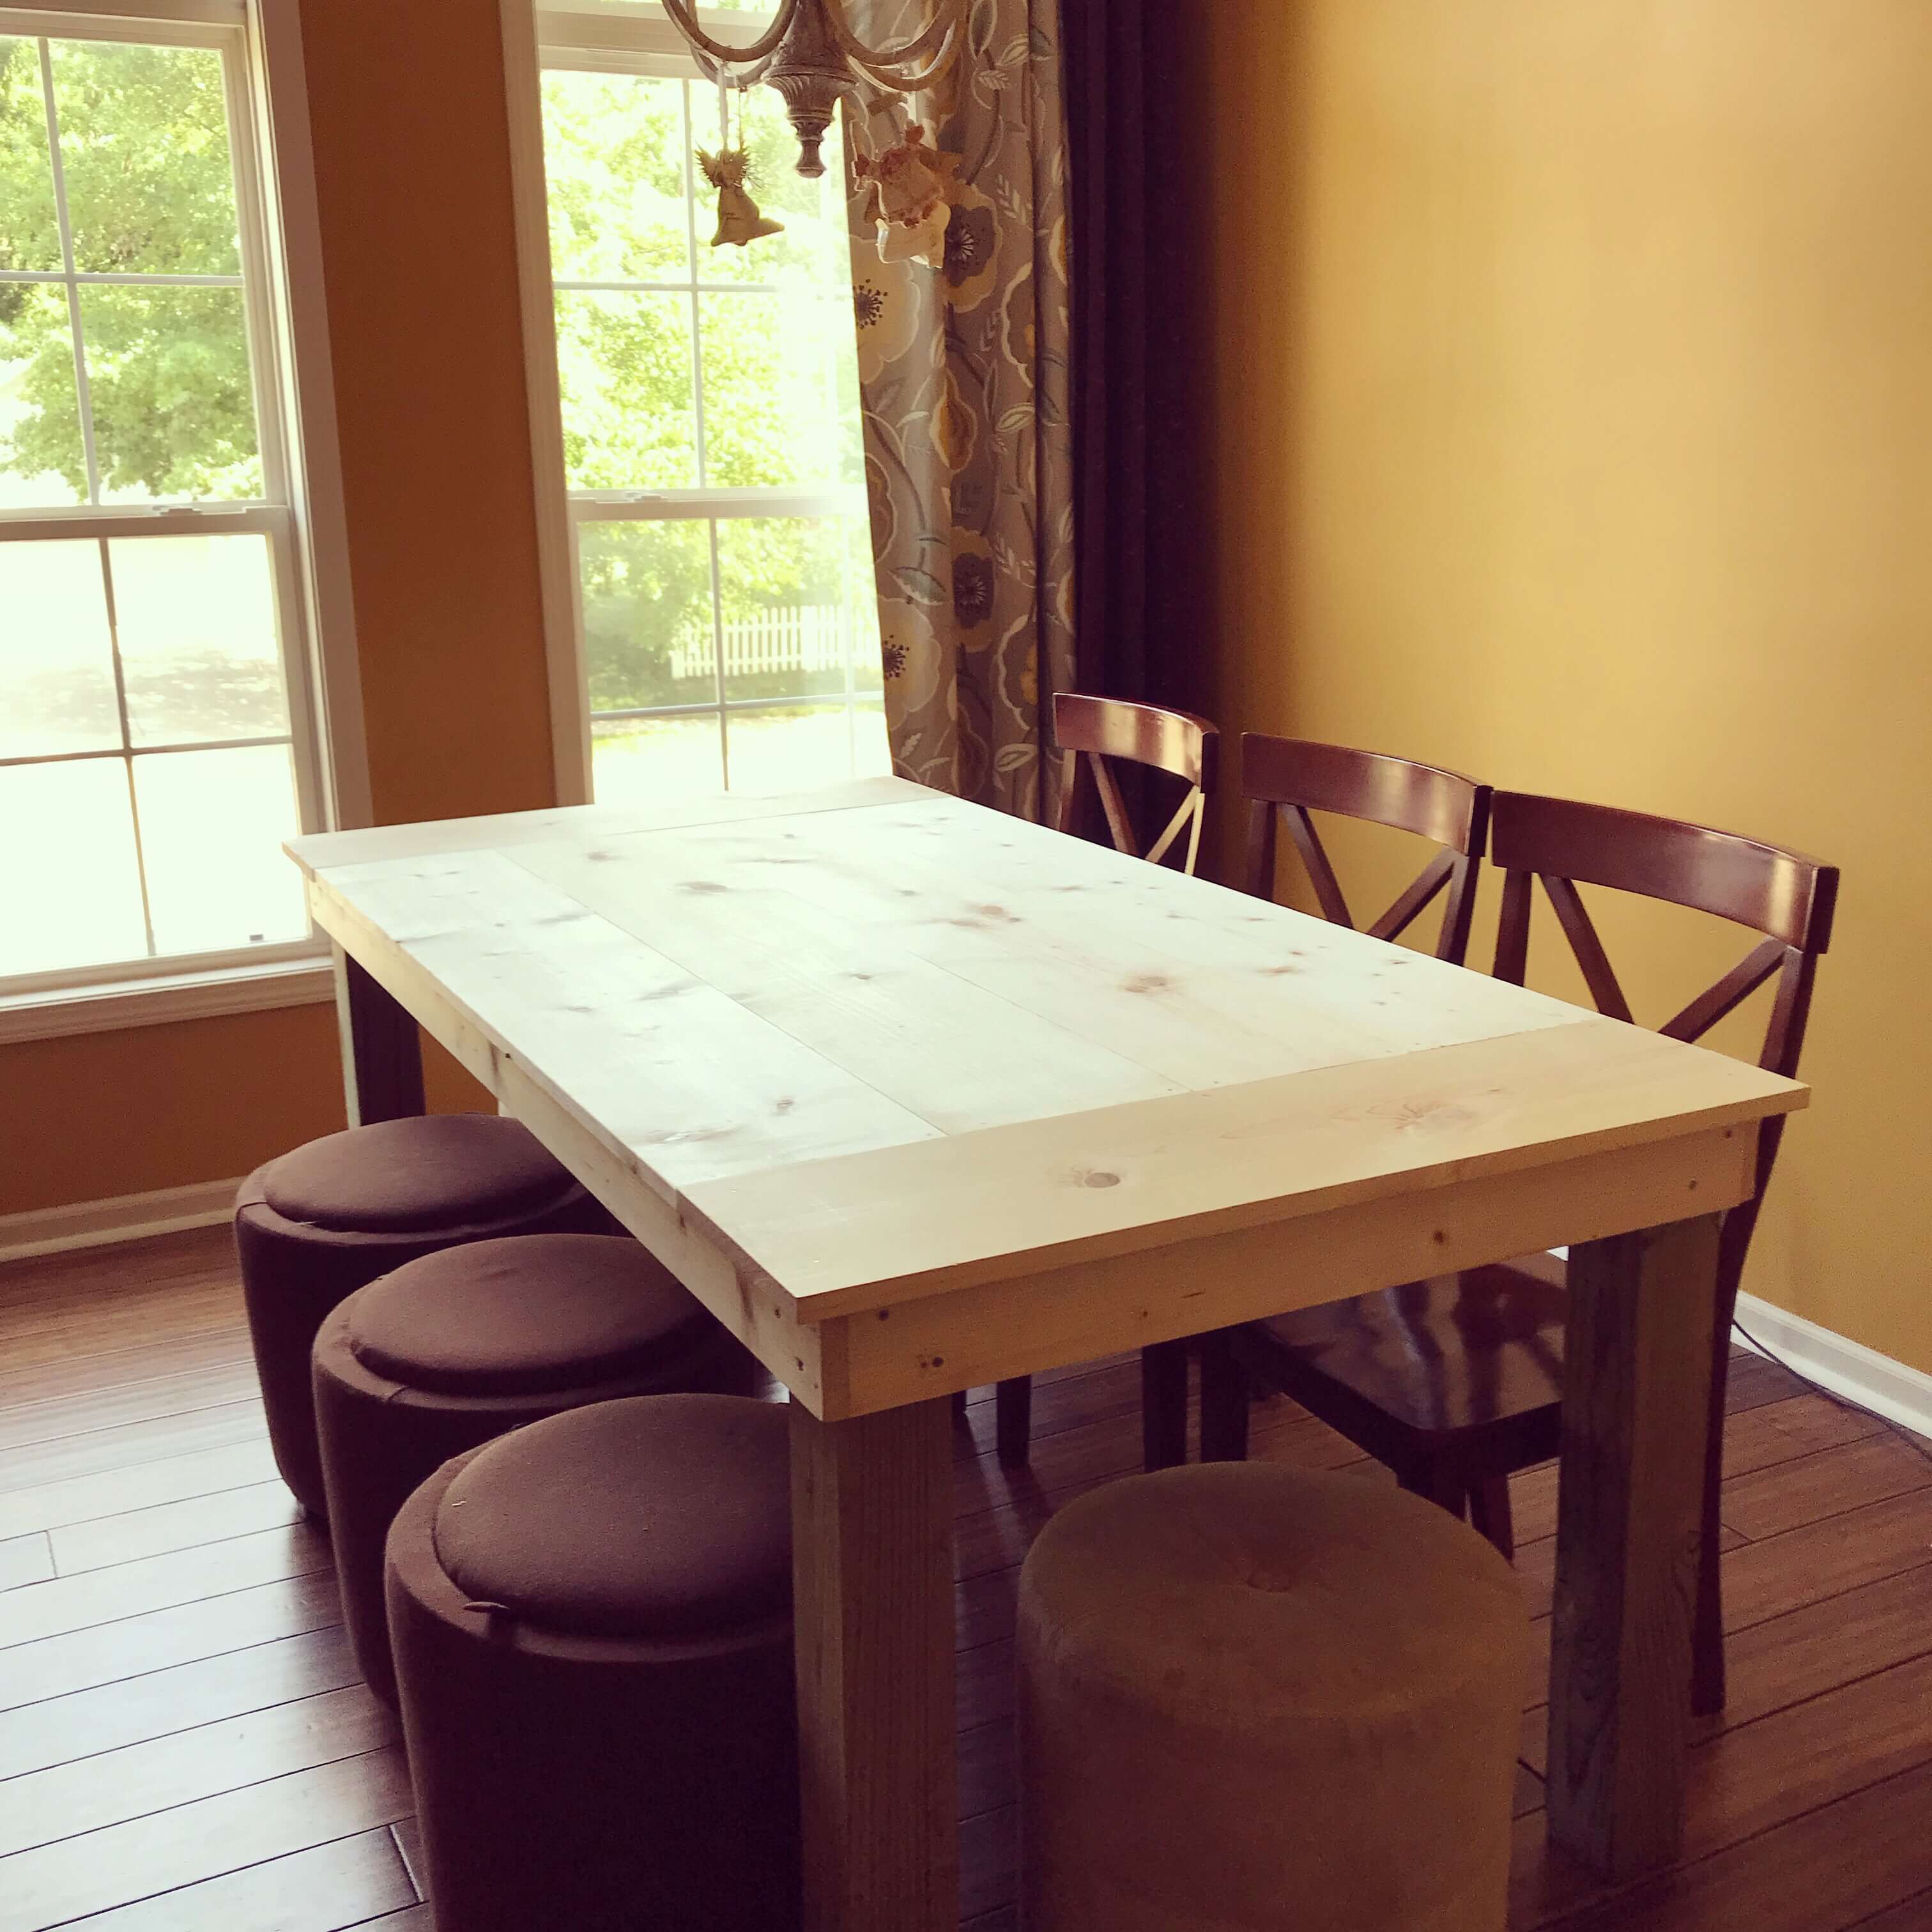
So you now have a farmhouse table with unfinished wood. (If you don’t and want to make your own, get instructions here. Or if you have any project with unfinished wood, read on for simple instructions to finish it.)
That table wood definitely needs to be finished before use. Otherwise, you’re going to stain or scratch the table with things that you did not want to stain and scratch it with. Like food, crayons, water rings, milk, any liquids soaking into your nice new table… You get the point. These are things you definitely don’t want messing up your beautiful new table before the wood has been finished.
So before you get too excited and start partying with your new table, let’s finish it so it will last for years.
What are your next steps? There are three simple steps to finish your unfinished wood.
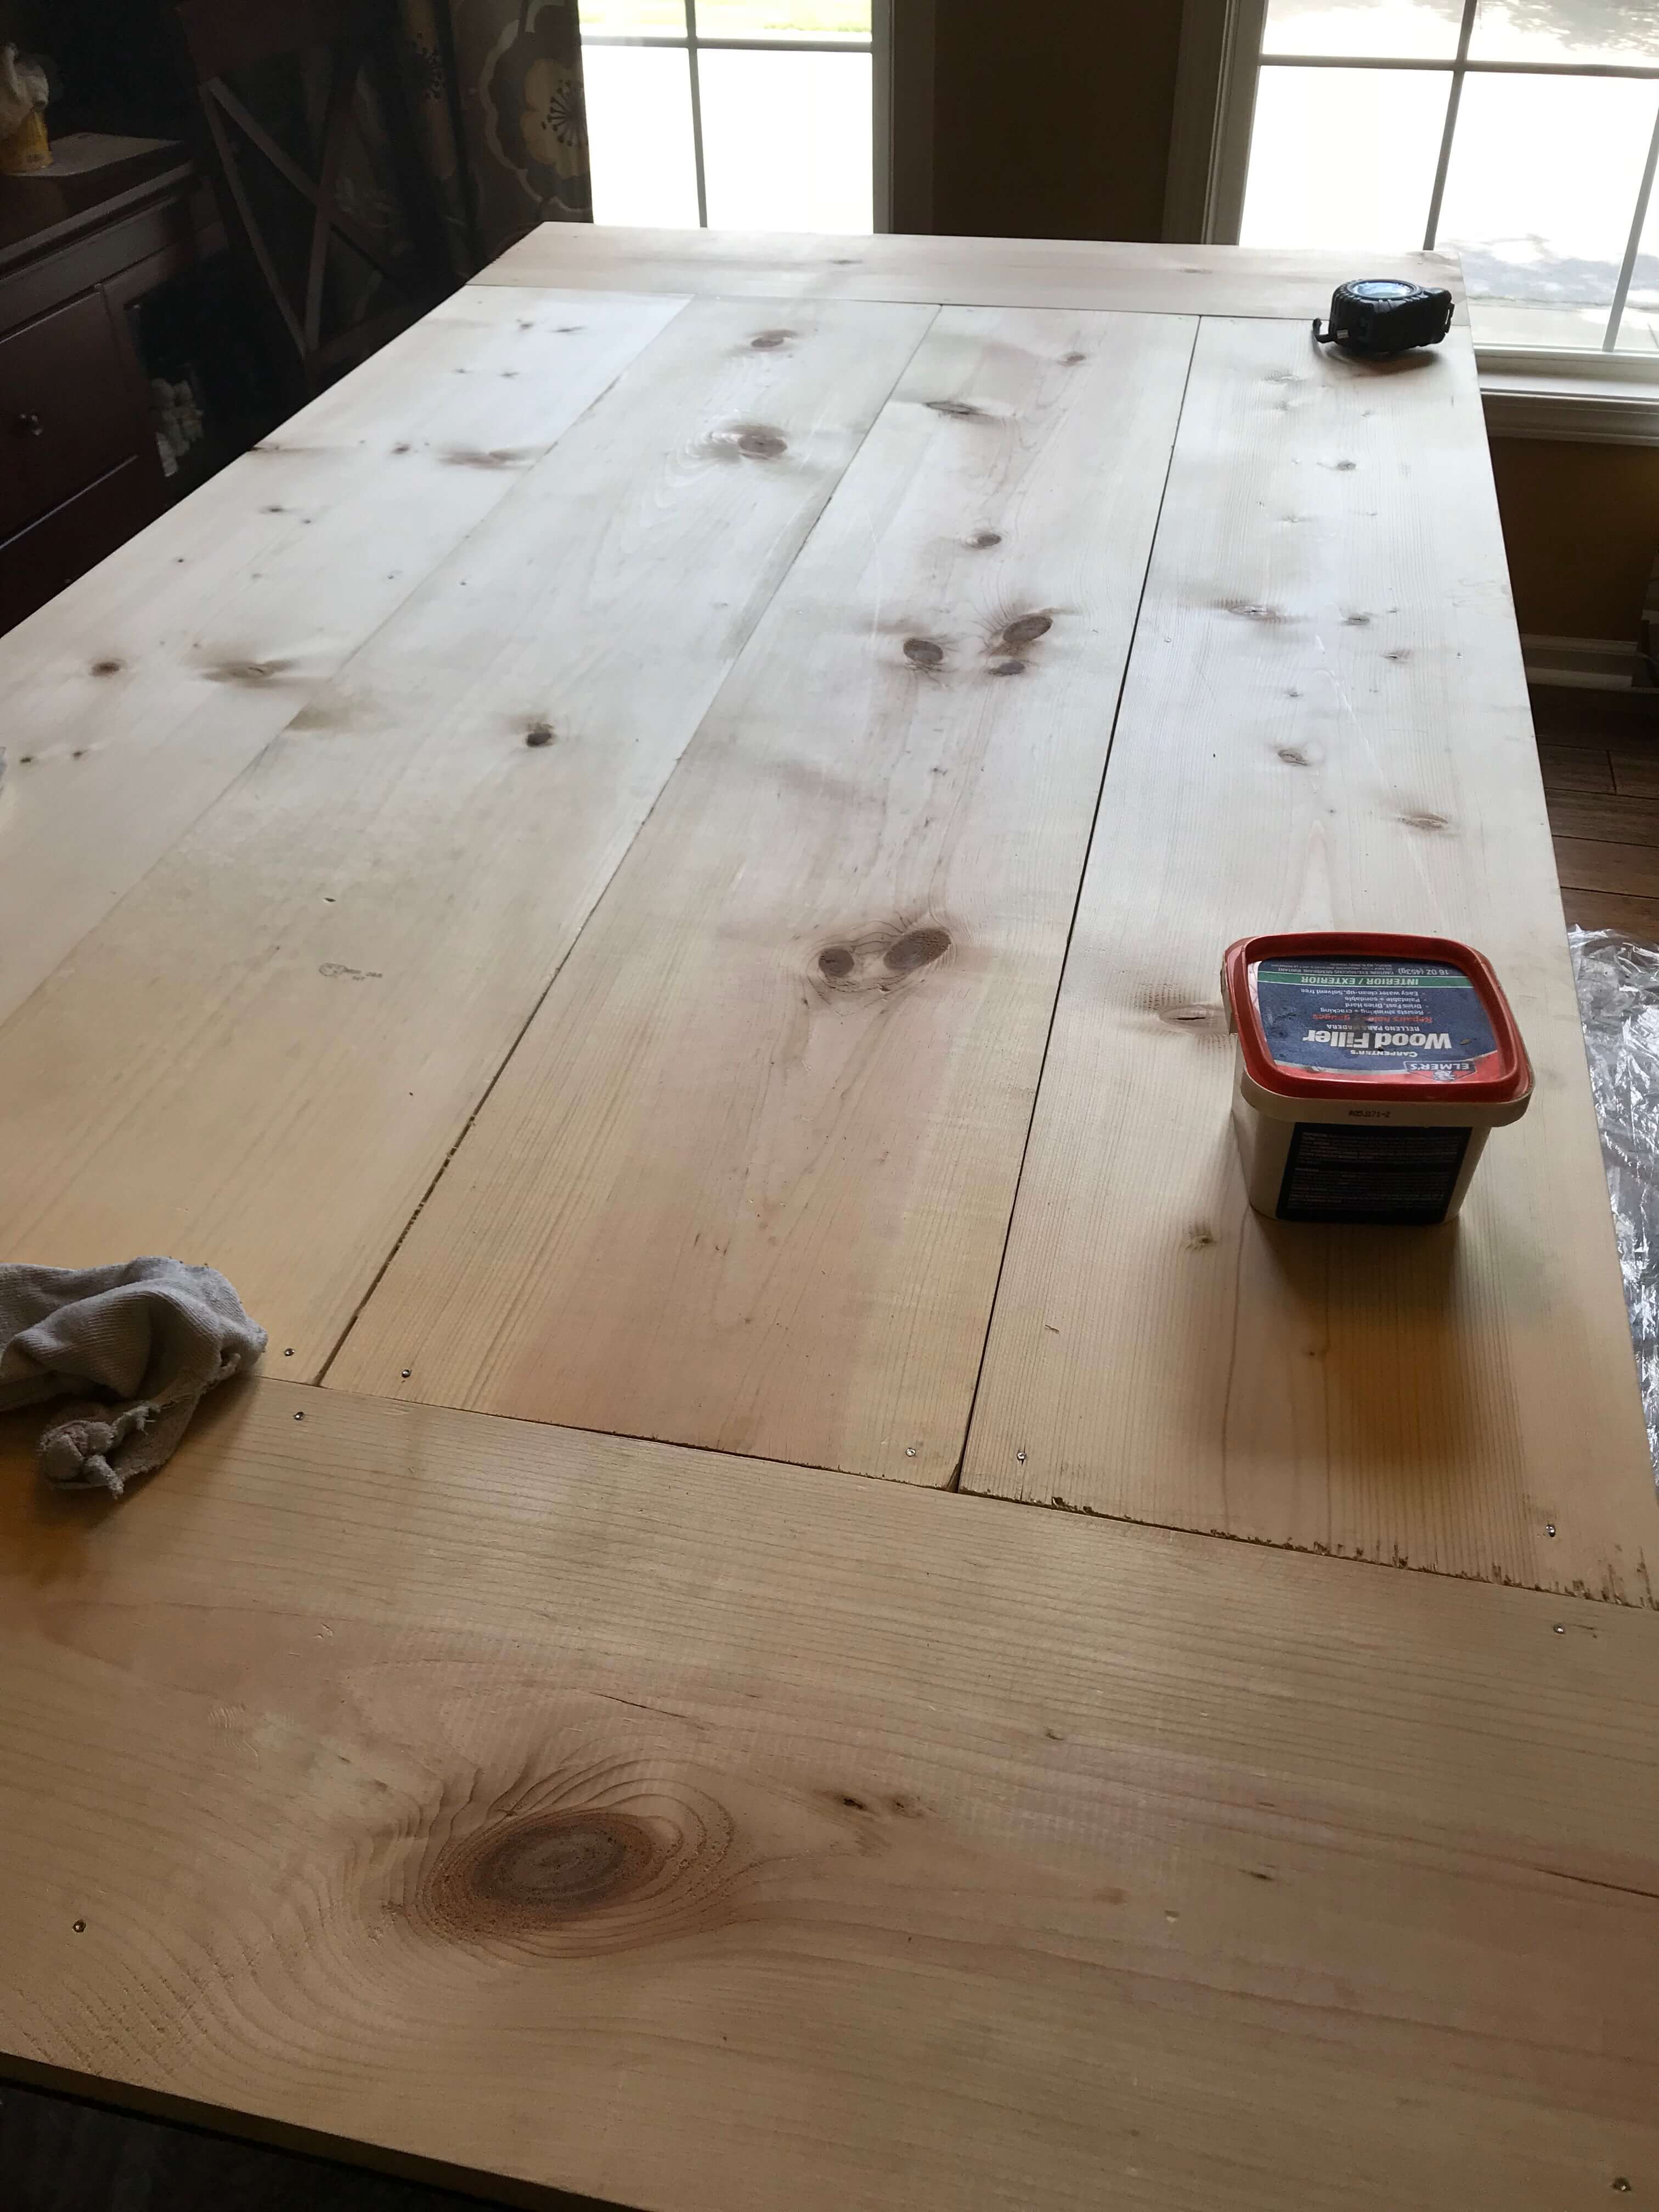
Step 1: Fill Cracks with Wood Filler
This is an optional step. If you have any large cracks between the boards or divots in the wood that need to be filled, adding wood filler will be your first step. Otherwise, skip to step 2.
Get a little container of wood filler like in the picture below, a putty scraper, and a wet rag. I use old burp cloths and old socks for rags at my house.
Frugal Thumb Tip: Don’t ever buy rags. Old worn out clothes are free rags!
Use your fingers to rub the wood filler into the cracks and then get rid of as much excess as you can with the paint scraper.
At this point, you’ll still have some wood filler that needs to be cleaned off. Use the wet rag to wipe the area down and get it looking nice and finished. Be sure to ring out the wet rag so it’s not drippy when you’re wiping down the table. Rinse and repeat as needed.
Continue until all of the cracks are filled and then let it all dry.
It’s easier to show you how I used the wood filler than to describe it so here’s a little video:
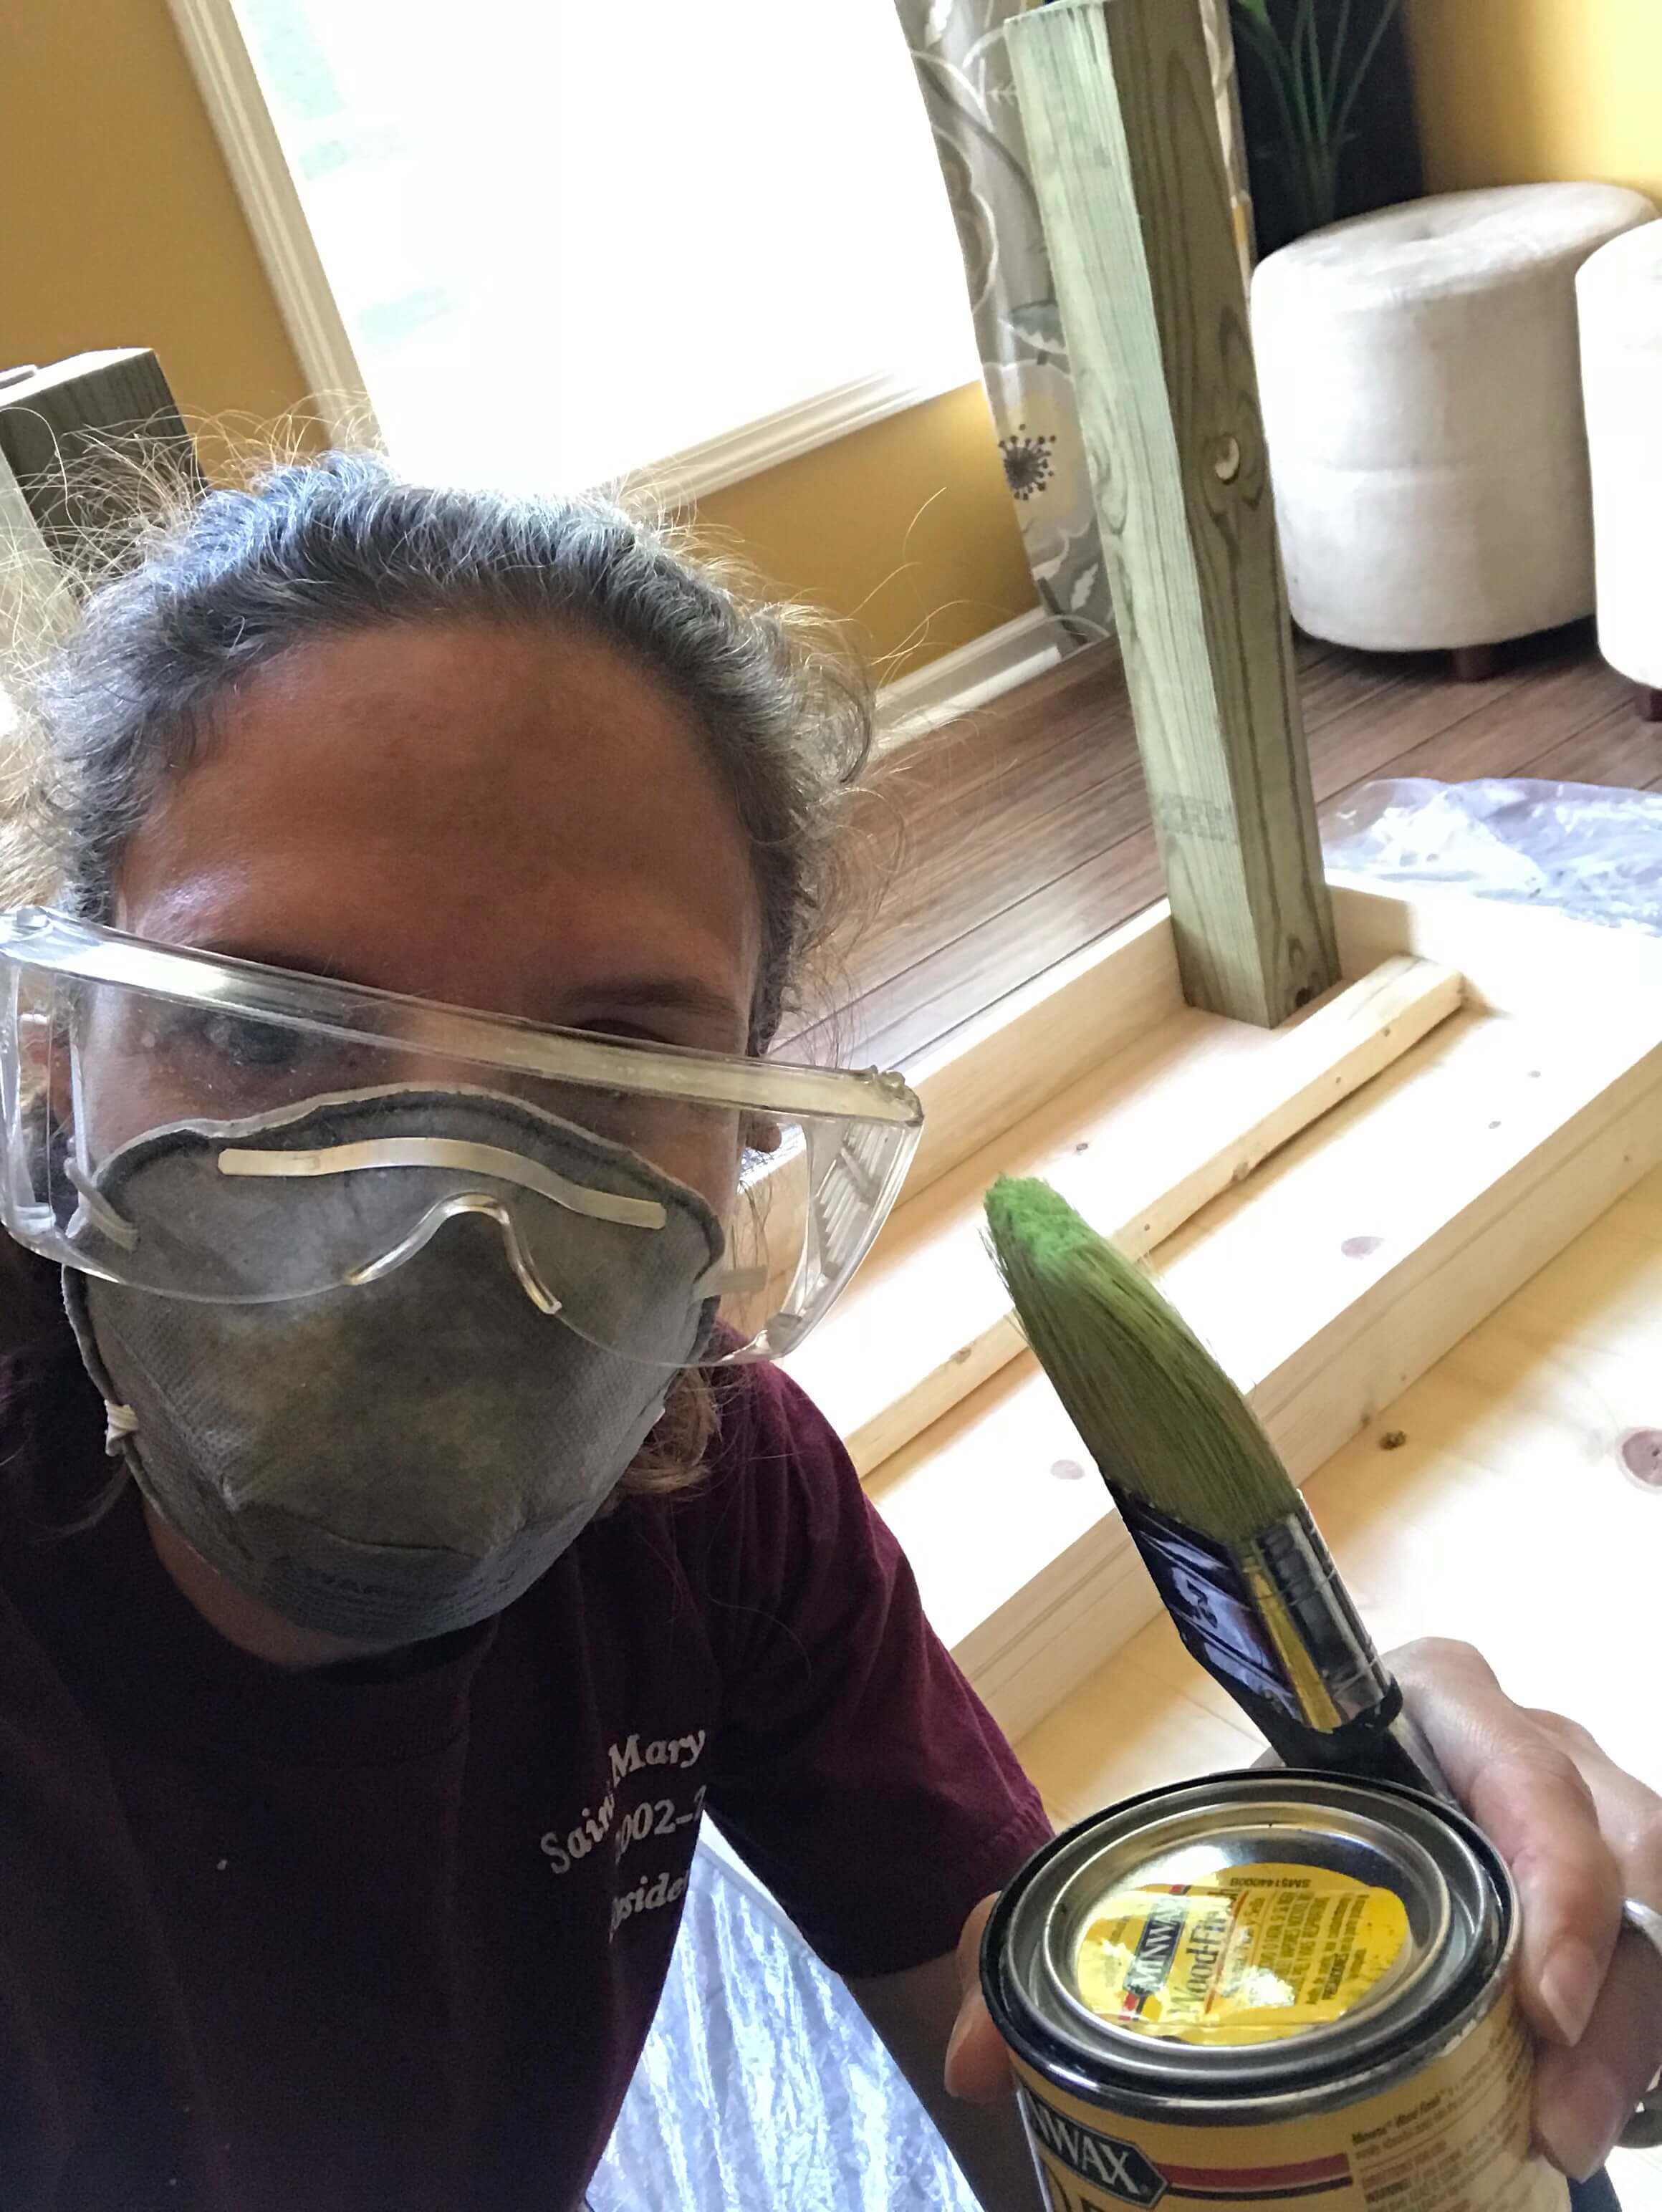
Step 2: Stain
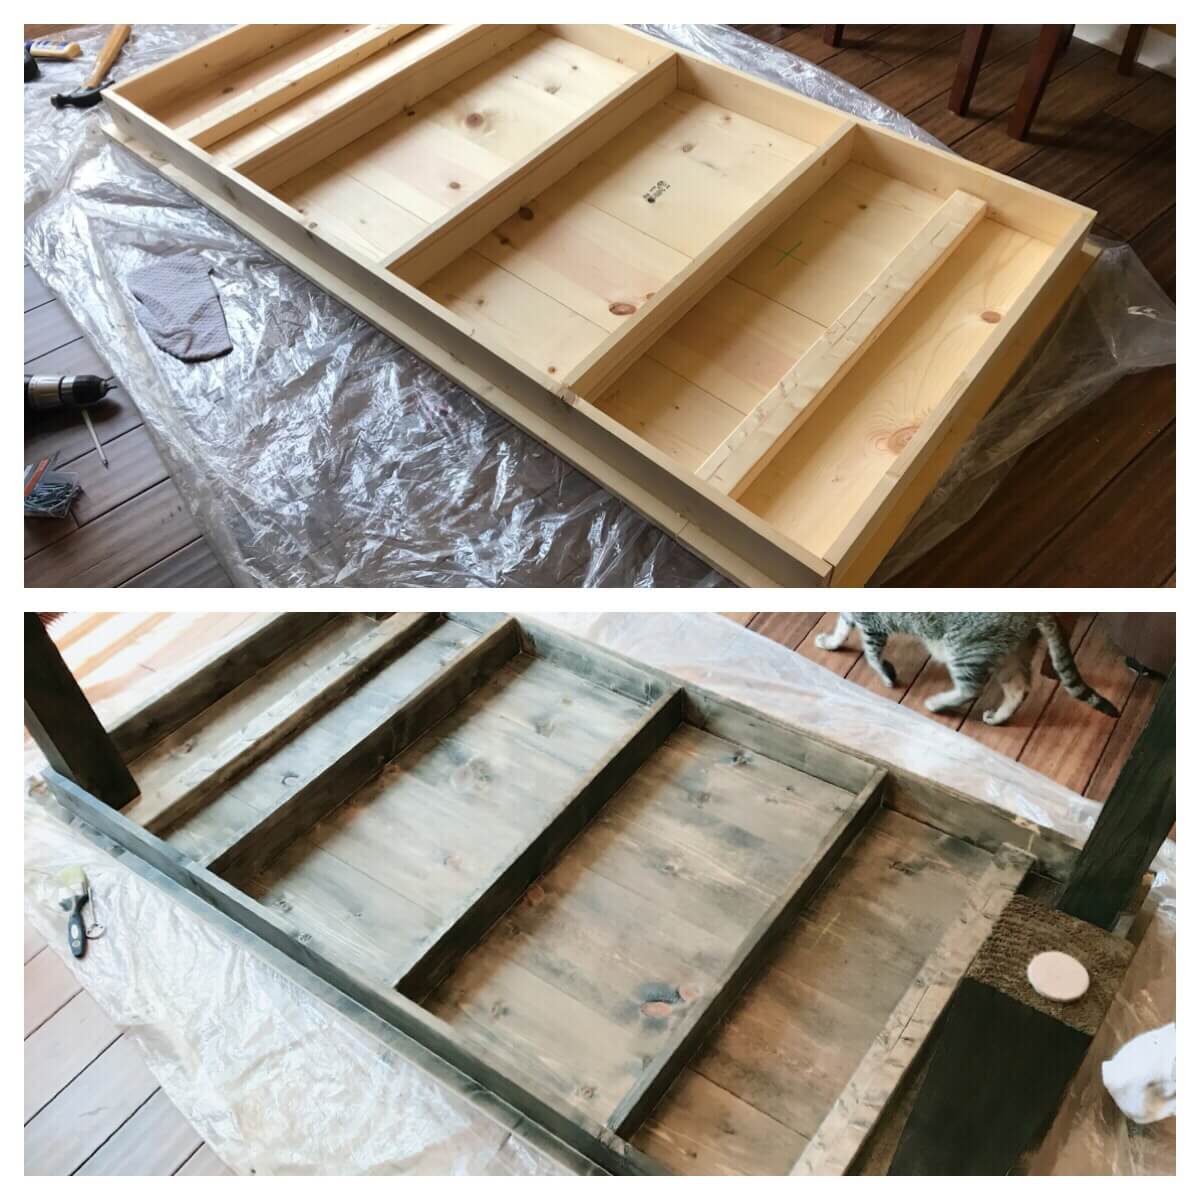
Flip your table over and stain the bottom first. This way you’ll avoid any accidental marks on your table if you put the table upside down after staining the top.
LOL, I look like a crazy person when I’m staining, but it’s fun!
I recommend keeping a few dry rags handy while you’re staining so you can wipe off any excess and also rub in the stain to give it a nice even look.
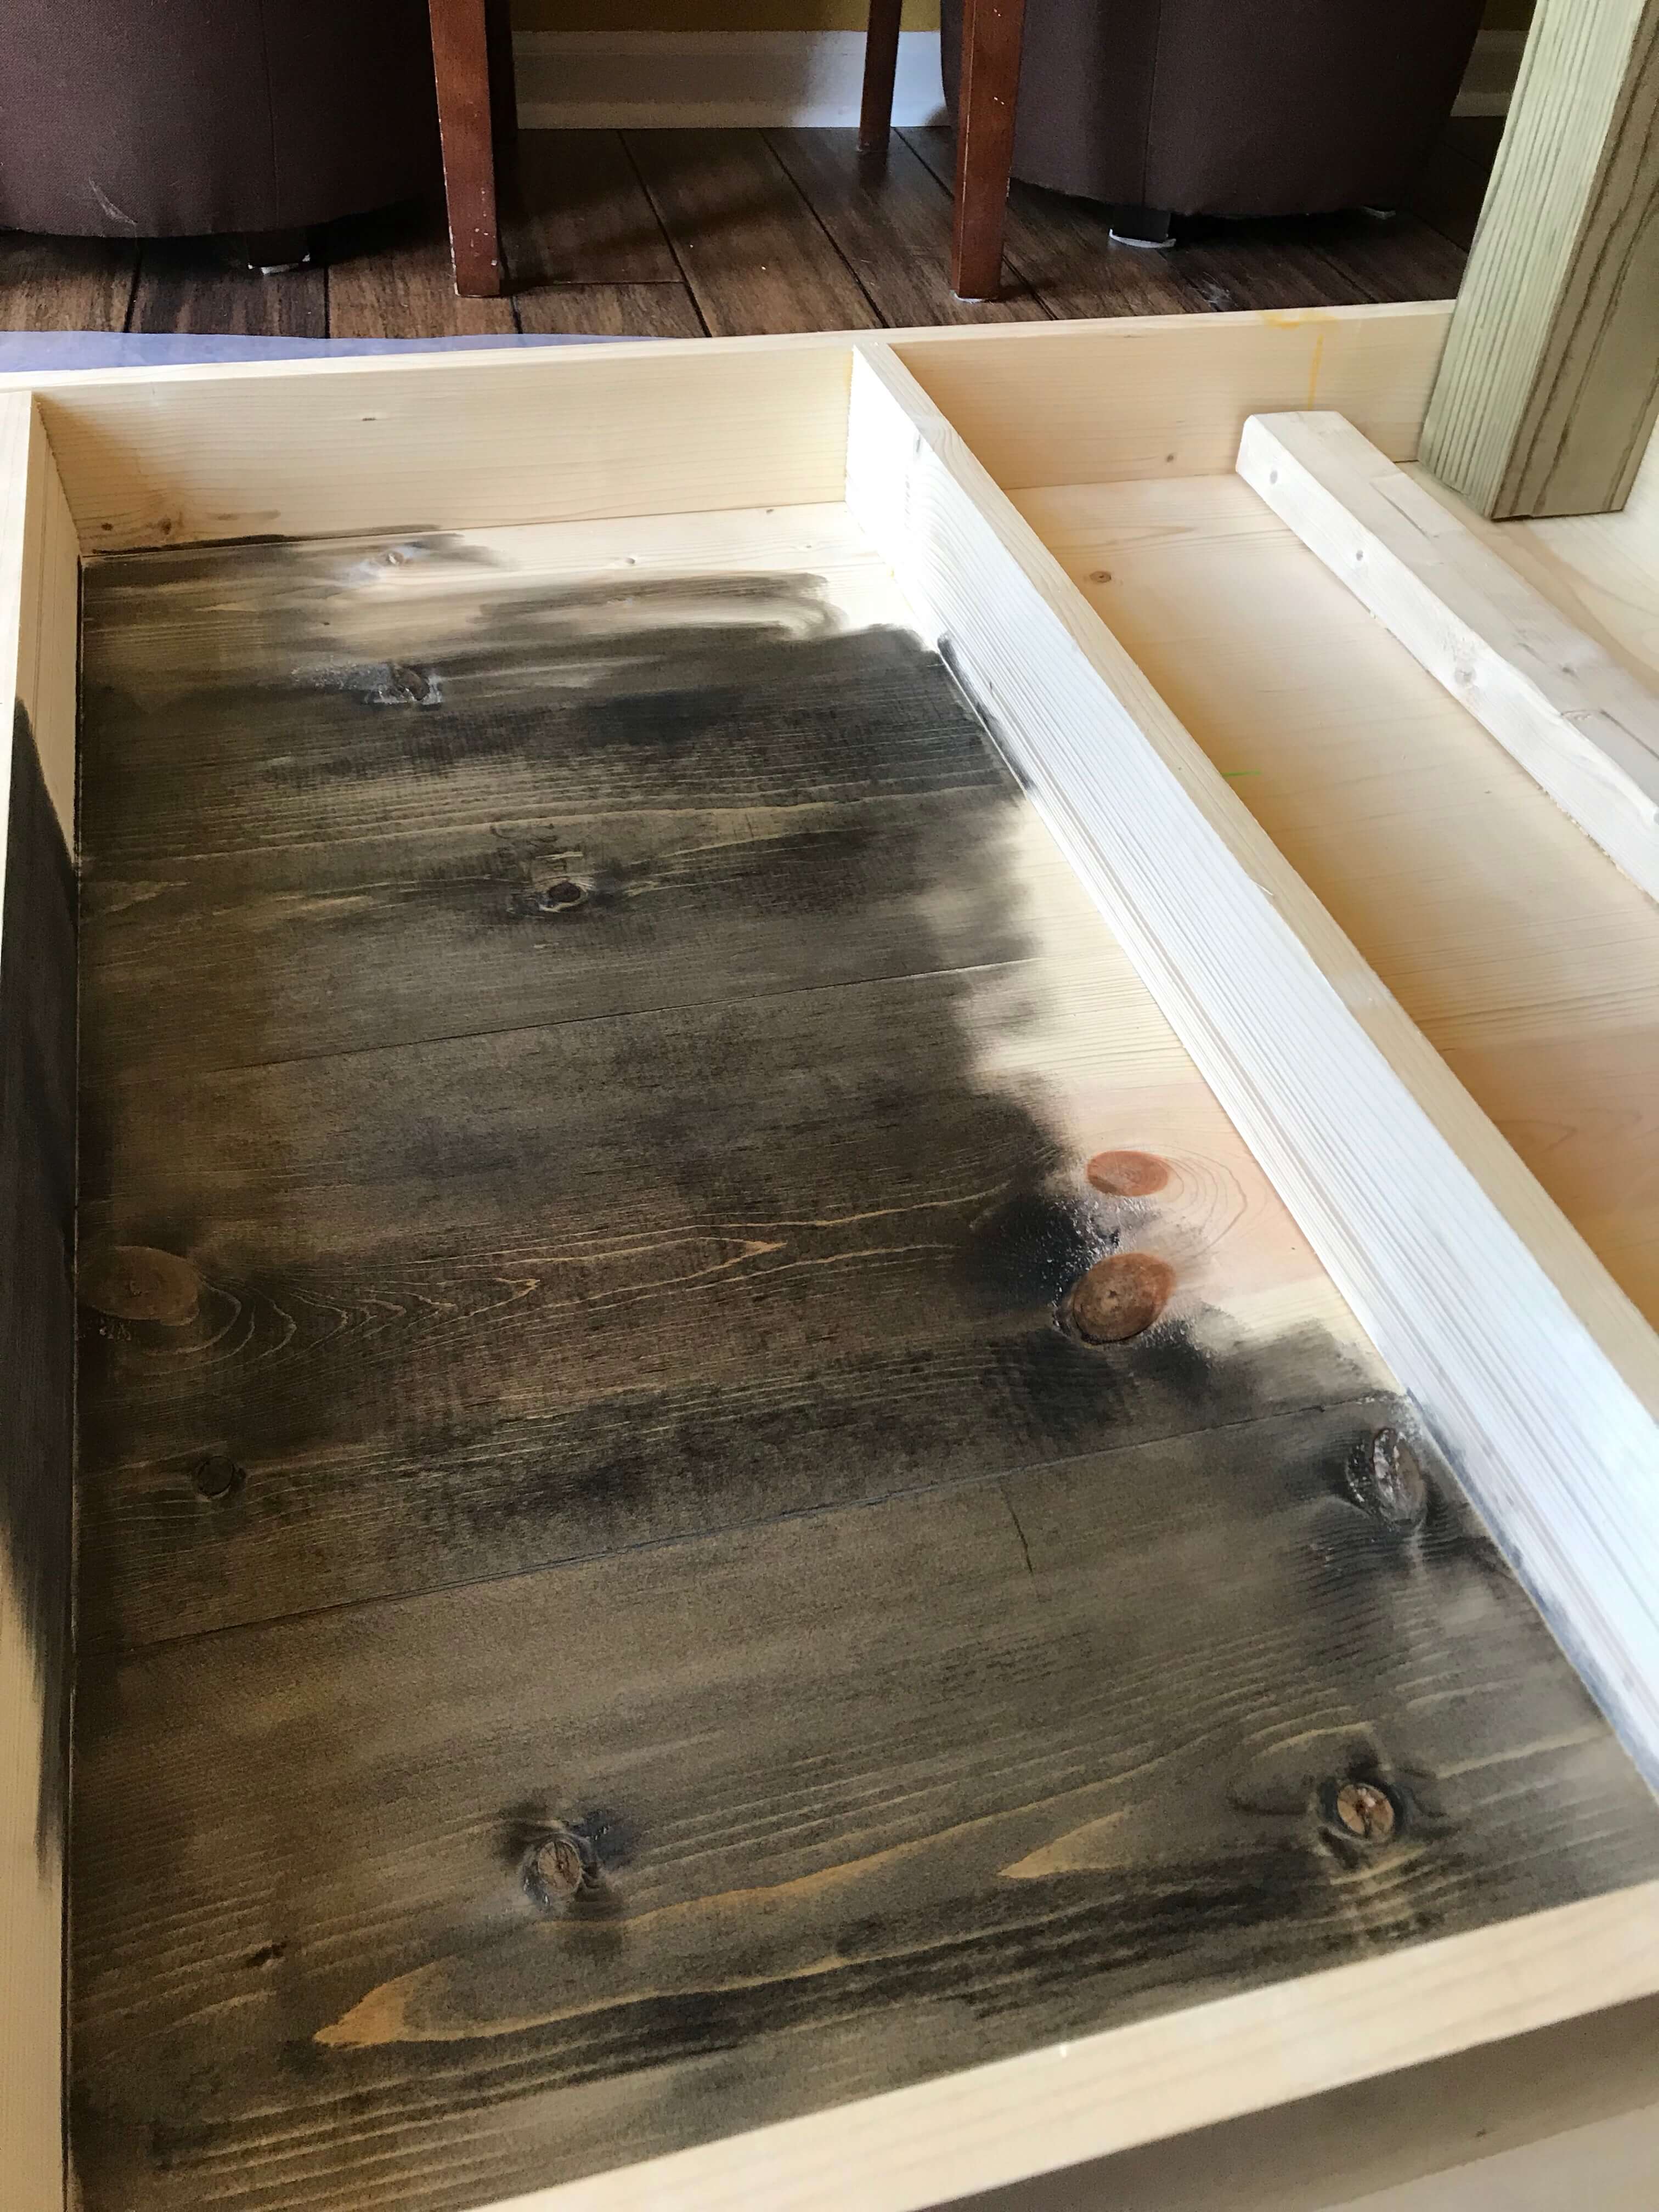
Below is the before and after photos of staining the legs and bottom of the table.
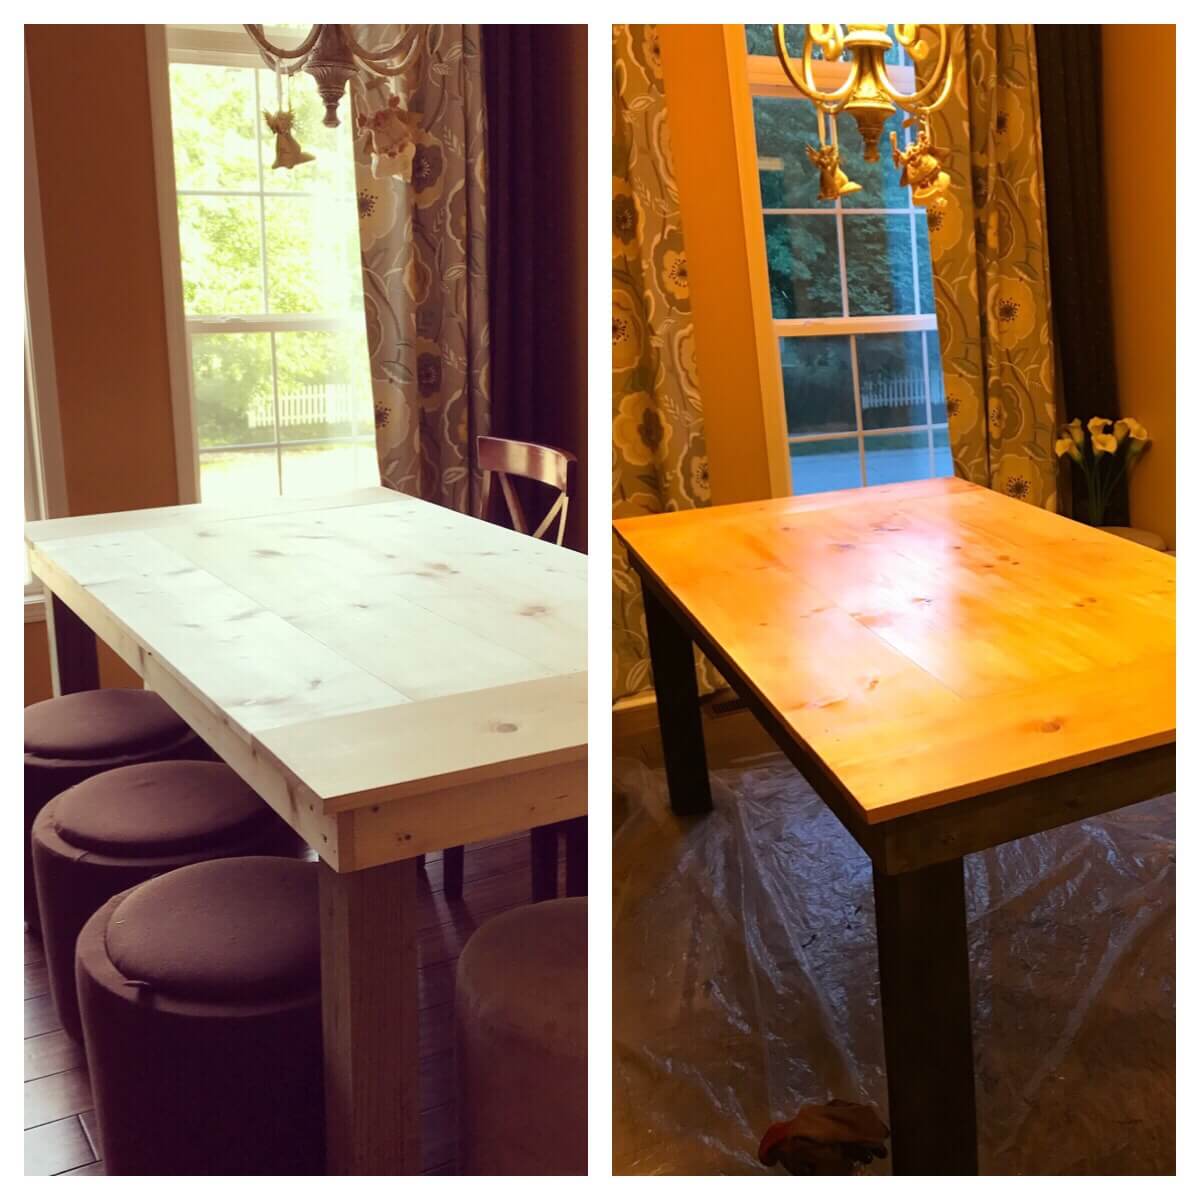
Once the stain dries, flip it over and stain the top of your table. I used a much lighter pecan color for the top of mine so it wouldn’t be a big expanse of dark and dreary in our dining room. I also did three layers of the lighter stain.
Step 3: Polyeurethane
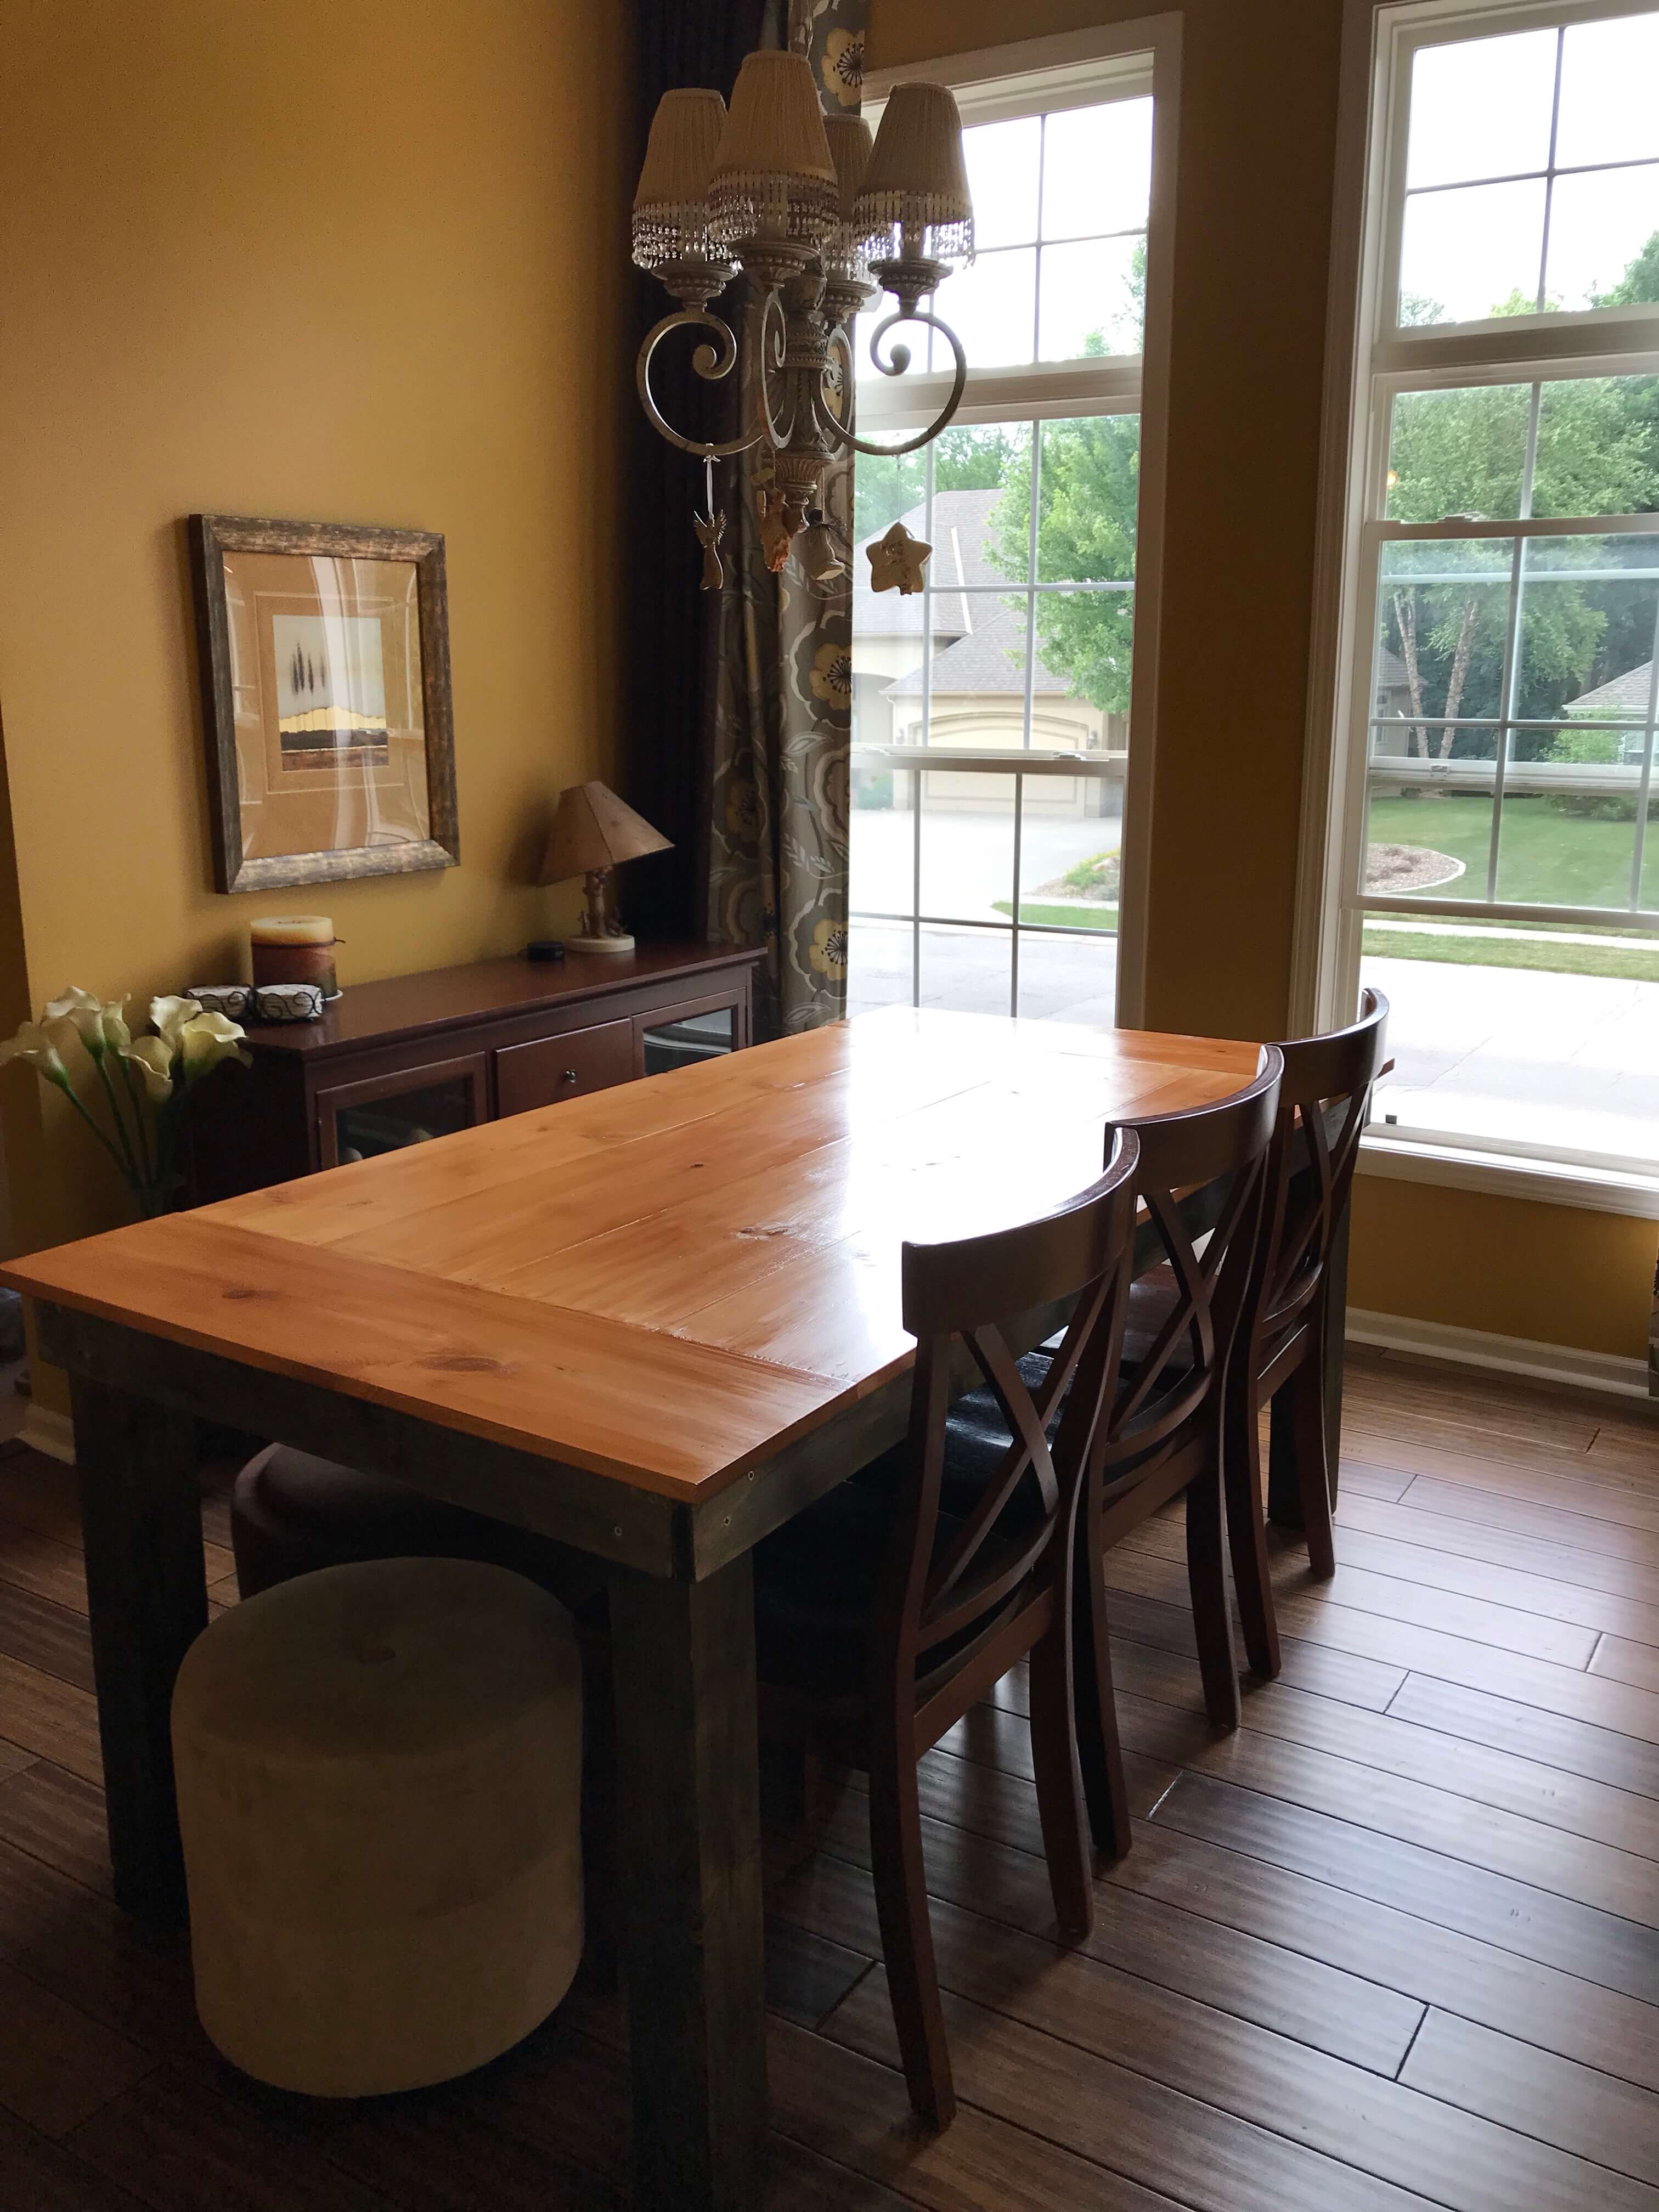
Finish off the table with a layer or two of polyurethane on the top. This gives it the shiny finished look and protects the wood.
Here’s the before and after of the unfinished to finished wood. I did this project in a day, fellow frugal thumbs! So you can totally do it too and never have to spend a fortune on a big dining table again.
And that completes this tutorial on making your own farmhouse table for $75. Now it’s time to throw a party and show it off!
If you give this project a try, please let me know how it went in the comments. I love hearing about people’s budget-saving DIY projects!!!
One comment