This post may contain affiliate links, meaning, at no additional cost to you, I will earn a commission if you click through and make a qualifying purchase.
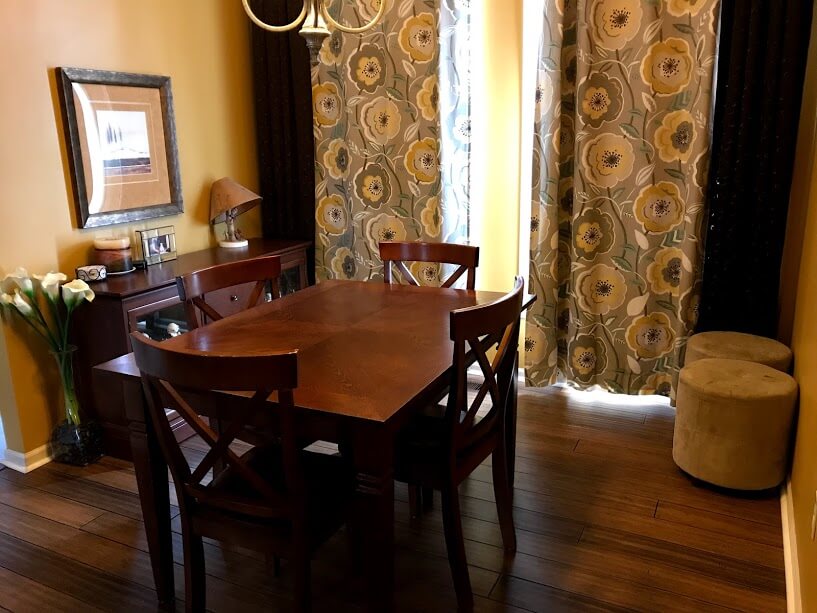
Our family dining table seated only 4 people comfortably. If we had any guests, it was embarrassingly small. We’d have to set up a folding table to make enough room. You can see what I mean in the image below. That little dining table was bought for my first apartment after graduating from college. I think I bought it and the dining room chairs for about $200 from Kmart nearly a decade and a half ago!
So I did some research on bigger farmhouse dining tables that could seat at least 8 people comfortably. Whoa! Are they expensive! We’re talking $800 on the cheap end.
This seemed like a great time for a DIY project.
And it was.
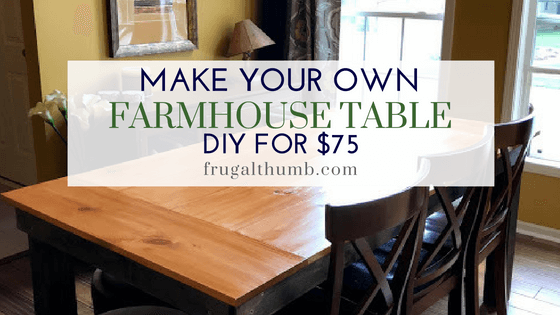
I made a new farmhouse table for our dining room for about $75. Read on for the details.

The first thing I did was find a good farmhouse table tutorial that I could follow. And below is the winning YouTube video. I now love these people! I think my supplies cost more because of inflation? *shrug*
If I could successfully make the table for only $75, it would still be a steal of a deal in my mind.
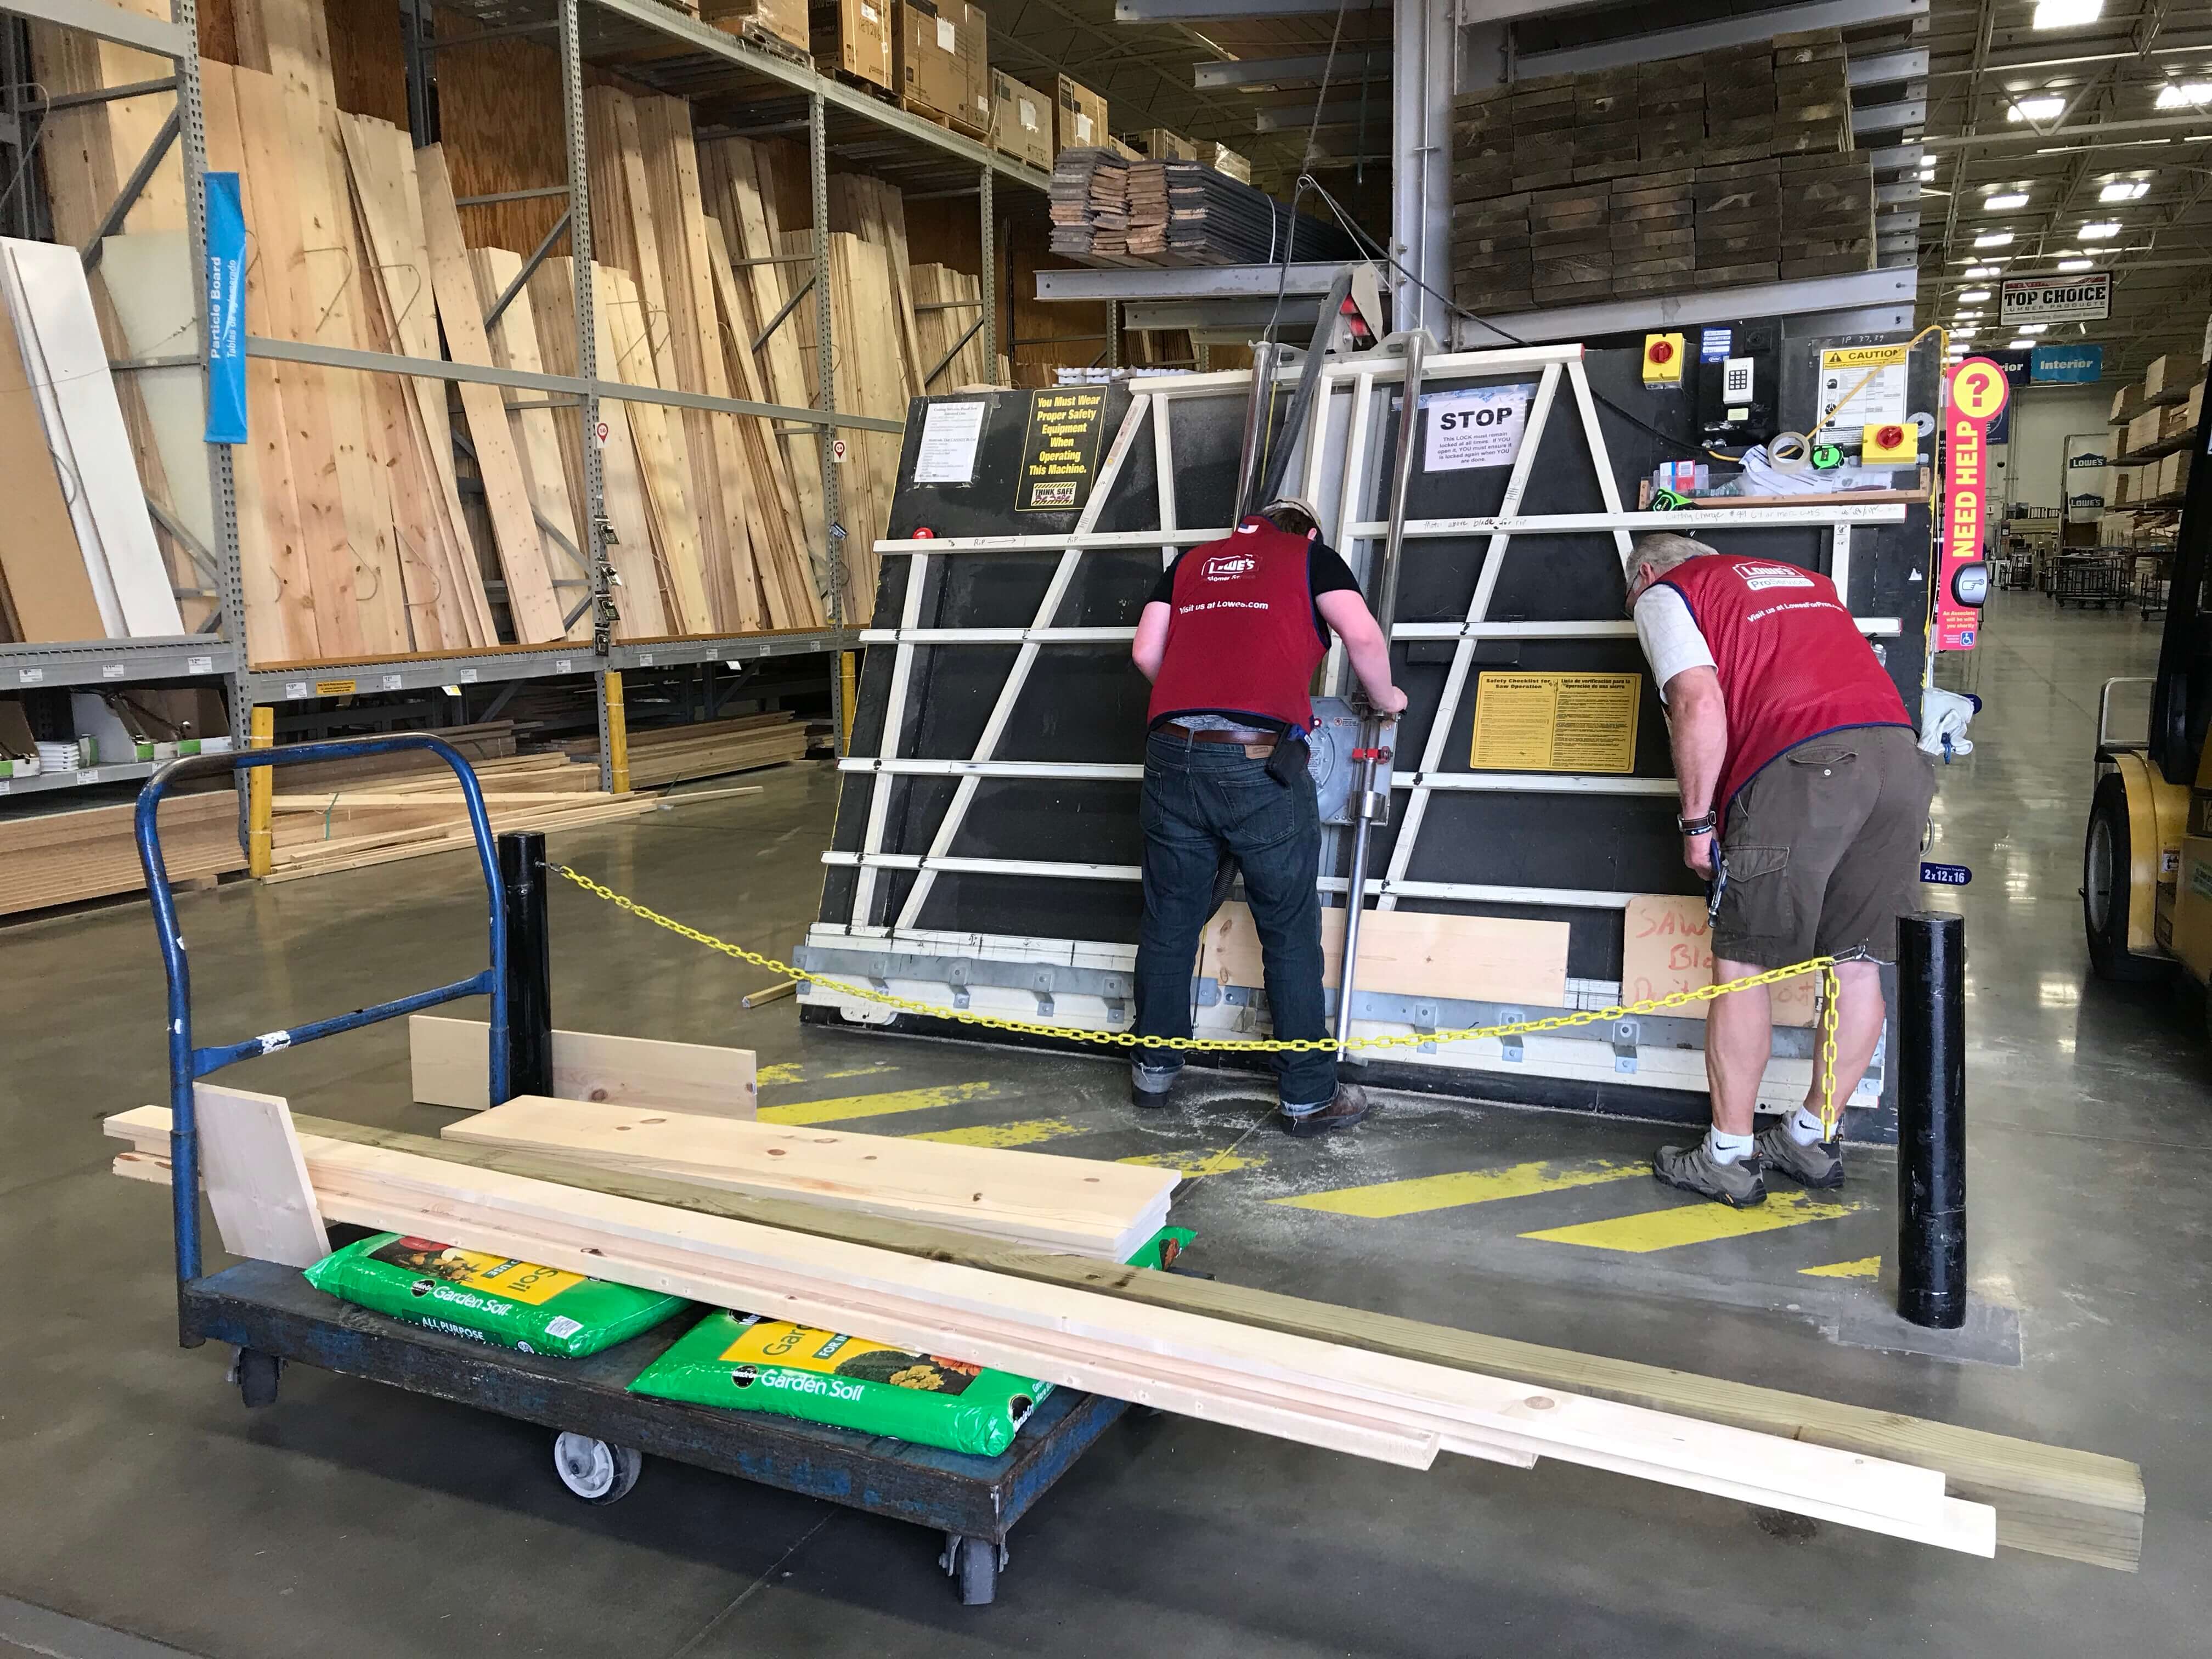
After taking notes on the wood and supplies that I needed, off I went to the hardware store to buy everything.
Frugal thumb tip: Get your wood cut at the store. It’s FREE and will save yourself a lot of time and effort (and avoid possible mess ups). I don’t know about you, but their big wood cutting board in the back of the store is way better quality than any of the cutting tools that I have at home!
All that wood also fits into my little car a lot better when it’s already cut. If for no other reason, that’s reason enough to get it pre-cut before hauling it all home.
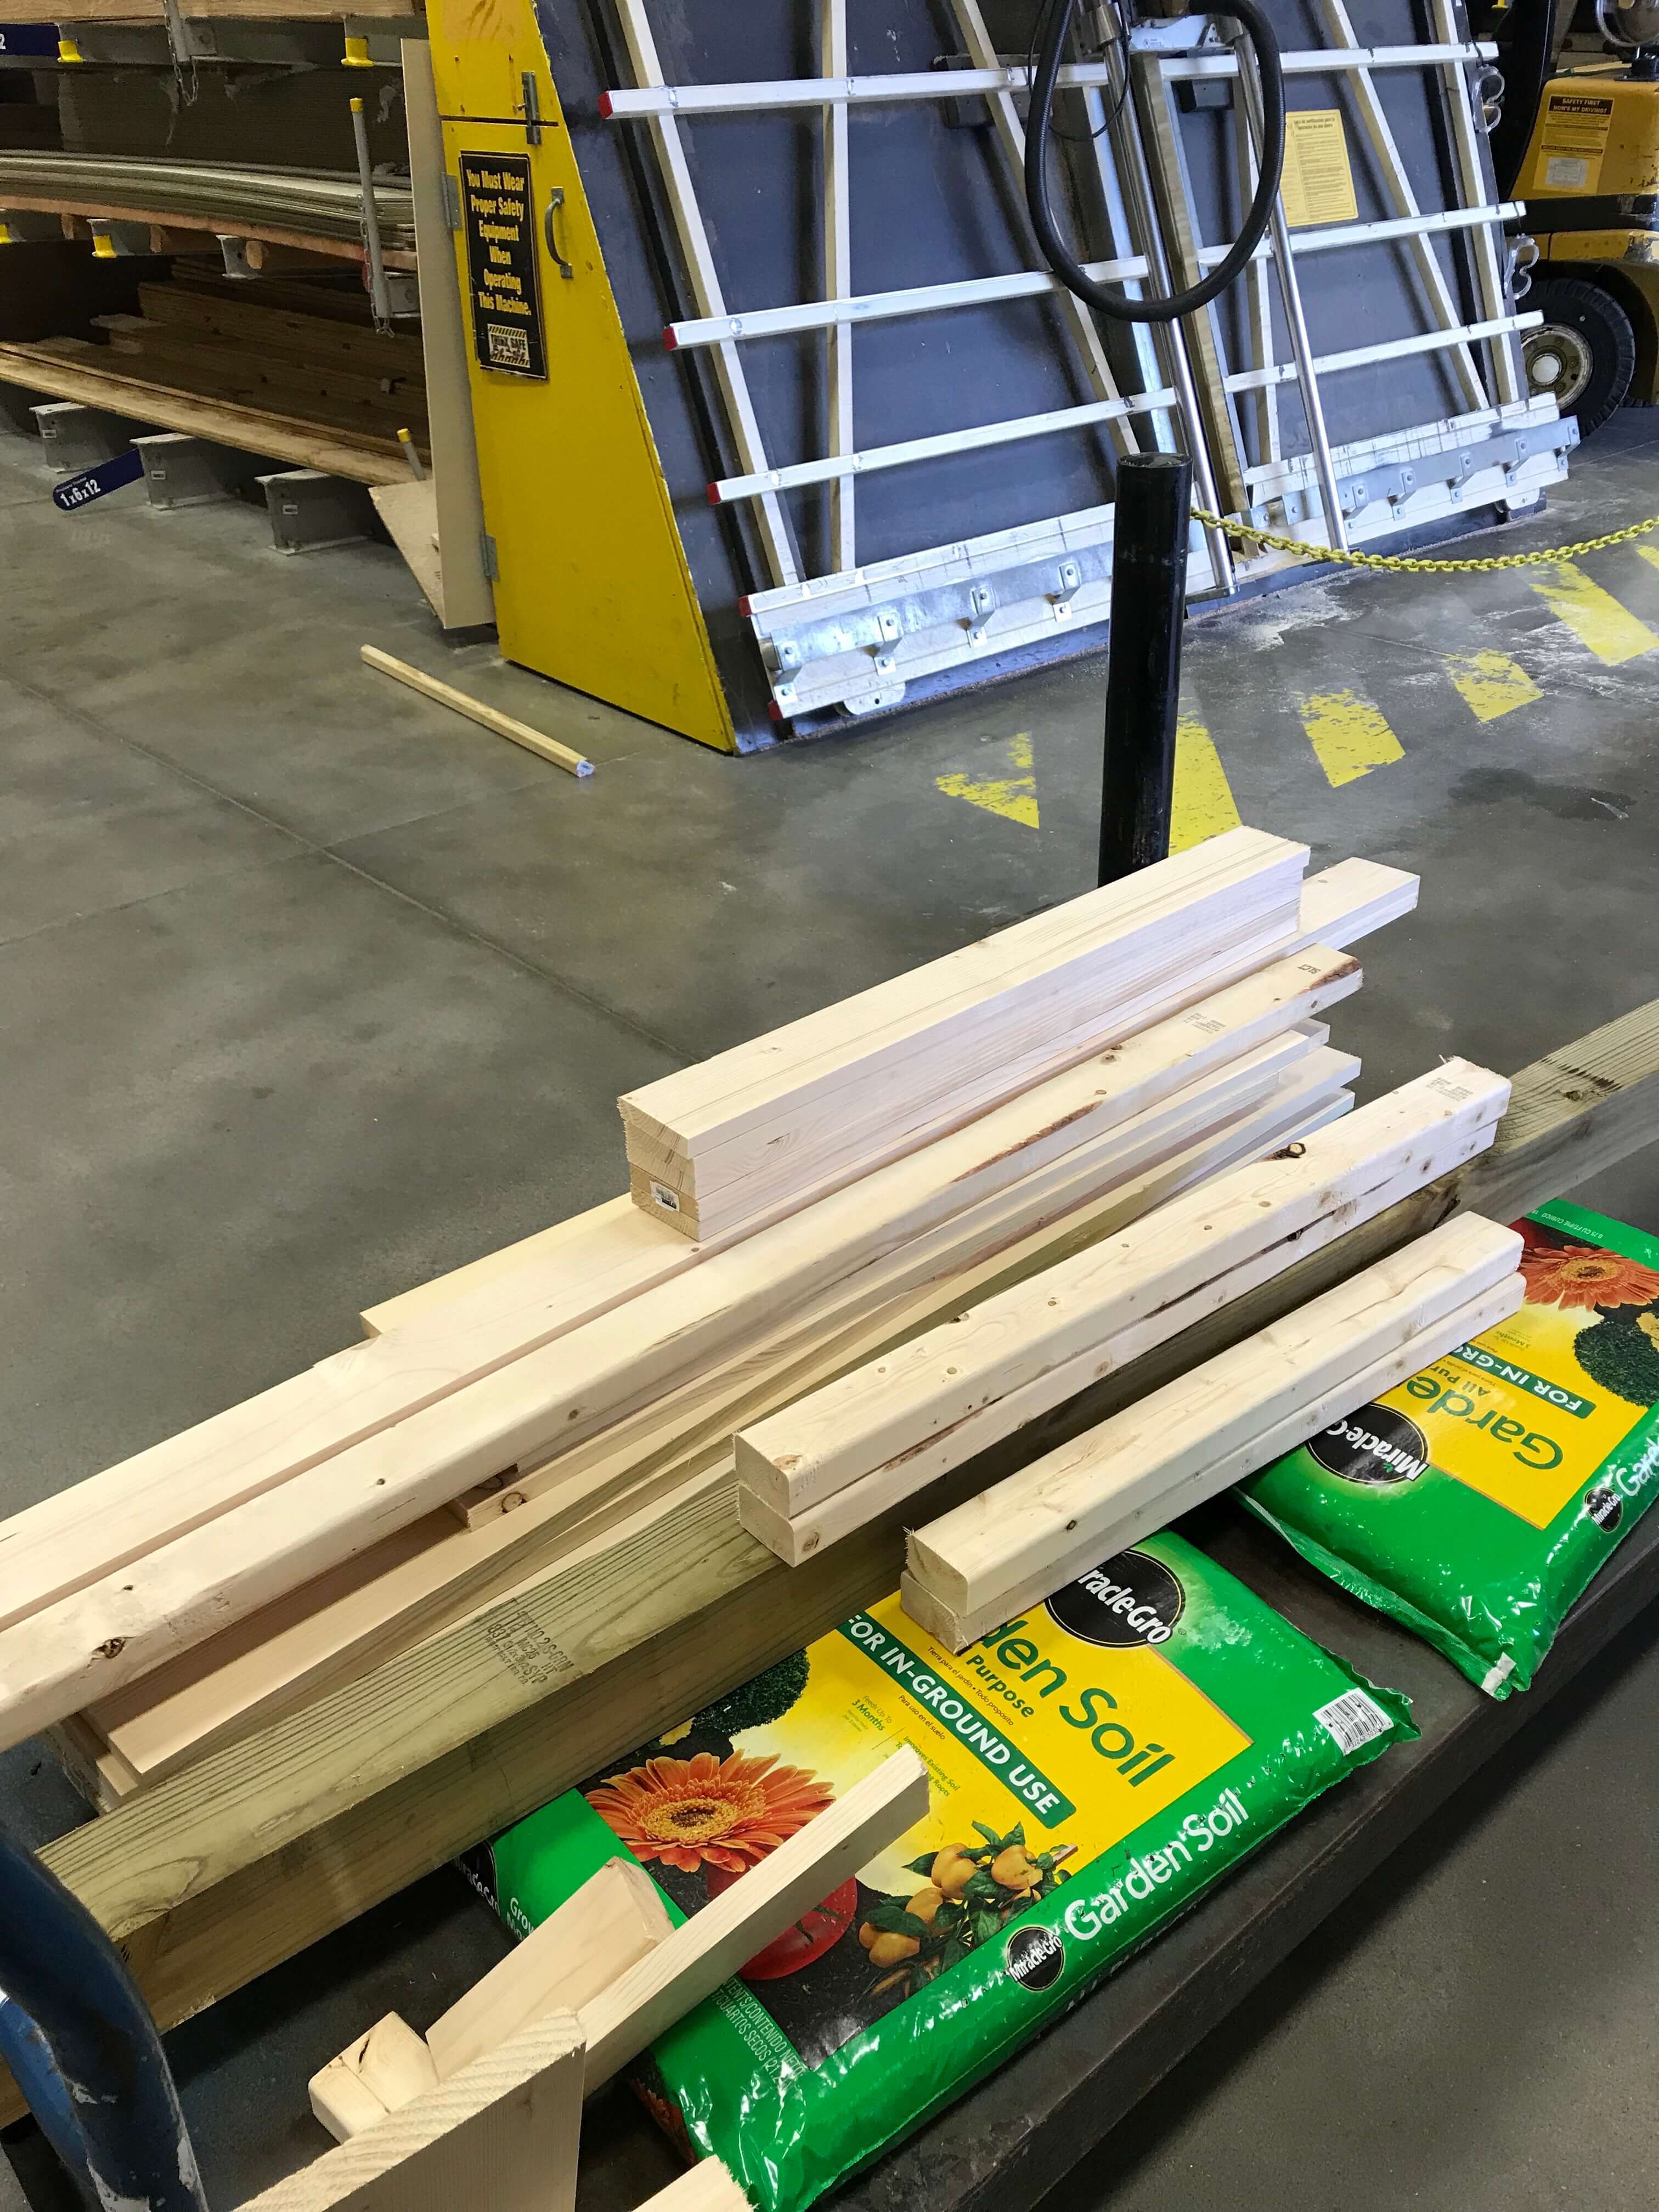
Here’s my pile of freshly cut wood:
Once I got it all home, it was time to start putting it all together. I cleared out the space in the living room, put down a plastic sheet, and started laying out the wood.
I basically followed the YouTube video exactly. It probably got a couple dozen more views just from me. Ha ha.
Rather than rehashing every step in the video, I’ll just let you watch the video for the details and share some of my photos below.
Making the frame of the table top:
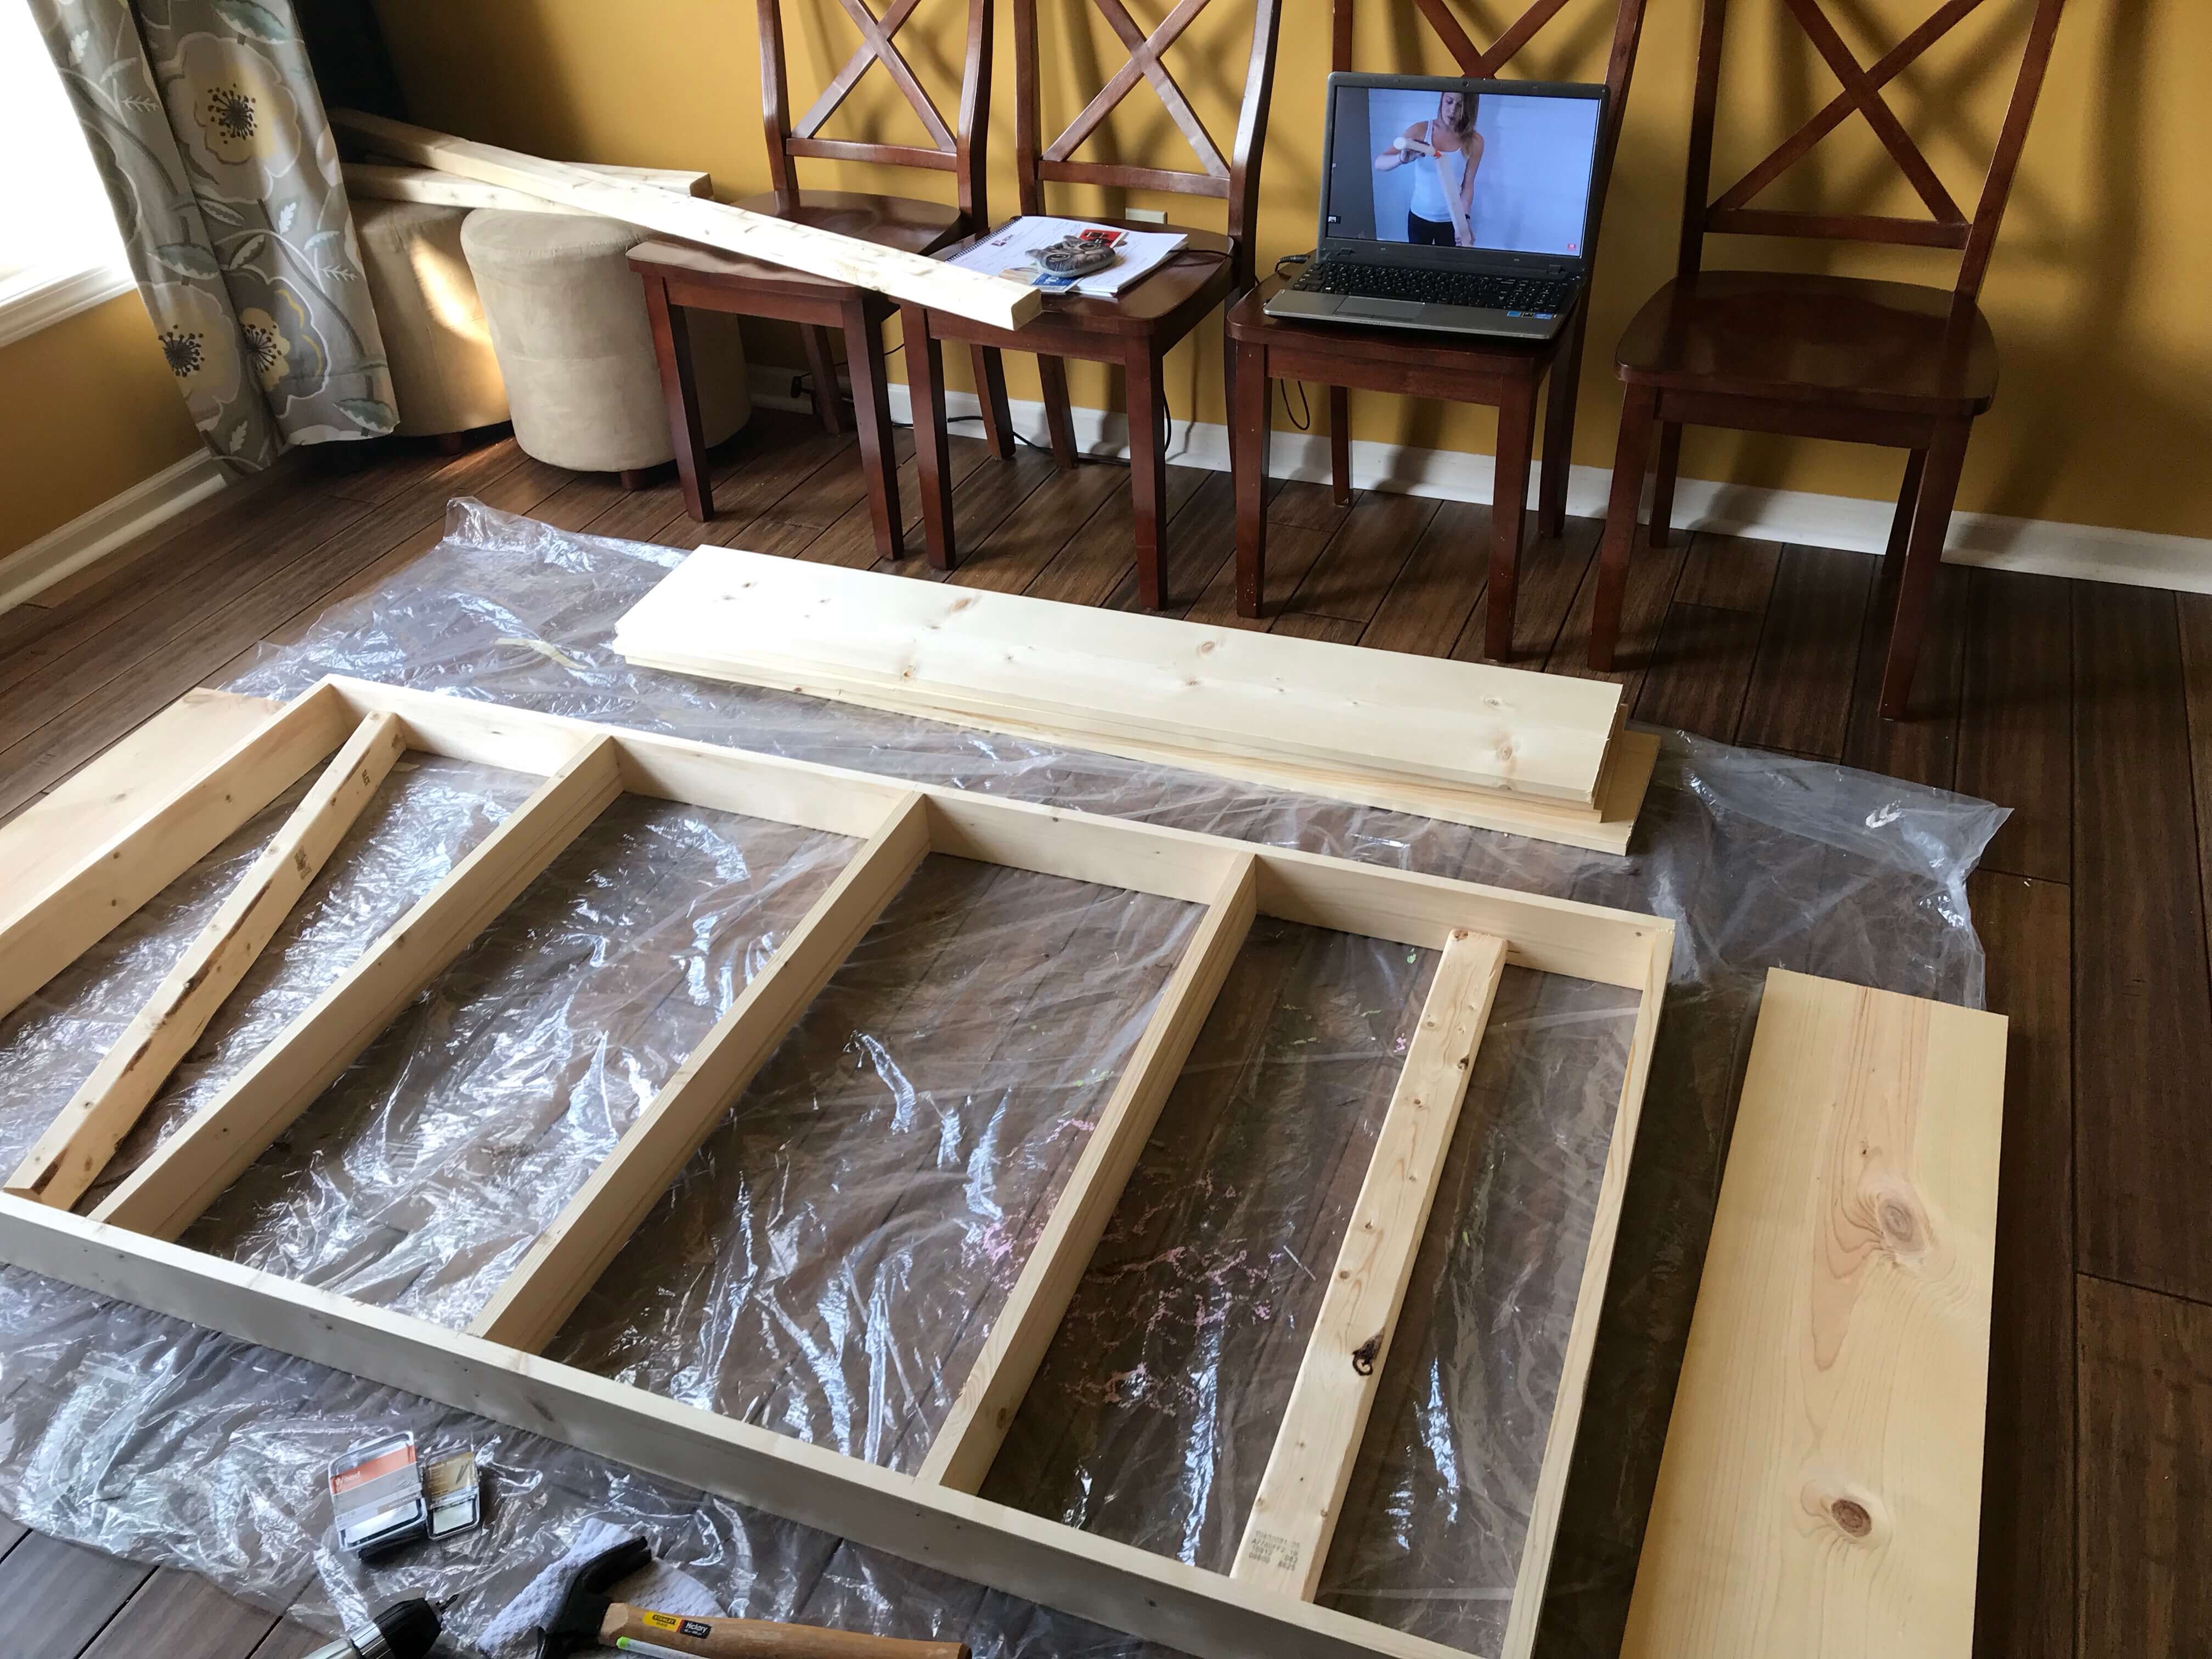
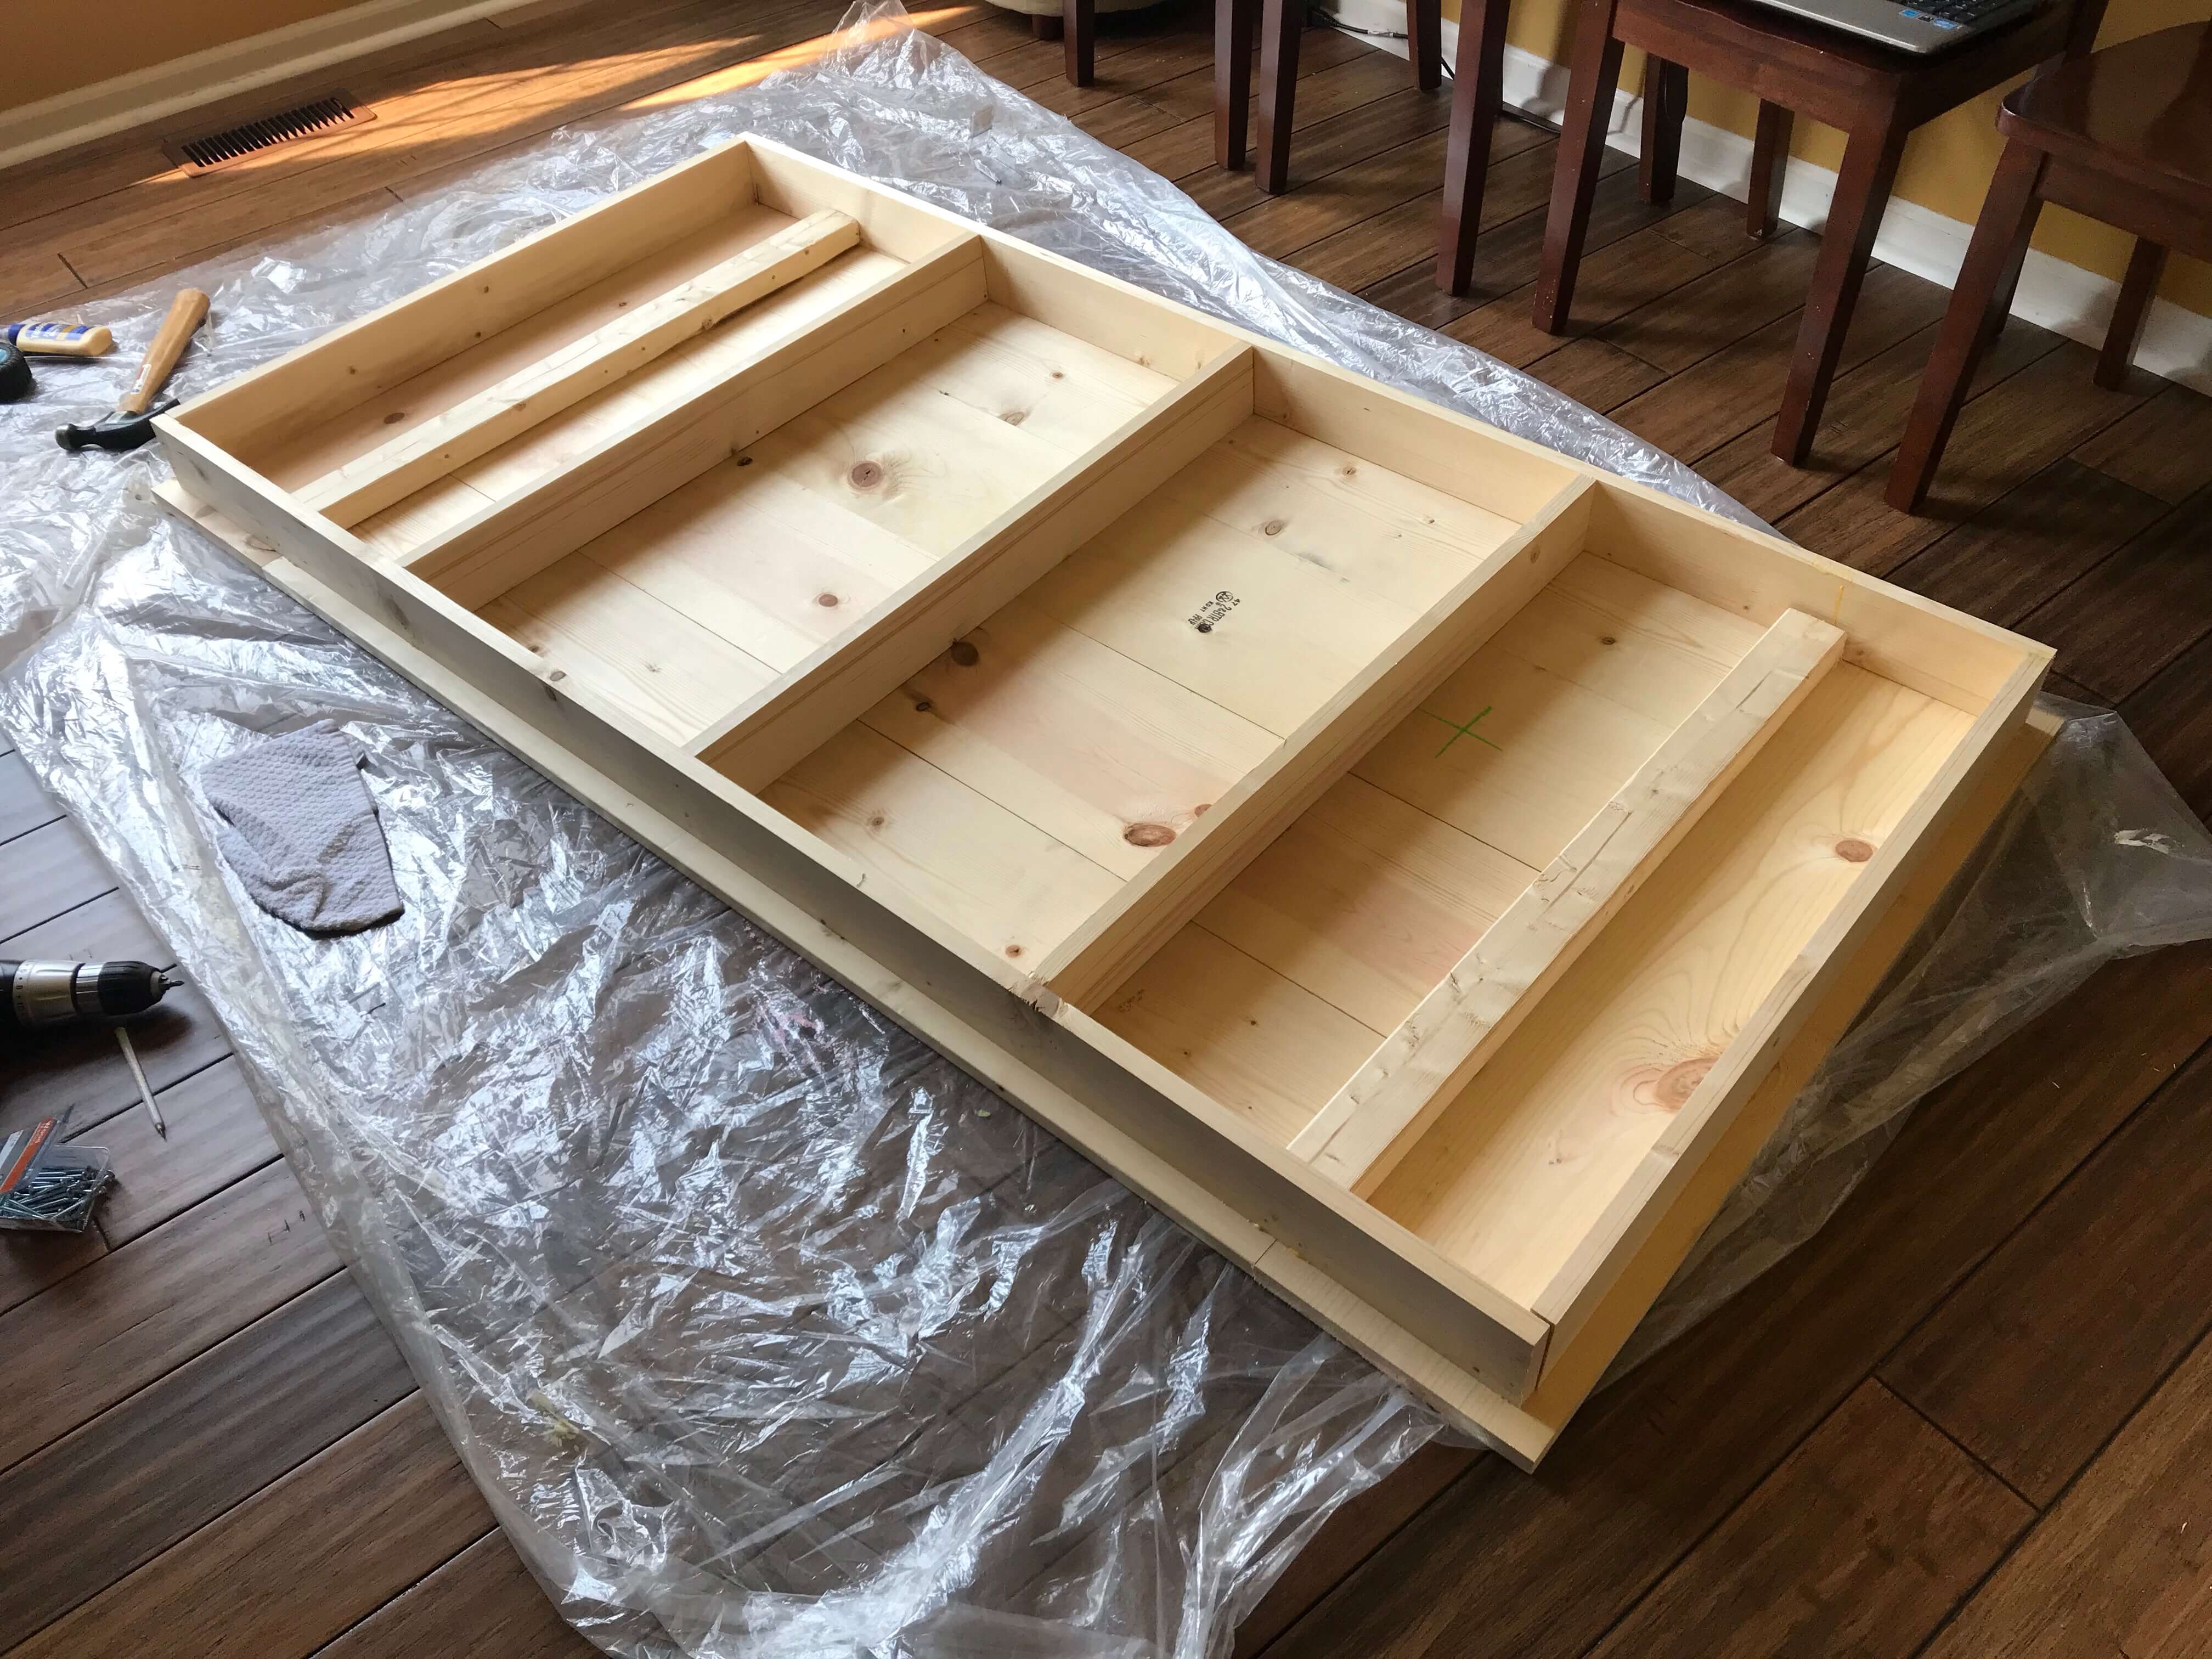
Adding the boards for the table top:
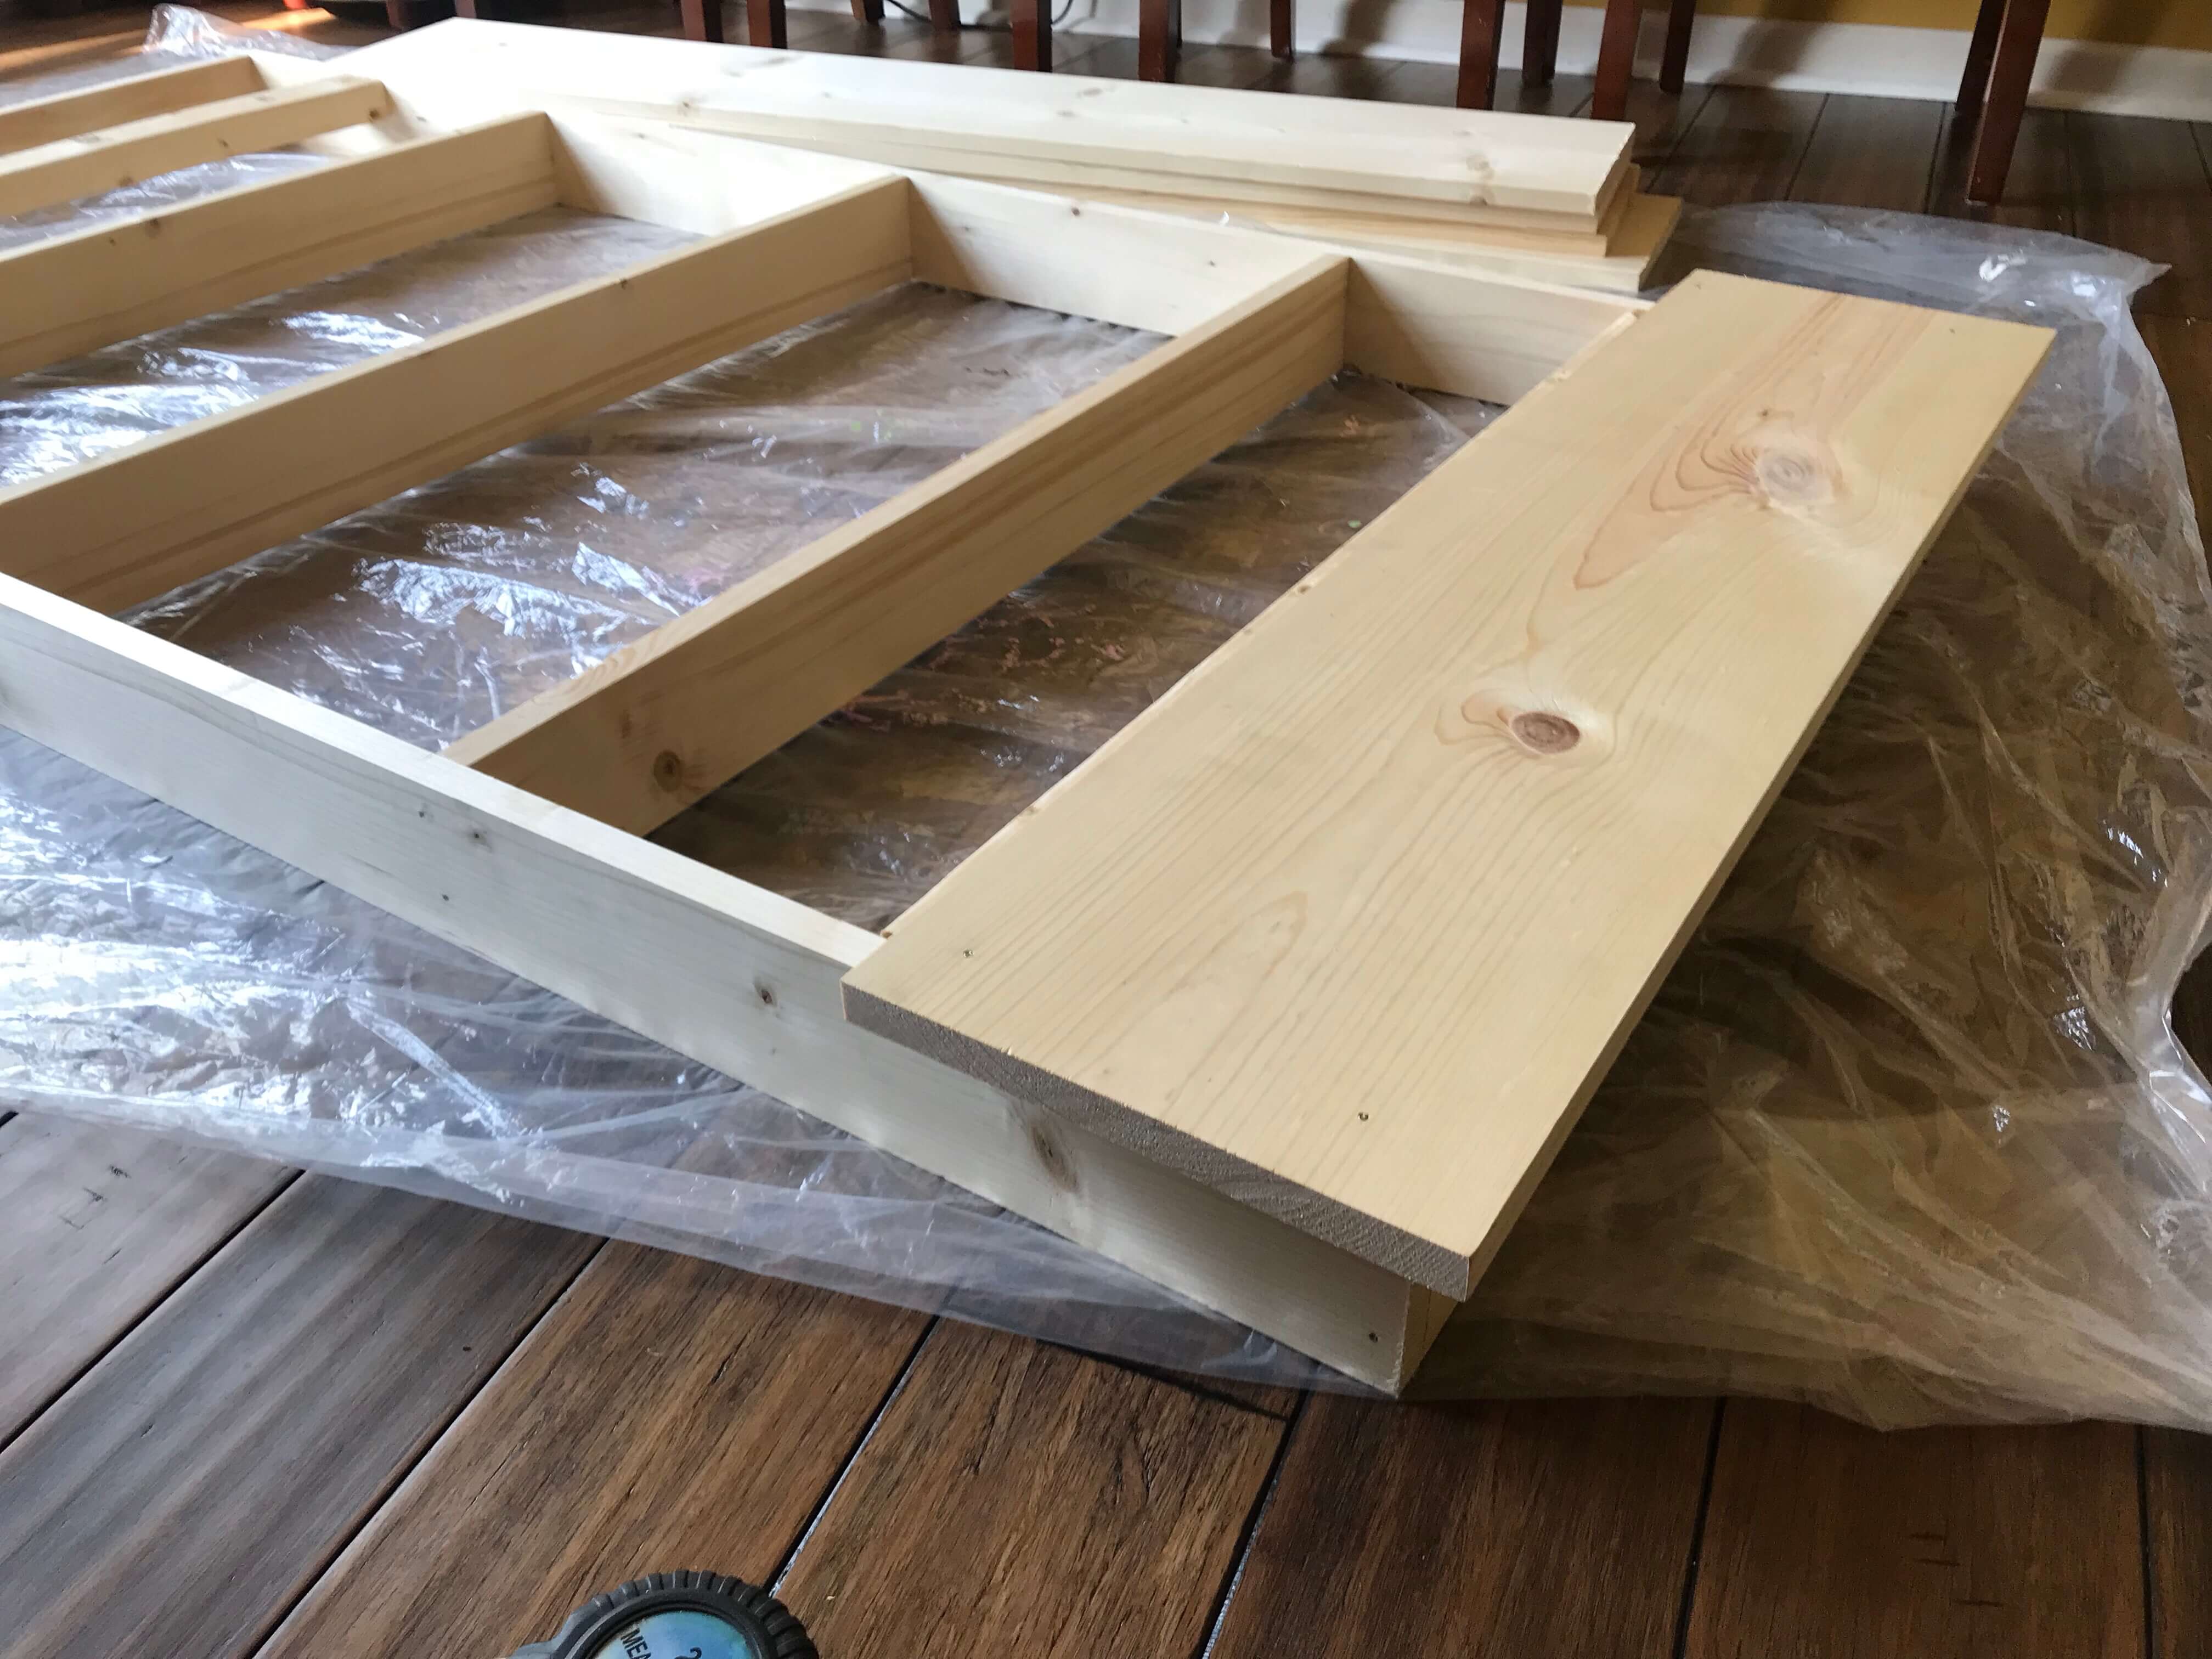
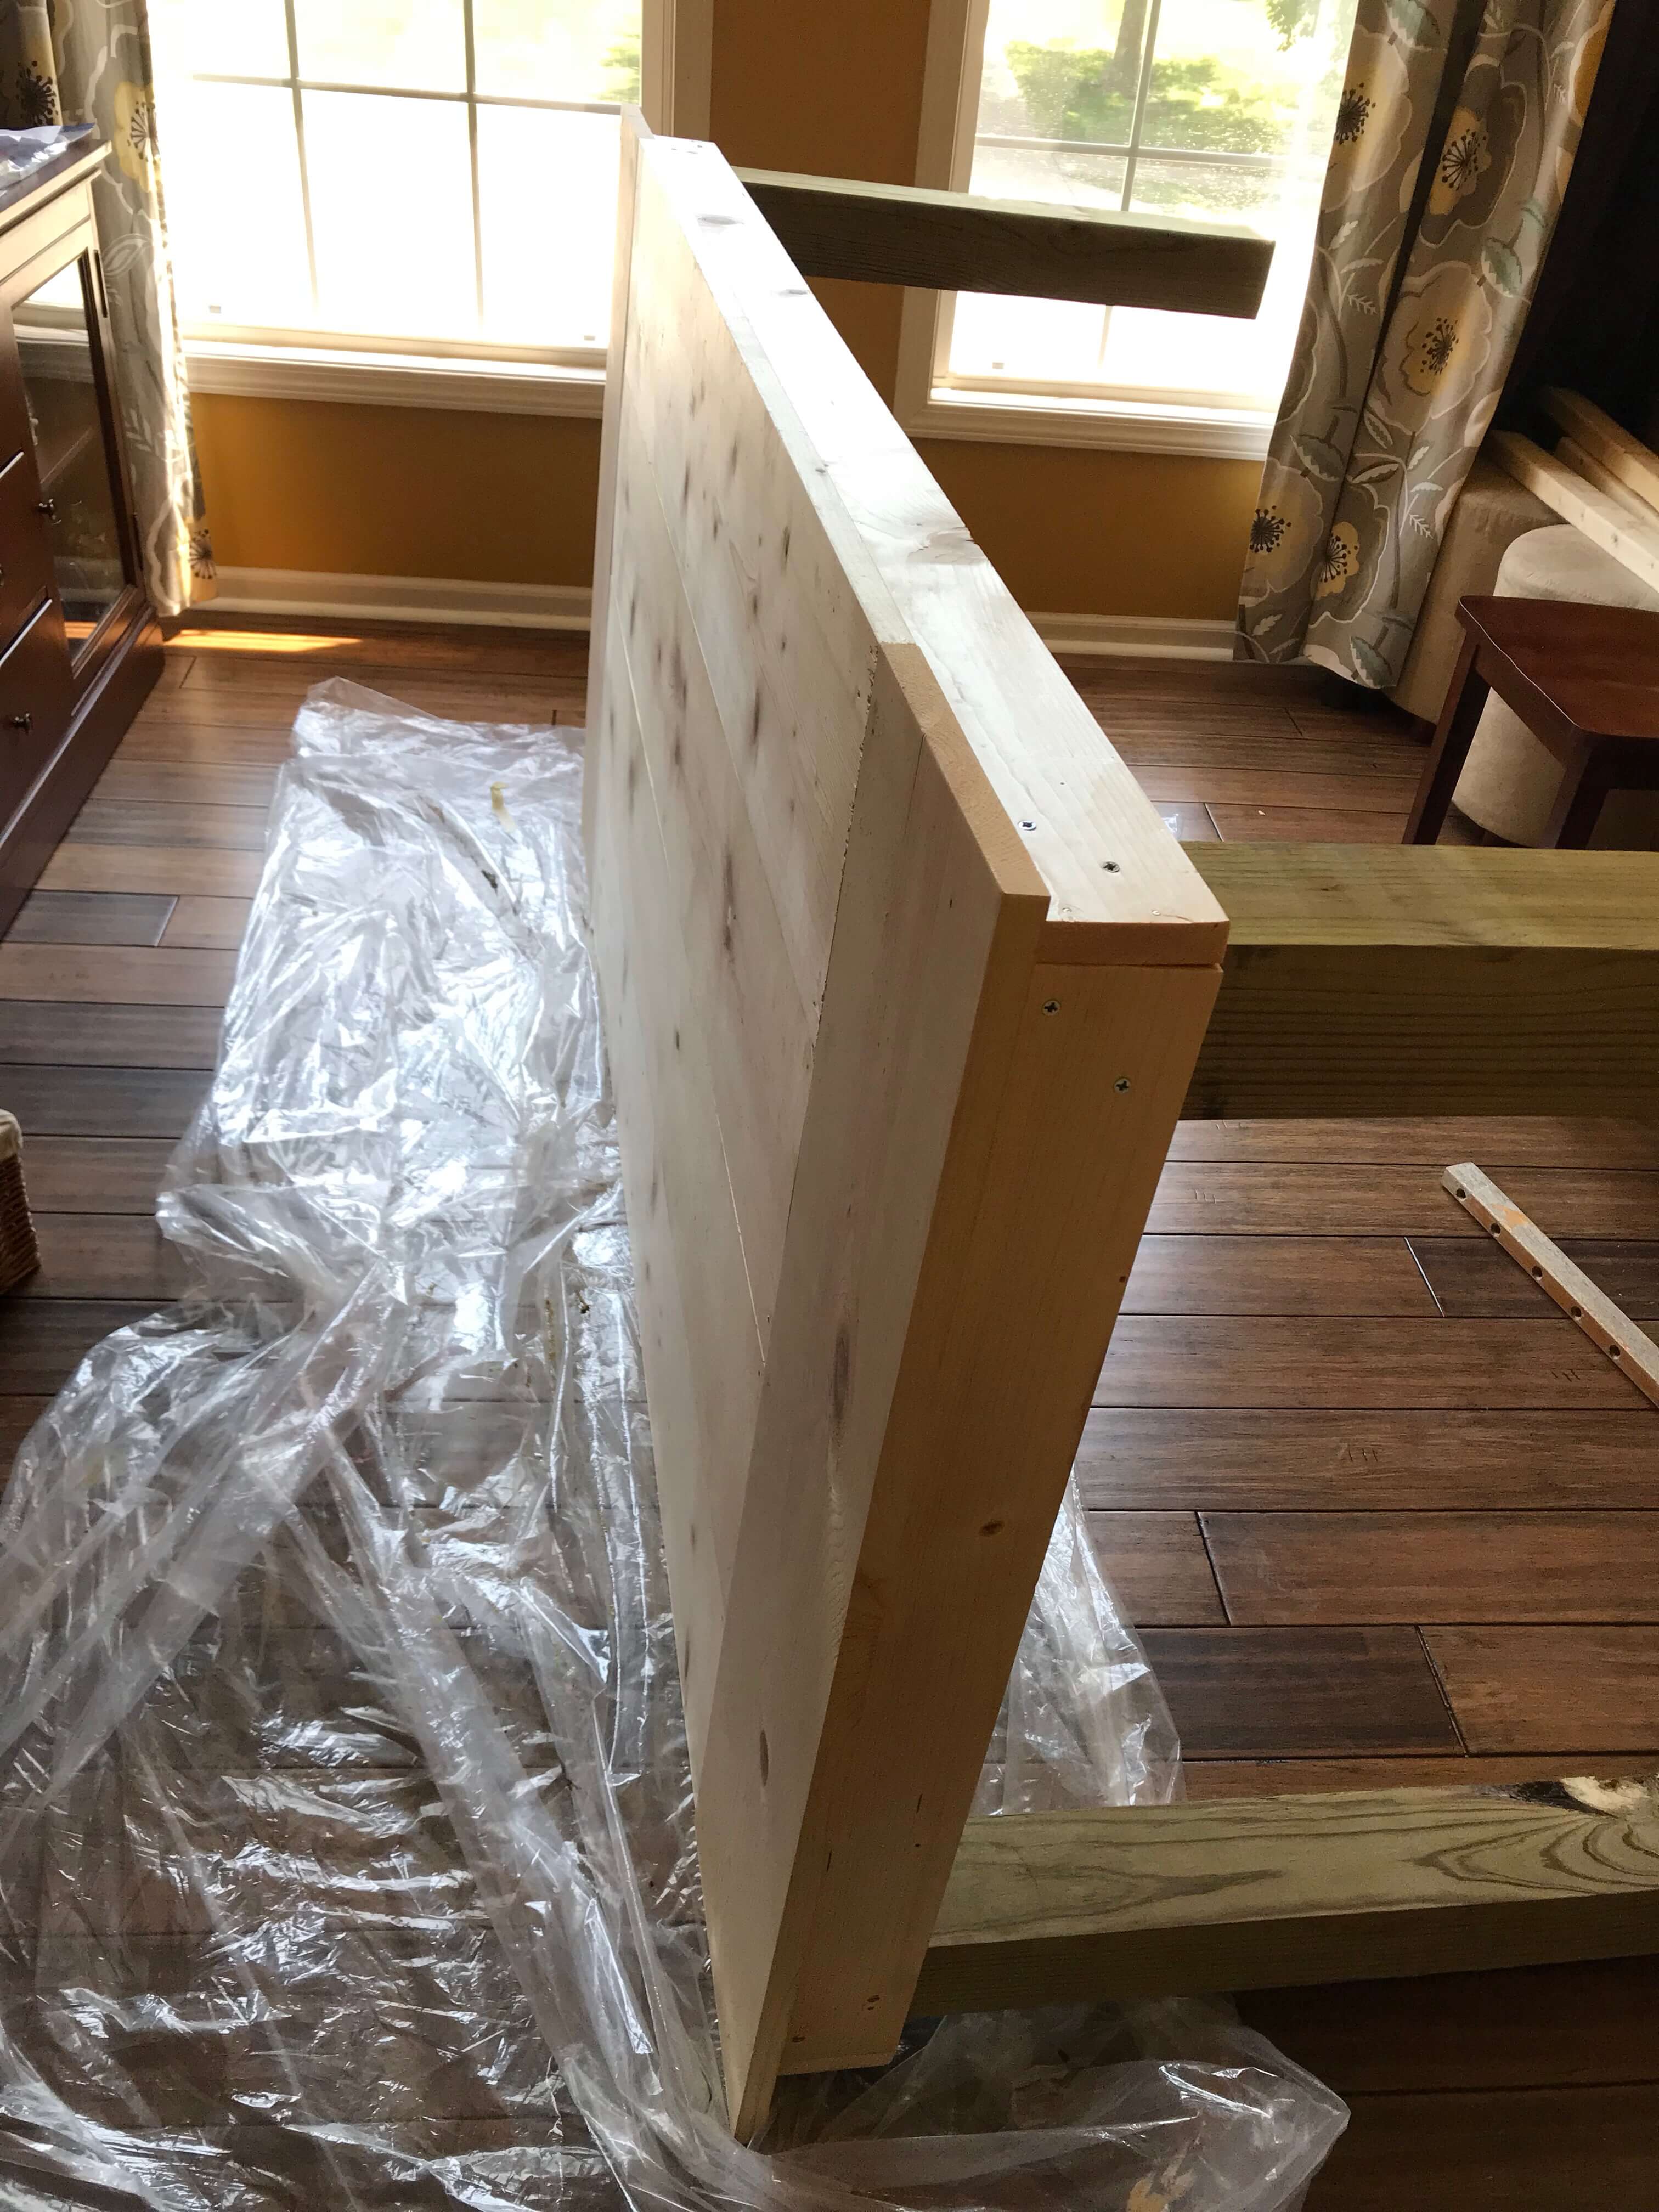
The farmhouse table is beginning to take shape!
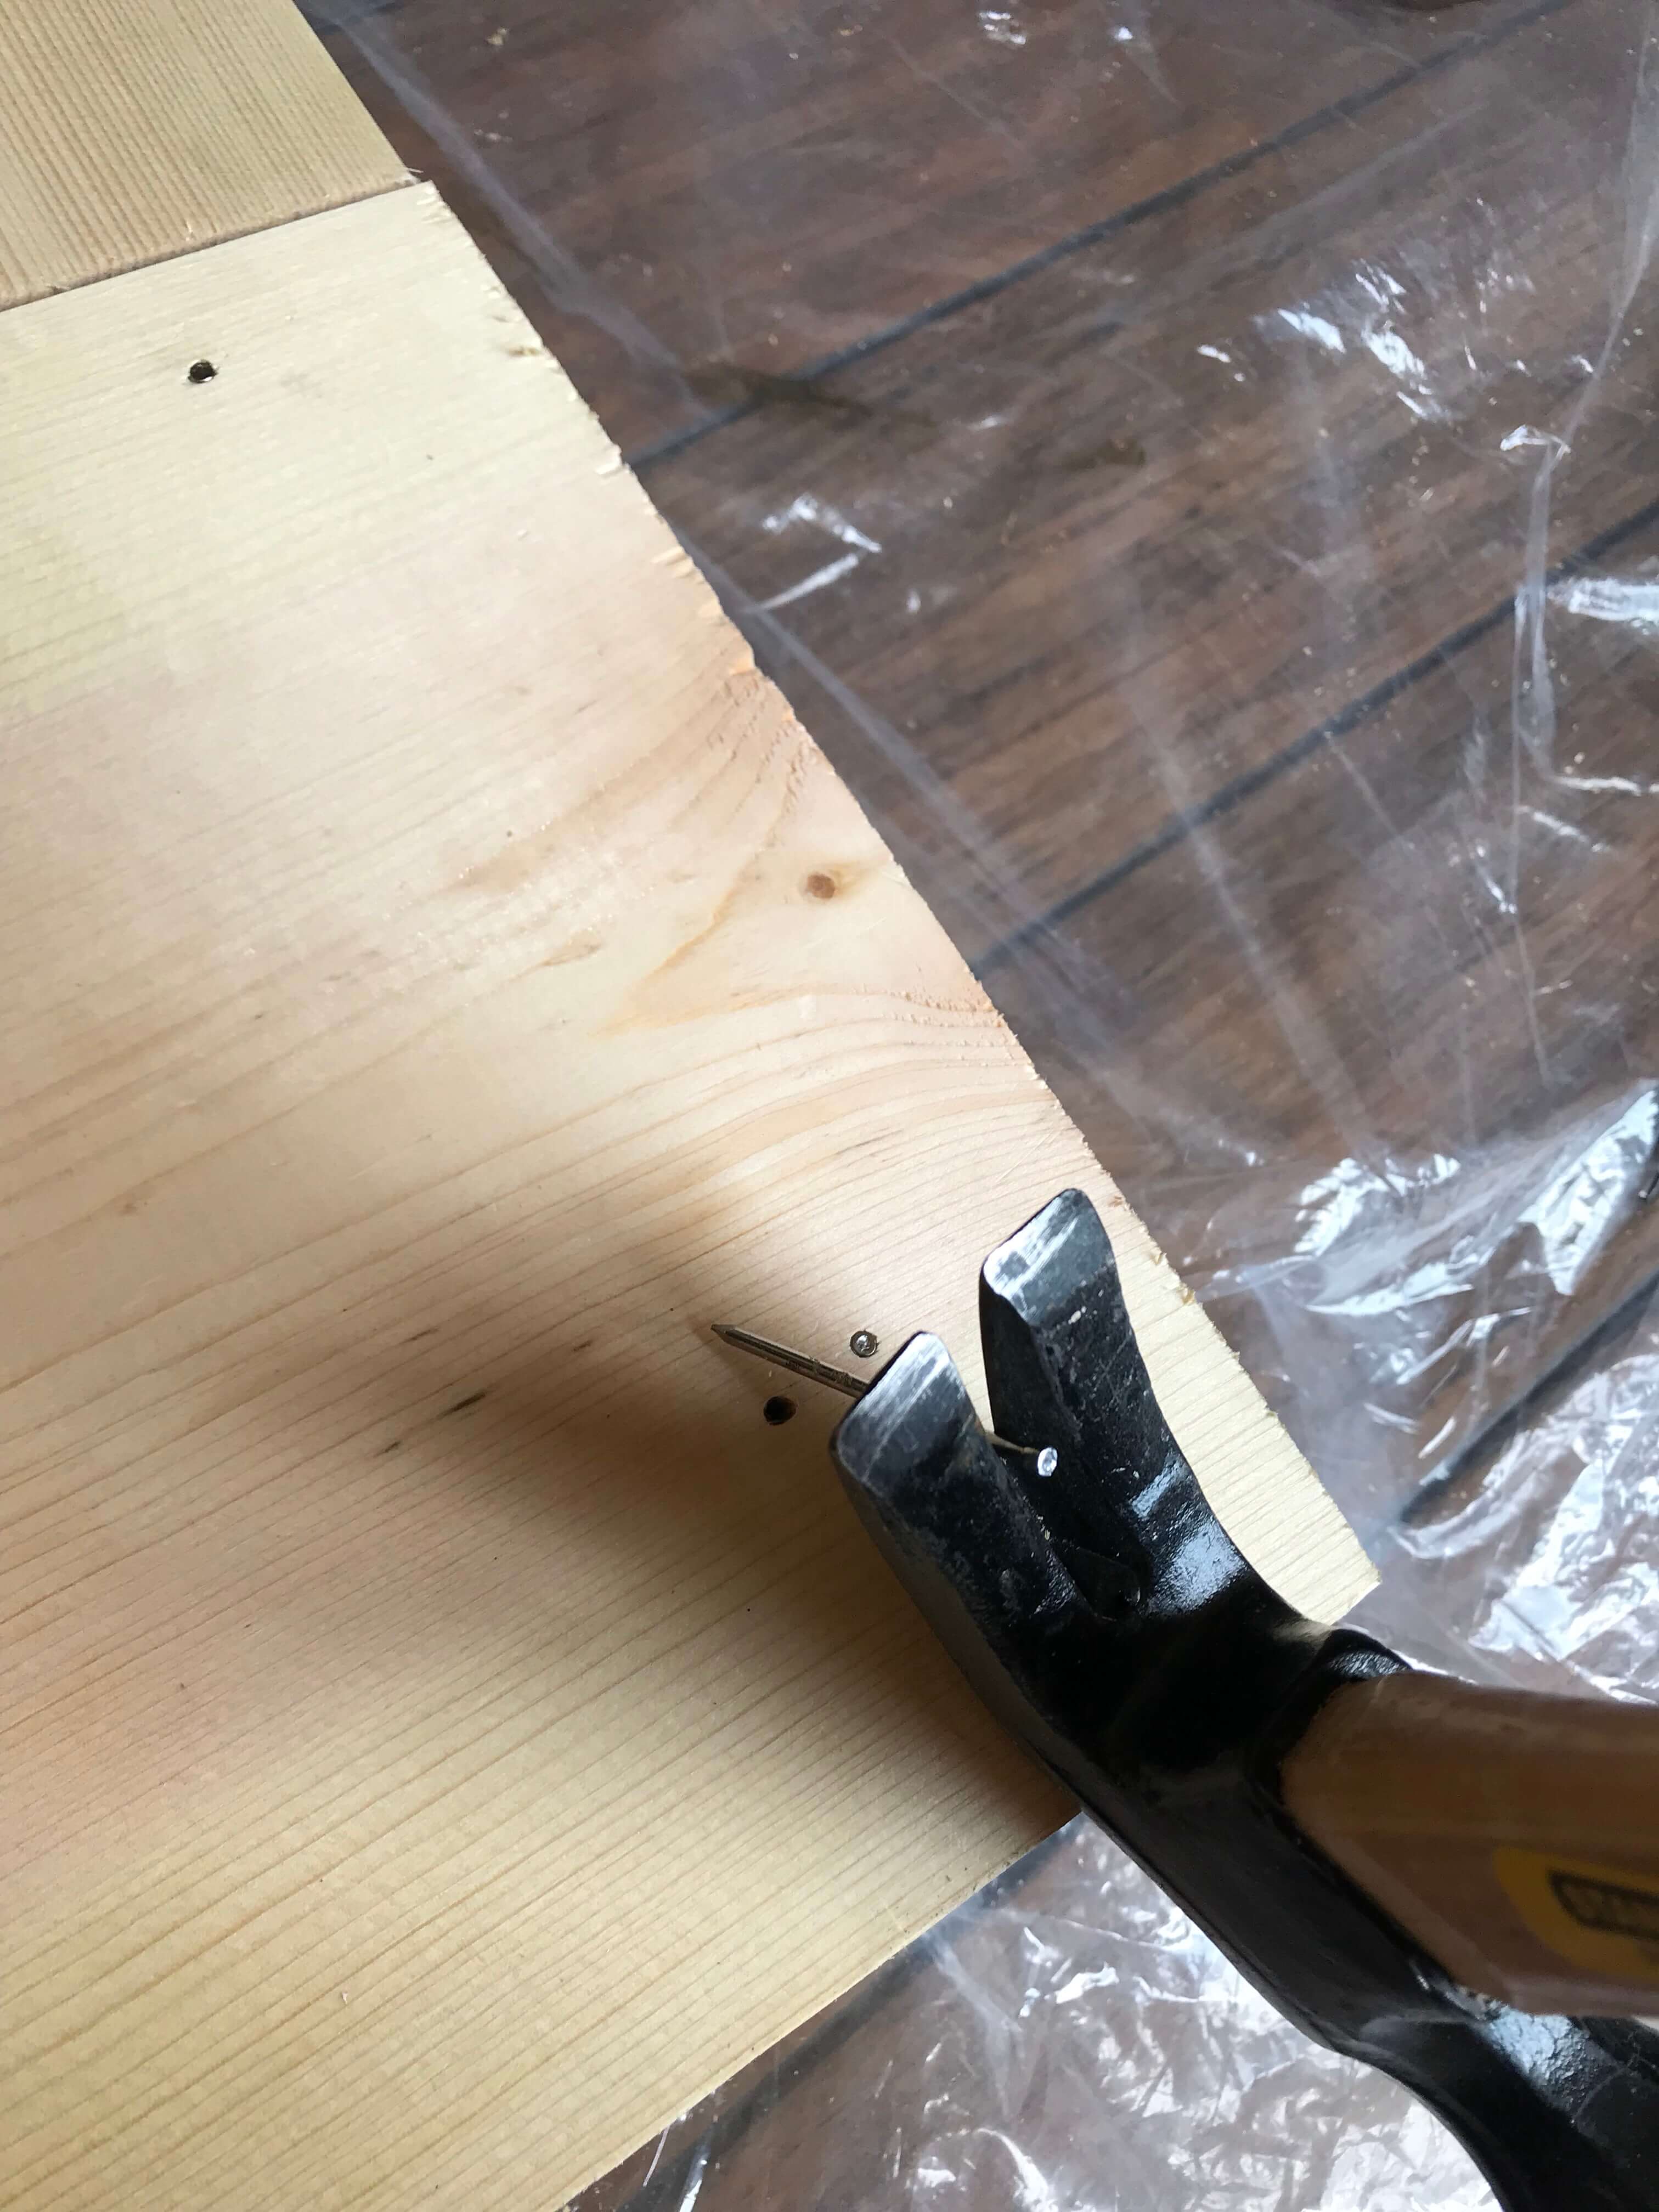
Note: I had one mis-hap with the nails. I’m sharing this in case you have this problem while putting the table together.
This nail did not make it through the wood below it. I barely missed! Of course, it was close enough to the wood that it should’ve gone through to make it extremely difficult to remove. I didn’t want to leave it there because it was dangerous poking out like that. But I couldn’t figure out how to get it out. After some serious frustration, I did some more online research.

Again, YouTube tutorials to the rescue! This video gave a few options for removing a finishing nail.
For my nail, I was able to remove it completely by bending the sucker back a little bit with some needle nose pliers.
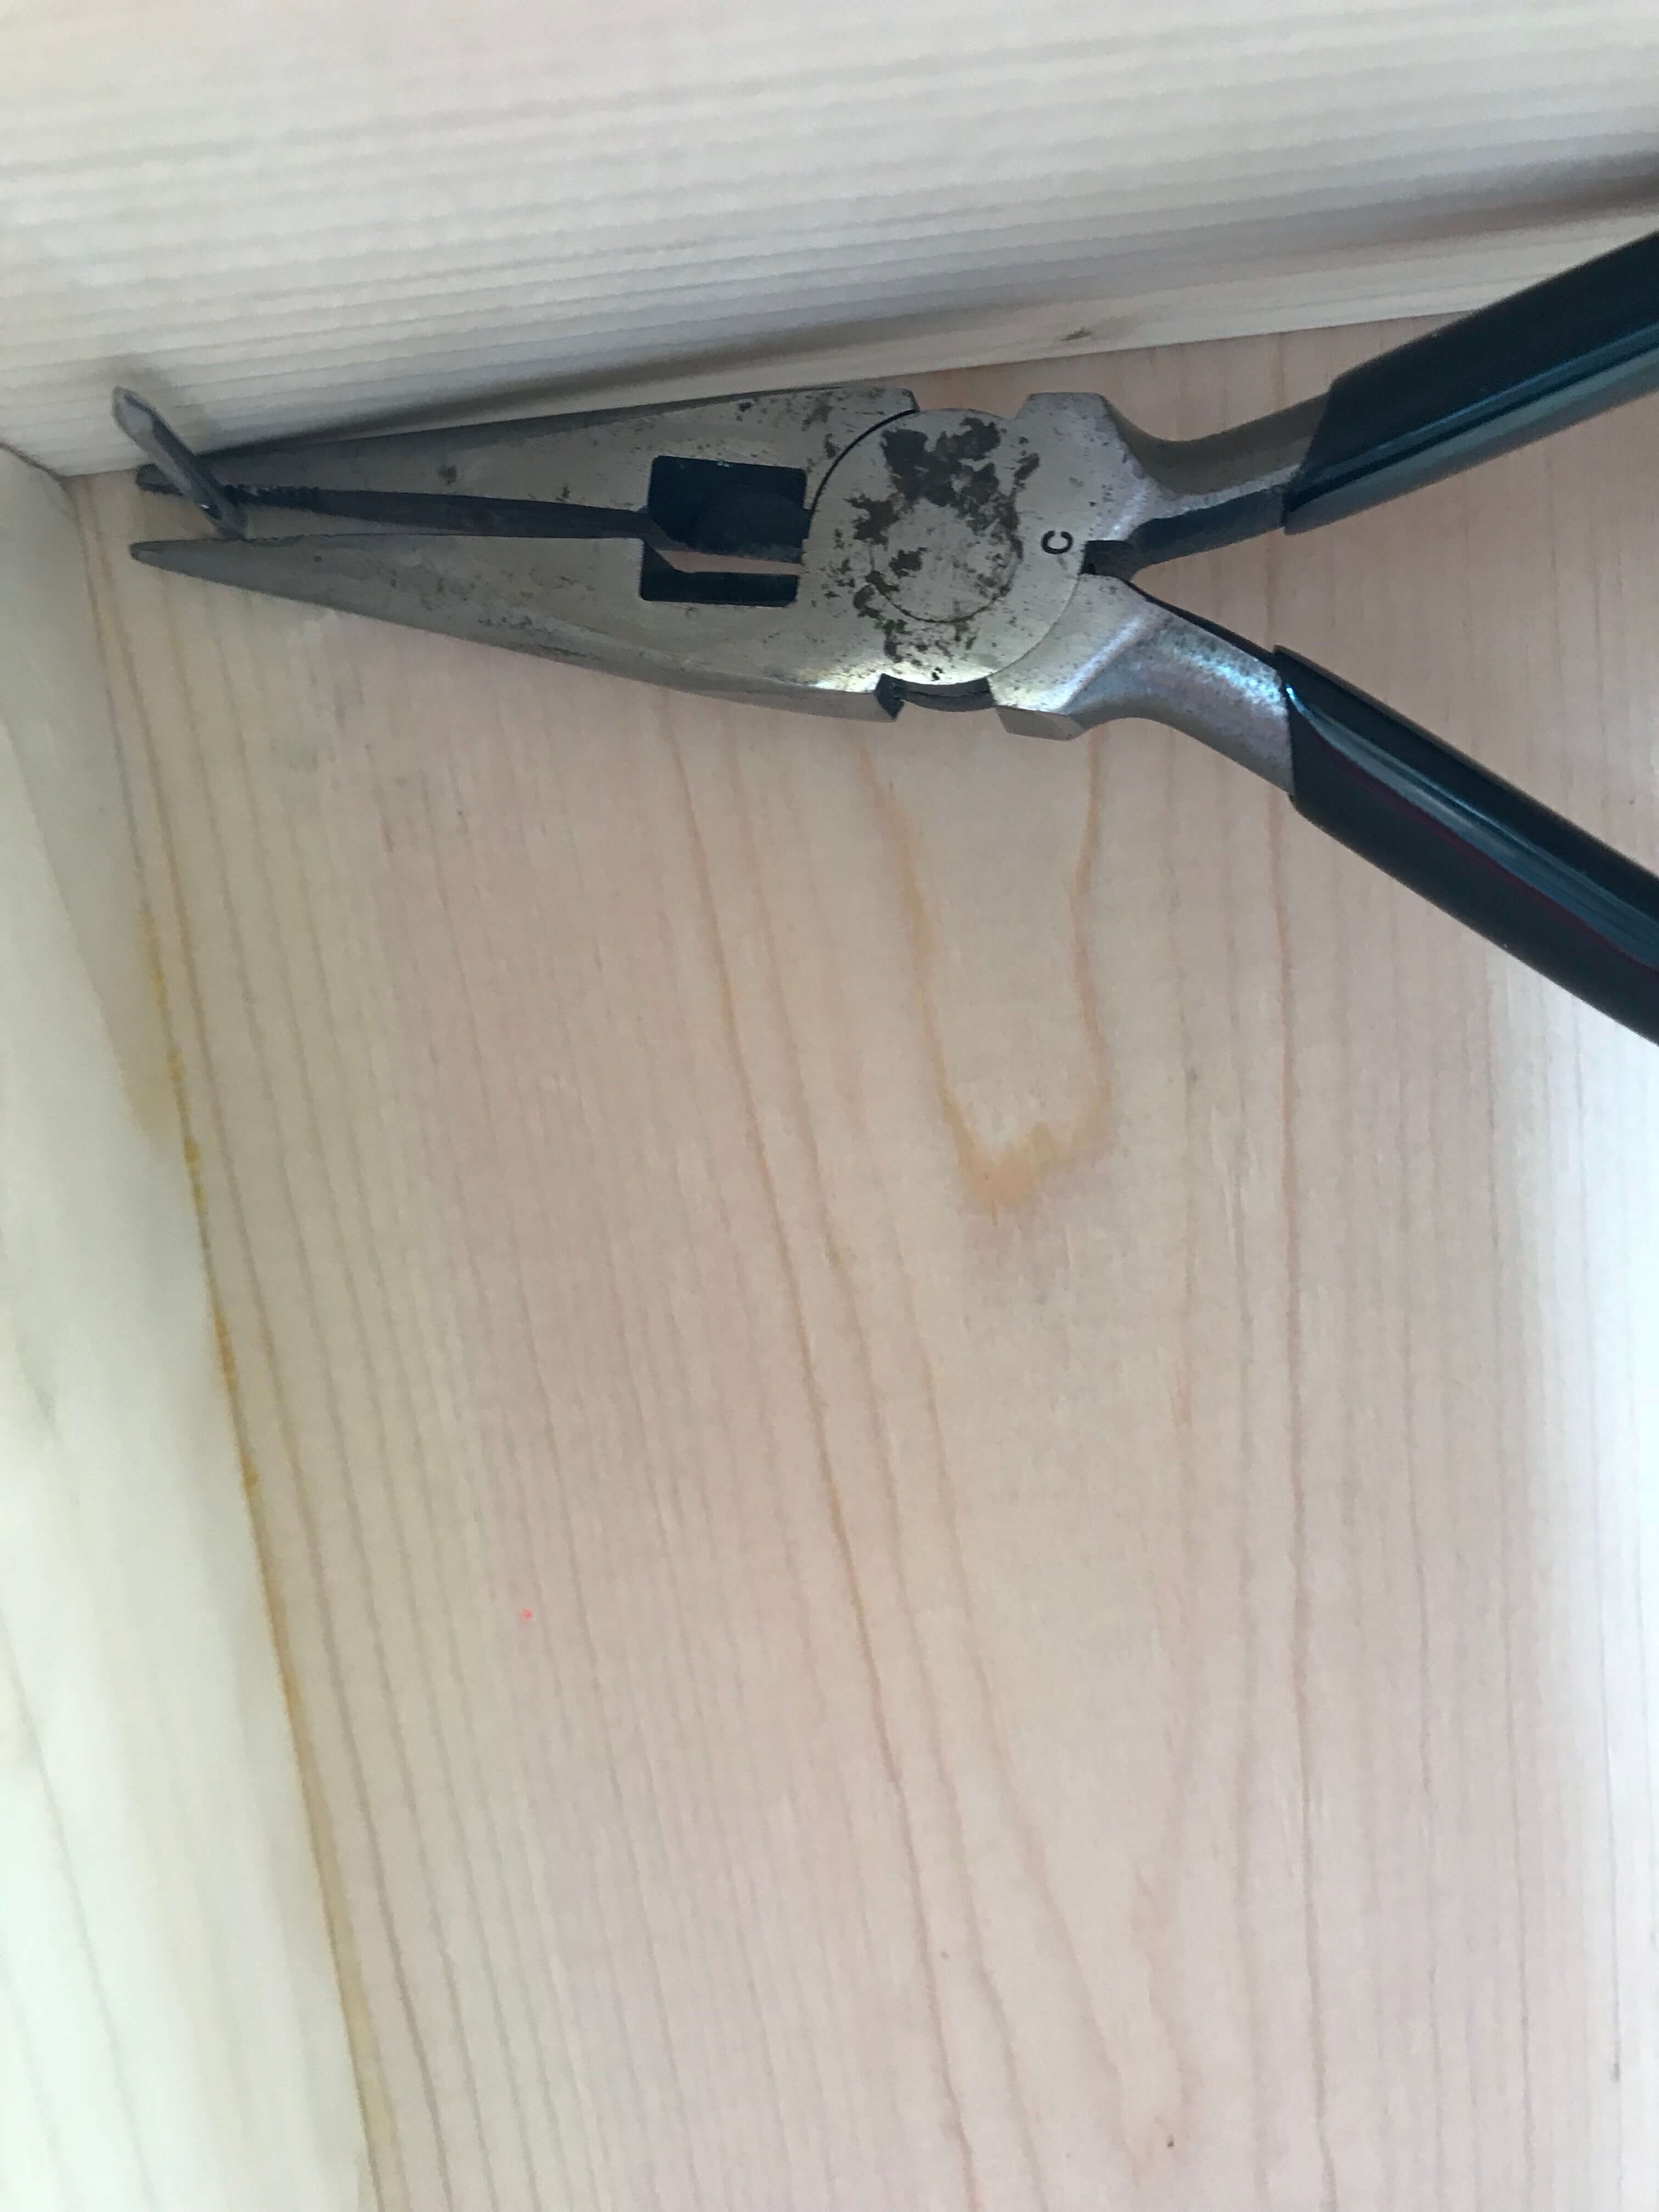
Then I was able to hammer the nail back through just enough to get a grip on it with the hammer and pull it out.
Now back to the details for making your own farmhouse table.
At this point, it was time to put on the legs. The 4×4 was the only piece of wood that I couldn’t get pre-cut at the store, so I used my hand-held circular saw. It was not ideal, but it got the job done.
Then I added 2 screws to each side of the legs to hold it to the table top.
Voila! It has legs! I also put felt pads under each leg so it wouldn’t scratch our hardwood floor.
I also decided not to attach the i-beam under the table because I wanted to be able to push chairs in on the far ends of the table.
Here’s the new, much larger farmhouse table in our dining room.

Now we can seat 8 comfortably, and squeeze in a couple more on the ends if needed.
If you’d like details on how I finished the table by sanding, using wood putty, and applying stain and polyurethane, you can read more in my next post.
Coming soon!
5 comments
How many pcs of wood and size did you need?
Lumber required:
1 – 4″x4″x10′
3 – 1″x4″x10′
2 – 1″x10″x8′
1 – 1″x10″x10′
2 – 2″x3″x8′
Other materials required:
2″ finishing nails
Wood screws (2″ and 5″)
Wood glue
Sanding block
Stain and Poly
The youtube video in this post has the step by step instructions. It’s super easy to follow and you can re-watch as needed.
We still love the table I made from this tutorial after a year-and-a-half of use!
Looks great!
Thank you, Sue! It’s a very rewarding two-day project.
I’m looking forward to helping with your cabinets!