
This post may contain affiliate links, meaning, at no additional cost to you, I will earn a commission if you click through and make a qualifying purchase.
This is a project that I completed a couple of years ago when we bought a new mattress and I didn’t want to throw away the old one. We needed a couch (and a bed) in the basement, so I did some googling and found instructions on how to make a sofa from a mattress.
8 hours and $10 of supplies later, we had our new l-shaped couch:

Since it was made from a queen mattress, it is also comfortable enough to sleep on and provides two extra twin size beds in our home!
Note: I recommend doing this project for a couch that will be against the walls. It does not include a back rest, so you’ll want walls to prop lots of comfy pillows for leaning back.

How it’s Thrifty: Have you seen how much L-Shaped couches and sofa beds cost? I did this project for about $10. Enough said. (Though, to be fair, I already had most of the tools I needed–I just had to buy a 2×4.)
How it’s Green: When you buy a new mattress, this project keeps your old mattress out of the dump. It’s also a great option for dorm rooms or apartments without a big furniture budget.
Supplies Needed for L-Shaped Sofa Bed
- Old Mattress – In this tutorial, I used our old queen-size when we bought a new one.
- Wooden 2×4
- Nails or screws
- Measuring tape
- Eye protection
- Ear protection
- Gloves
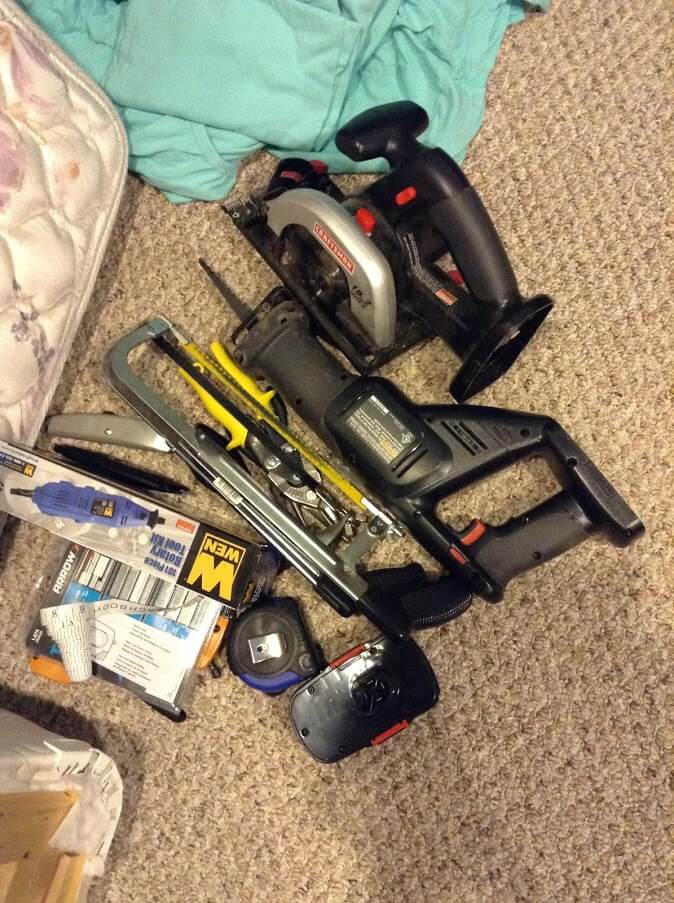
- Saw- I used a circular saw for cutting the box springs
- Box cutter utility knife
- Scissors
- Staple gun
- Dremel tool
- Bed sheets
Steps to Make L-Shaped Couch
Step 1: Measure the space where you plan to put your L-Shaped Couch and measure your mattress.
If you cut the mattress in half, will it fit in the space you have planned for it? You want to be sure of this before you start.
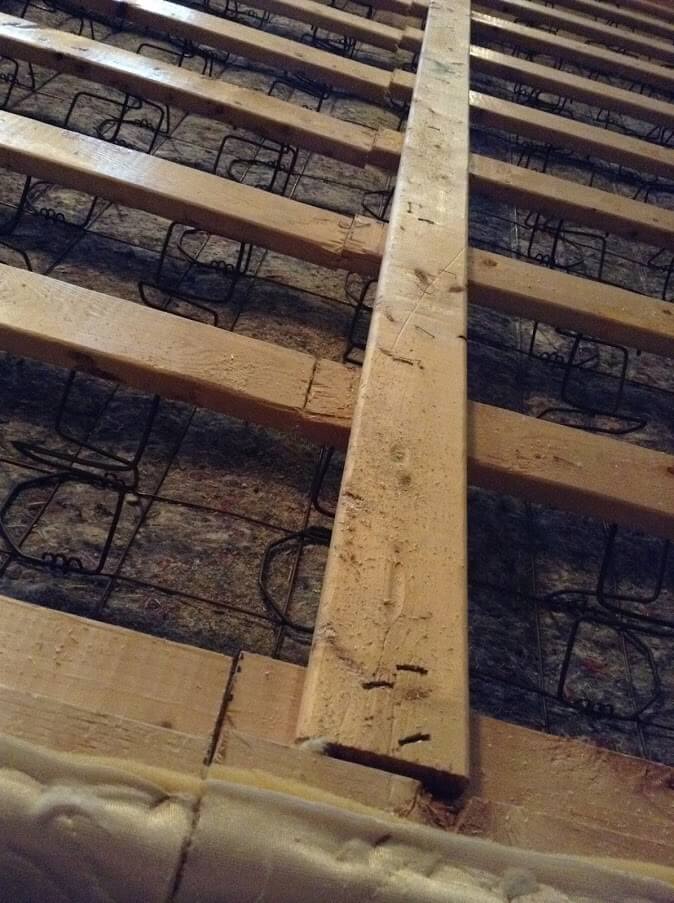
Step 2: Start with the box springs and determine where to cut.
Once you’re sure your mattress will fit in your designated space, lay out your box springs first, top down so you can look at the bottom.
Check out the cross beams. We’re going to want to leave those in tact.
Does the bottom have more than one cross beam? Is it possible to cut it right down the middle without cutting through the cross beam?
My mattress only had one cross beam so I had to mark and cut it a few inches away from the exact middle. This is fine- it just means one part of your L-shaped couch will be extend out from the wall a few inches more than the other. You can’t even tell when this project is all done unless you’re trying hard to see a difference.
It also means that you’ll need to add a cross beam to the side that does not have one once you’ve finished cutting the box springs (more or less) in half.
Use your measuring tape and mark each beam of wood where you want to cut it. Also mark the springs and the box spring cover material.
Step 3: Cut the box springs where you marked it in the previous step.
Use the circular saw to cut through the wood beams. Then use the dremel tool to cut through the metal springs. Be sure to wear your ear and eye protection for this step as it creates sparks and an unpleasant sound.

If you’ve cut through all the wood and box springs necessary, then you should be able to use your box cutters and regular scissors on the cover material to finish splitting your box springs into two.

Step 4: Add a support crossbeam to the box spring half that doesn’t have one.
If your box springs only had one support crossbeam of wood, add a 2×4 as a support crossbeam to the side that doesn’t have one.
It is necessary for both sides of the box springs to have a support crossbeam so that it will be sturdy and hold up when you move it into place in your space.
Step 5: Measure and mark the mattress for cutting.
Double check the width of your box springs and measure/mark the mattress at the same width along the entire length.
You want to make sure you cut the mattress so that the two “halves” match the sizes that you cut when you made your box springs into two in the previous steps. This ensures they will fit perfectly on top of both of your box springs when you’re done.
Step 6: Cut the mattress where you marked it in the previous step.
This is a lot easier than cutting the box springs. You can use your box cutter and regular scissors to cut through the cushy top layer and any plastic mesh.

And if I remember right, I didn’t even have to cut through any of the metal springs because there were these twisty metal pieces that could be removed. When I removed those along the springs where I had just cut, the two halves of the mattress came apart easily.

Step 7: Put your box springs and mattress halves in place where they will be.
At this point, you have your two box springs and your two mattress halves! Carry them to where you want them and take a step back to admire your work so far.
Sit down and enjoy how it feels. Now get back up and finish the last step in this project. You’re almost done!
Step 8: Wrap your new L-Shaped couch with bed sheets and add pillows.
Pretend like you’re making the beds. Tuck the sheets in good so it looks finished. Once you’ve wrapped it nicely, I recommend using bed sheet clips to hold it in place.
Put some pillows along the wall at the back of your new L-shaped couch.
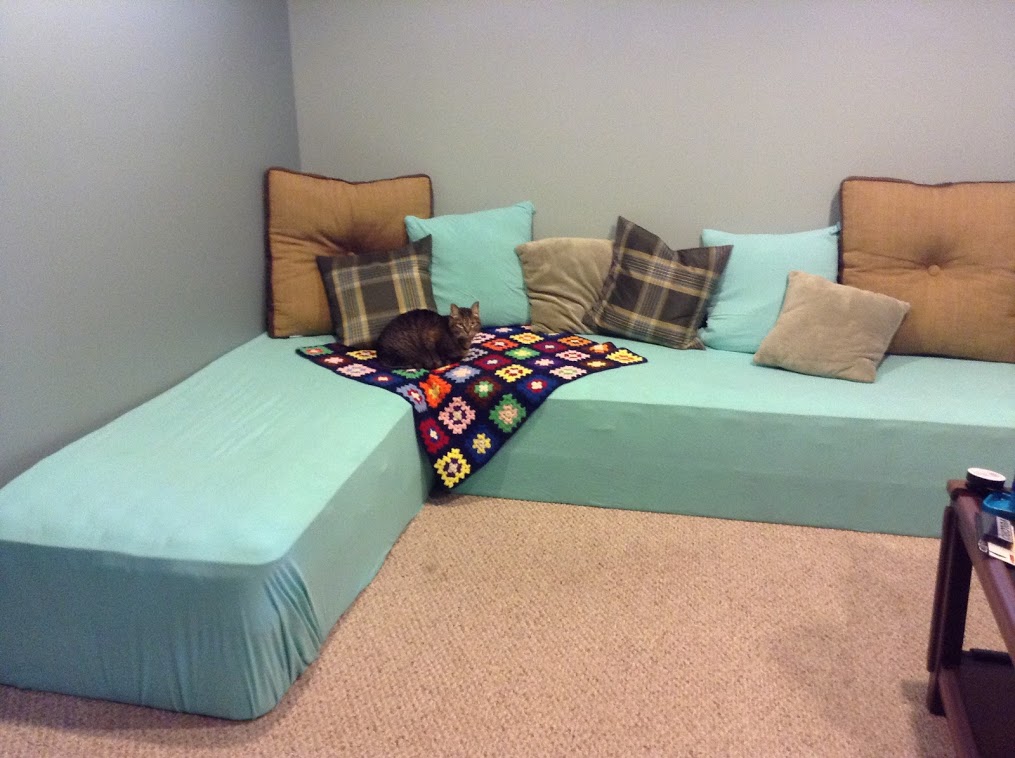
Wow, that looks good.

You should feel really good about it. You saved thousands of dollars by making your own L-shaped sofa bed and saved your old mattress from the dump.
So go enjoy your new couch. It’s even more than okay to use it to take a nap.
Original instructions I found: http://www.instructables.com/id/Hack-a-Mattress-into-a-Couch/
2 comments
?