This post may contain affiliate links, meaning, at no additional cost to you, I will earn a commission if you click through and make a qualifying purchase.
I left my ornamental grass tall and uncut all winter for these 7 beneficial reasons. If I’m being totally honest, the main reason was there was plenty of other yard work to do in the fall without adding this to the list!
So when we hit spring, and I couldn’t put off cutting down that huge mound of ornamental grass any longer, I seized the opportunity to use it as straw to protect the grass seed that I needed to plant in our backyard.
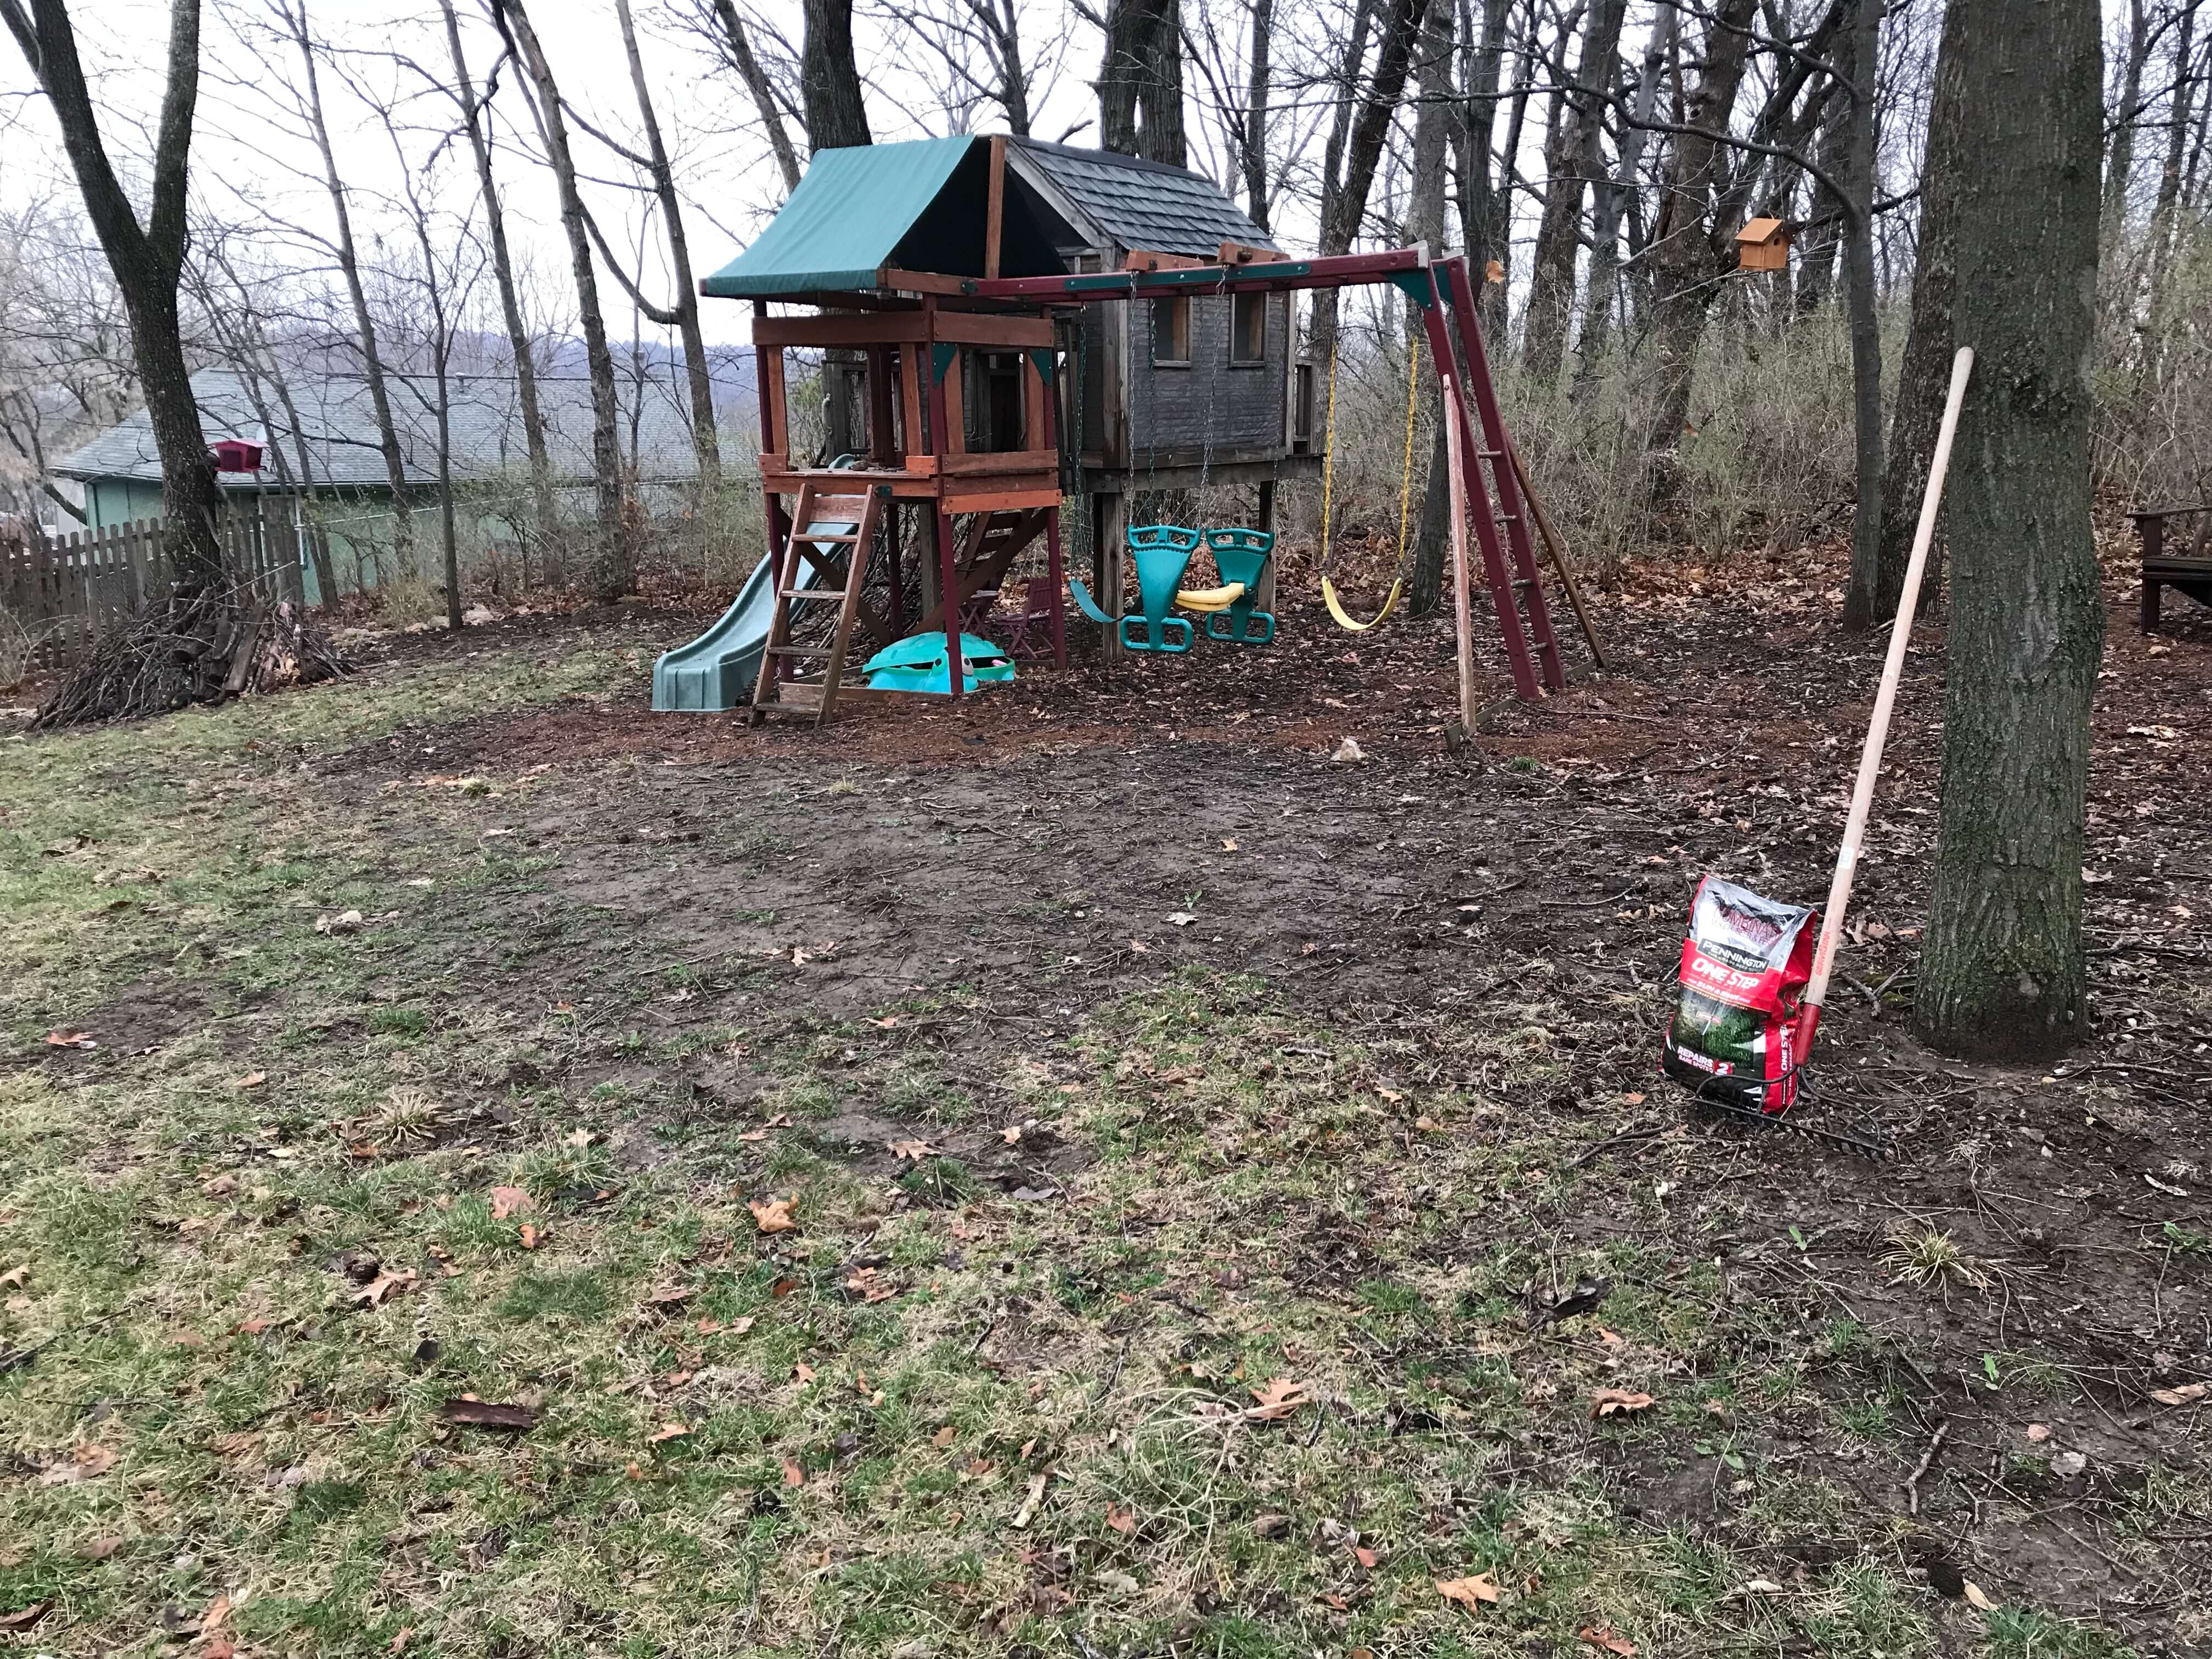
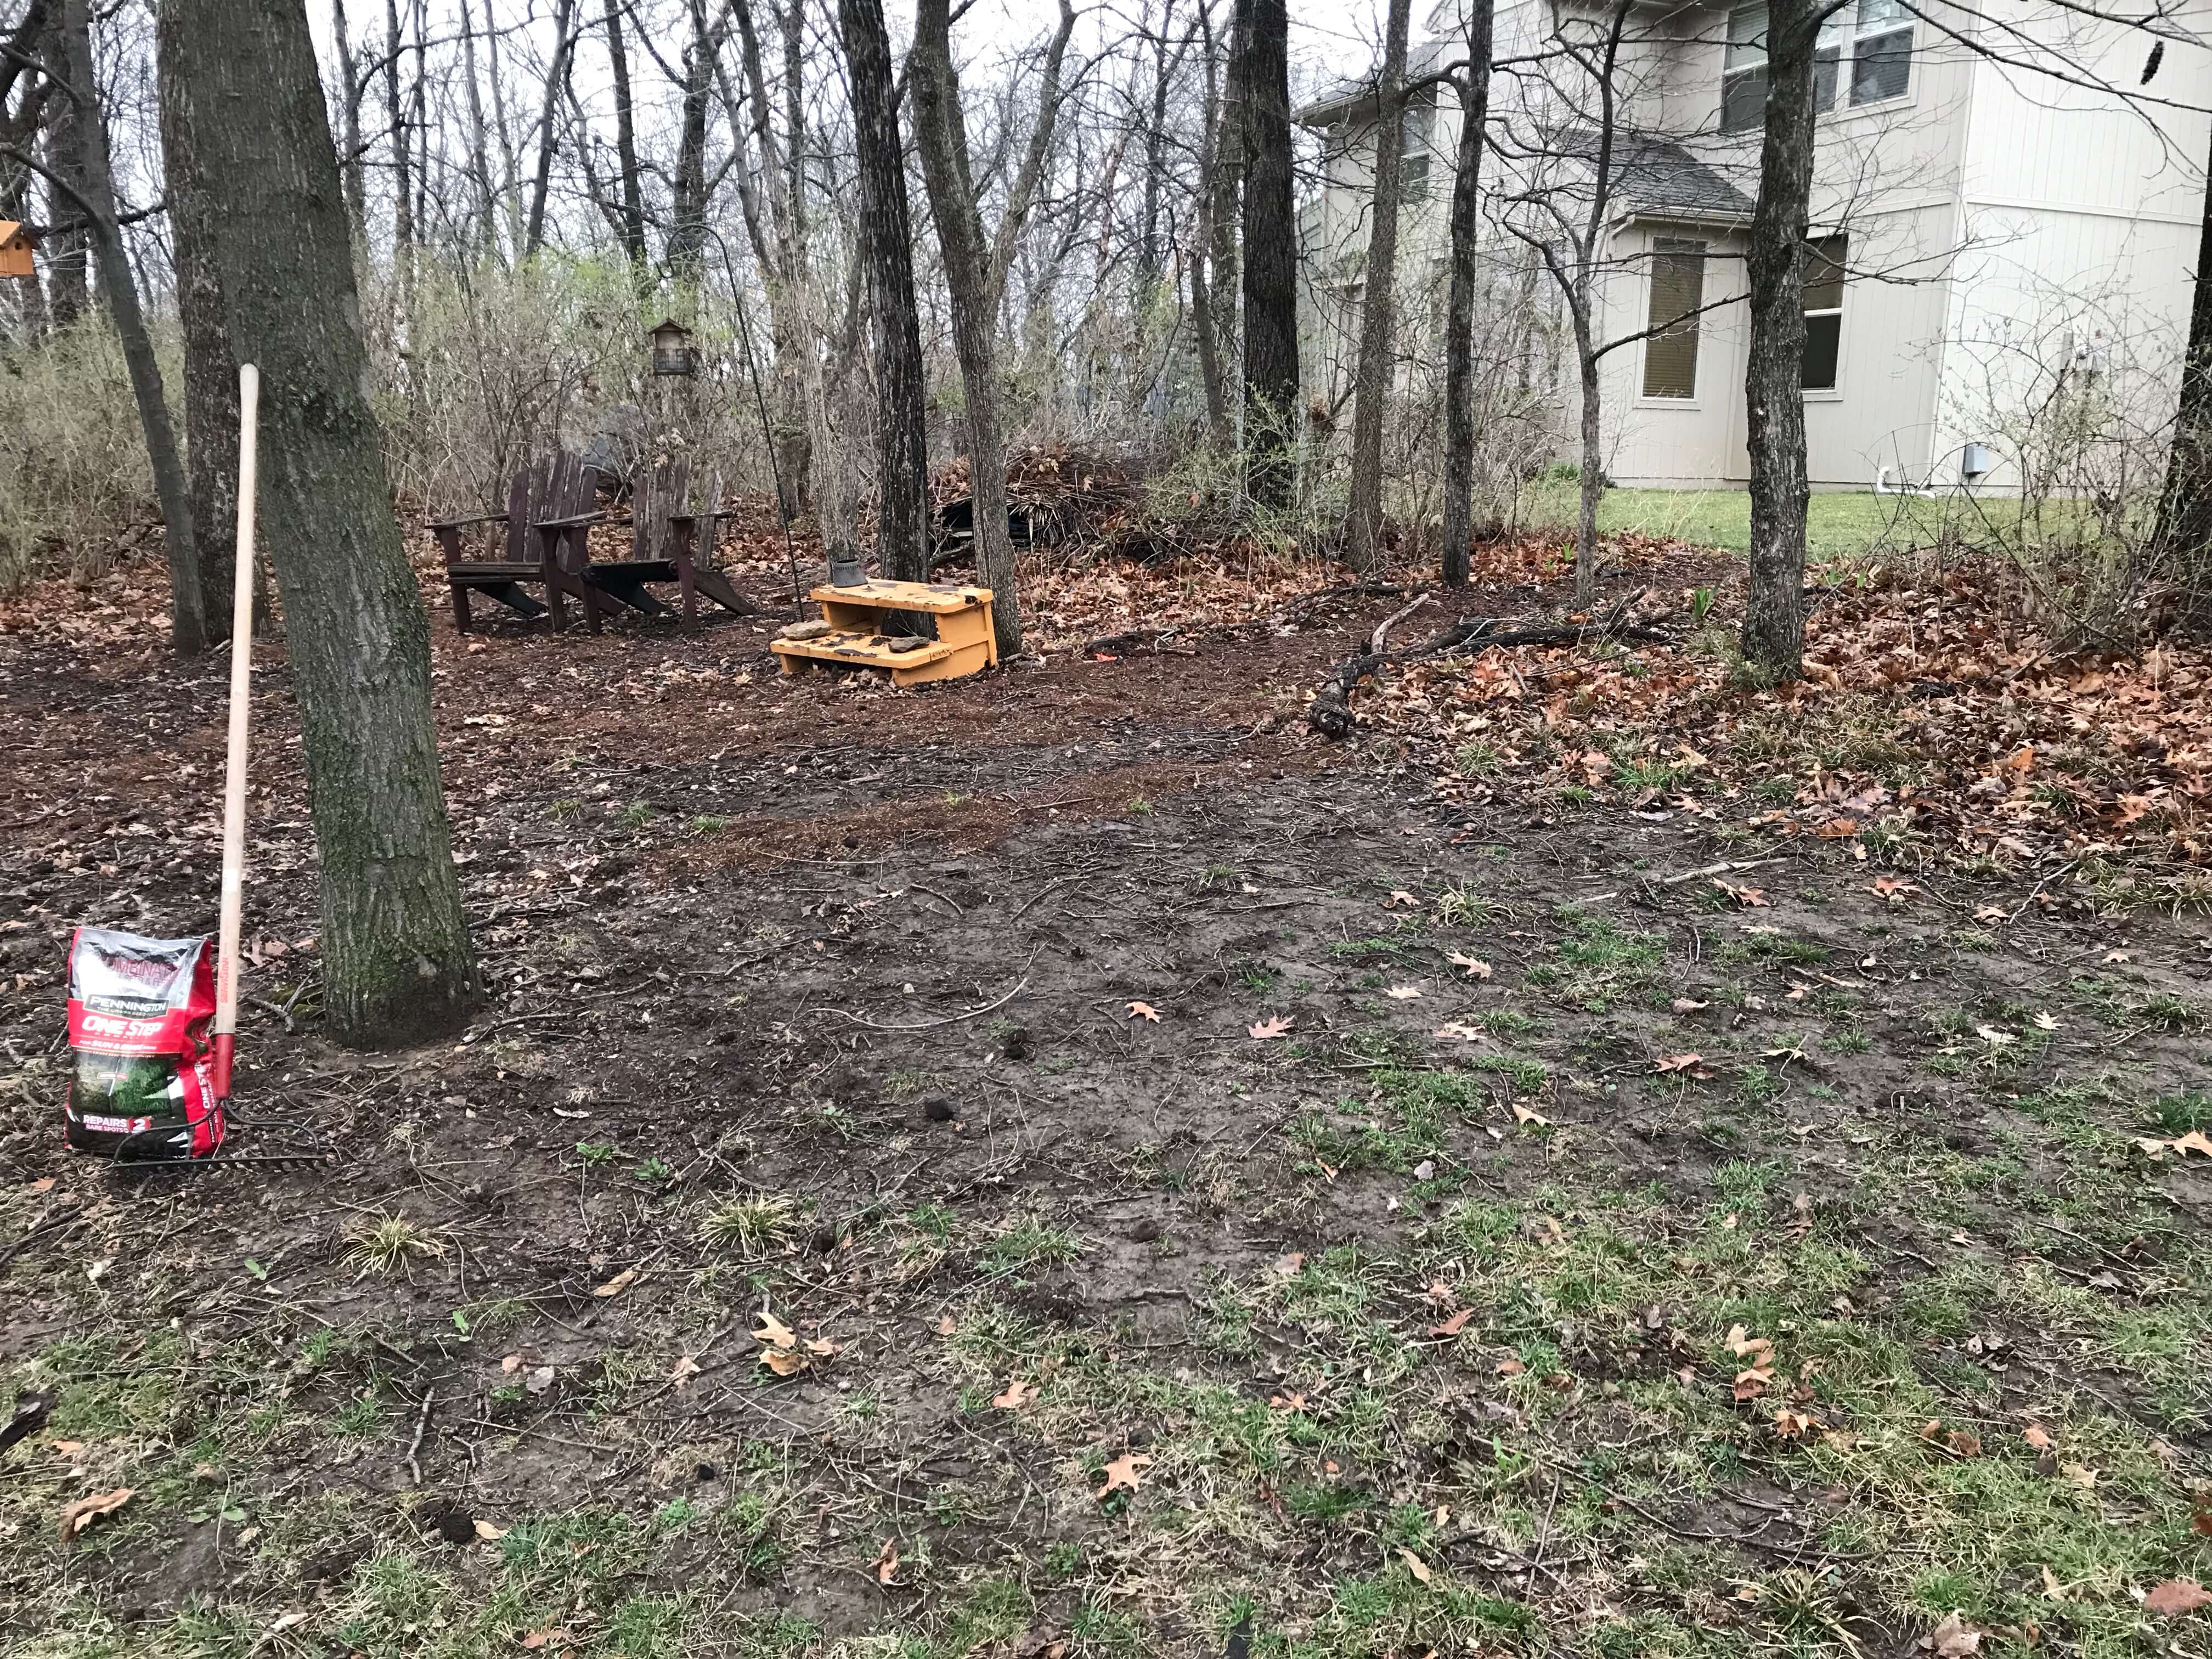
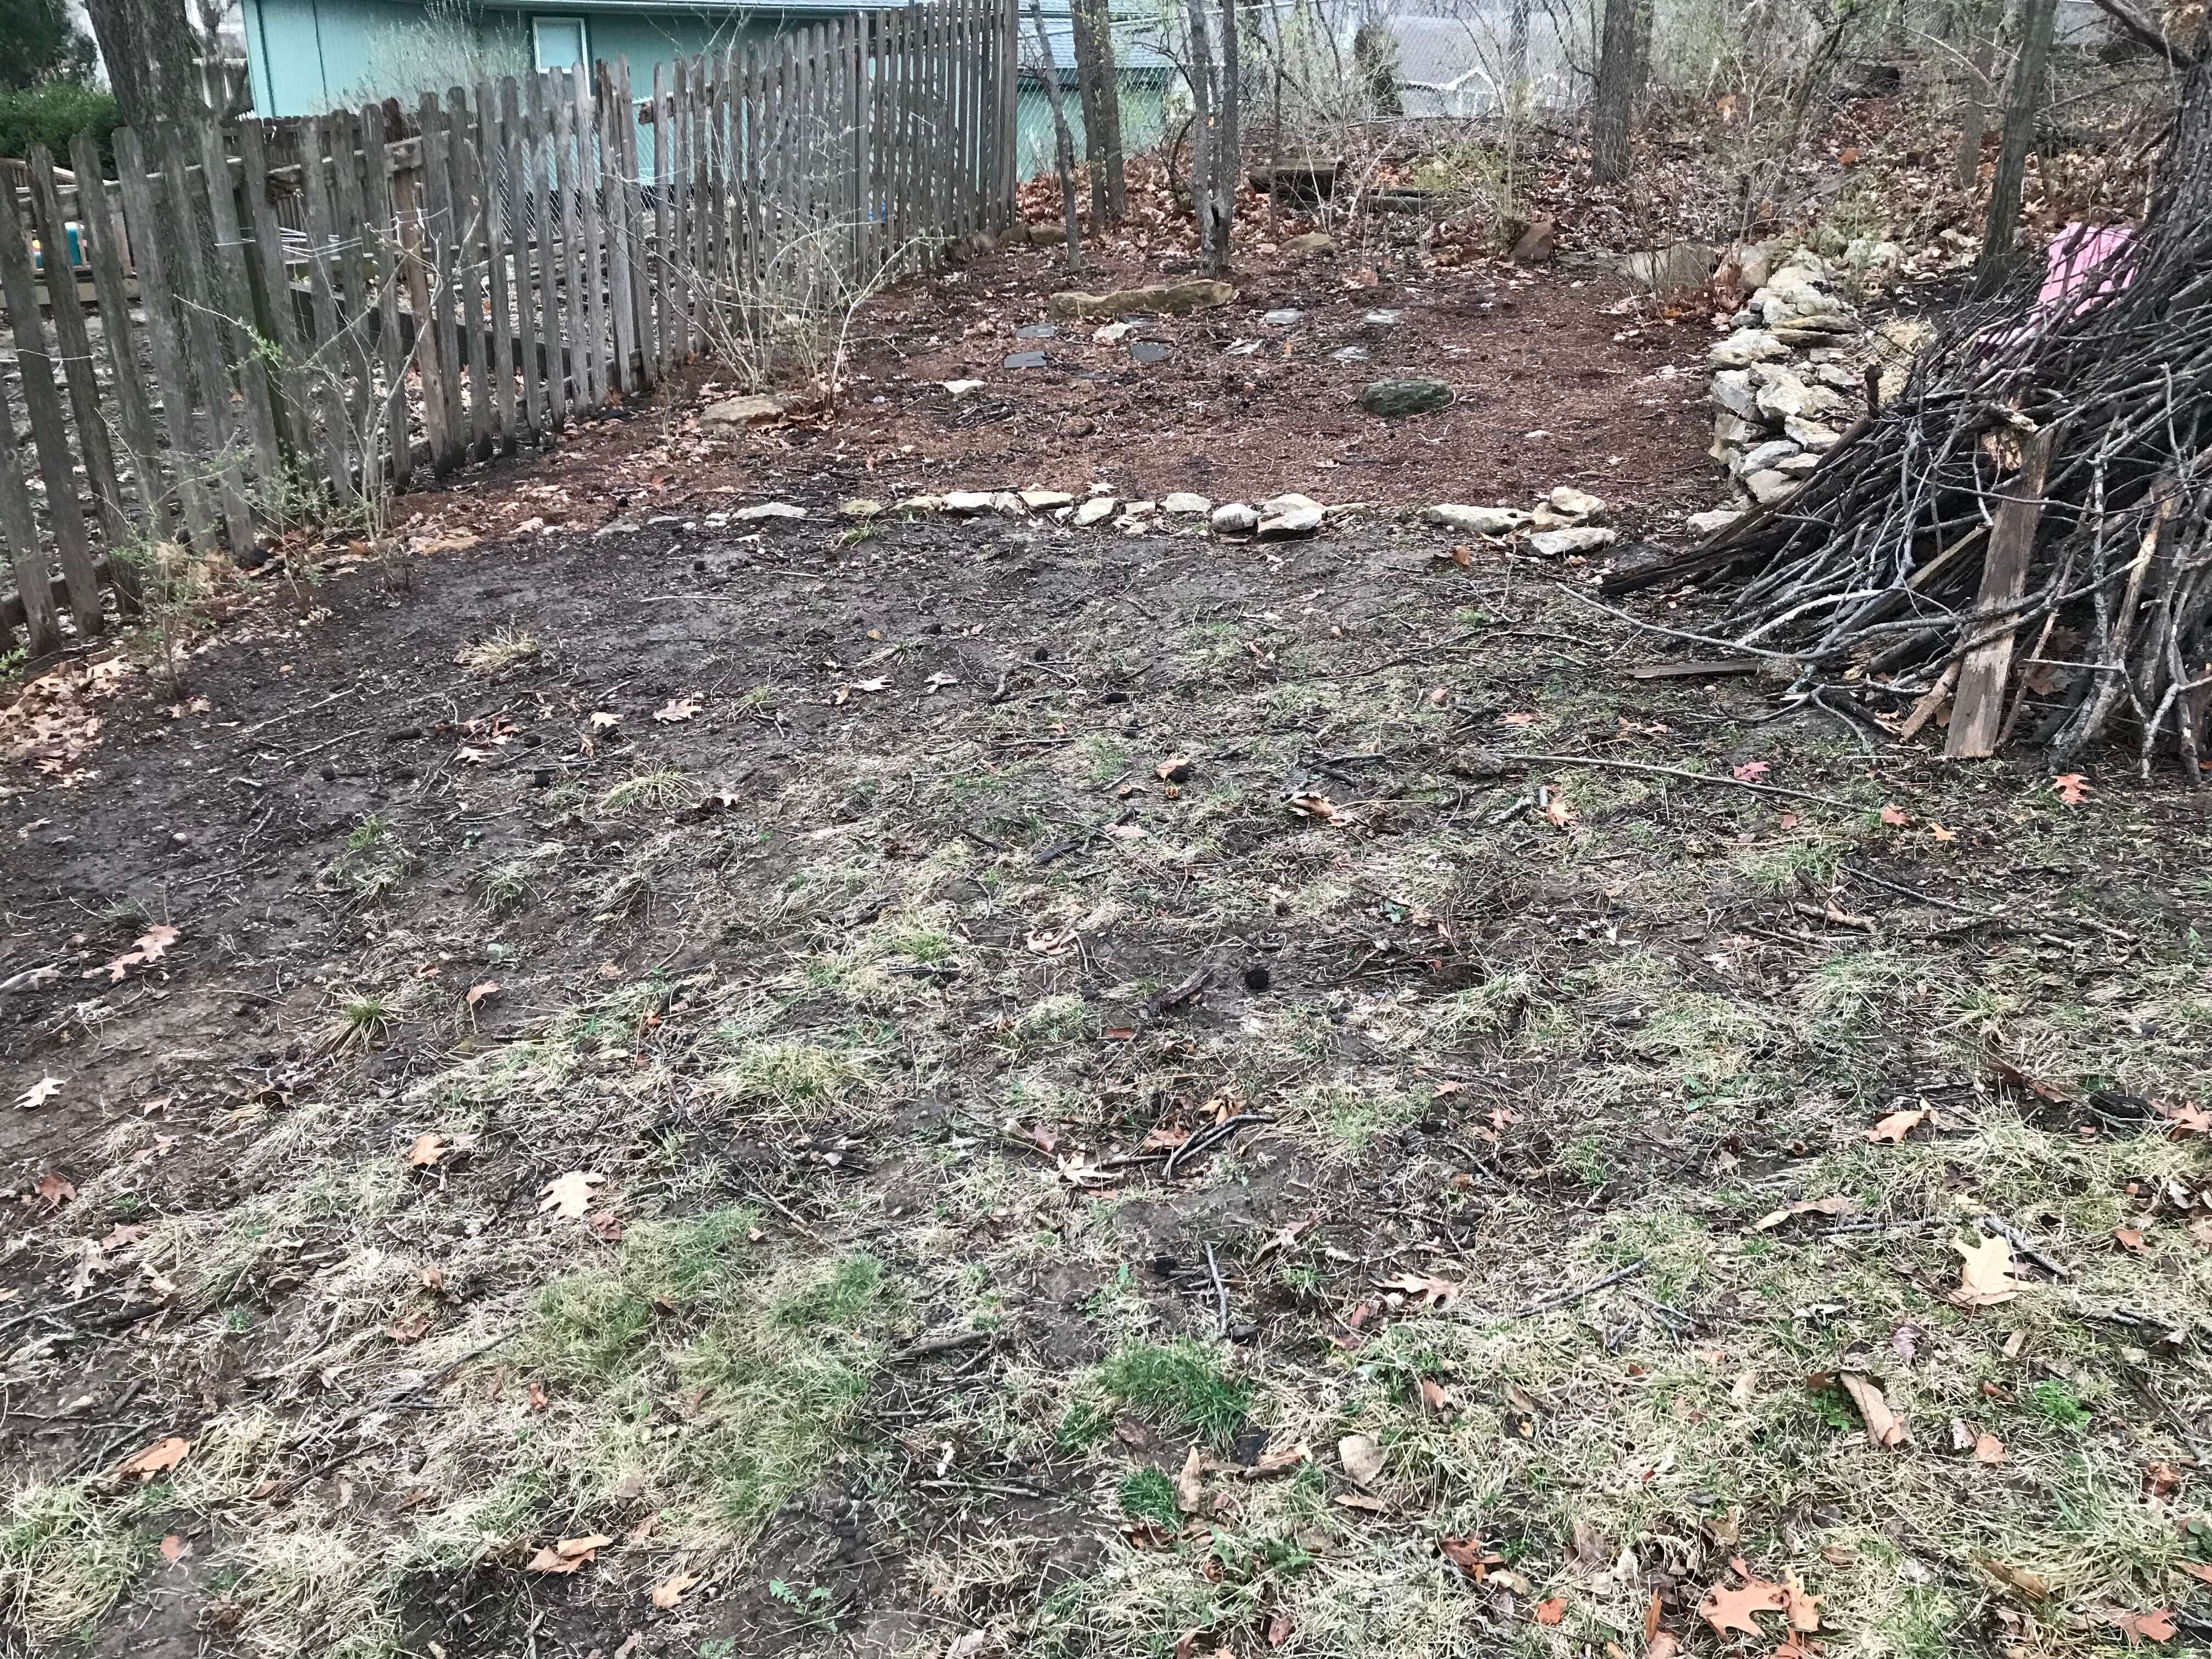
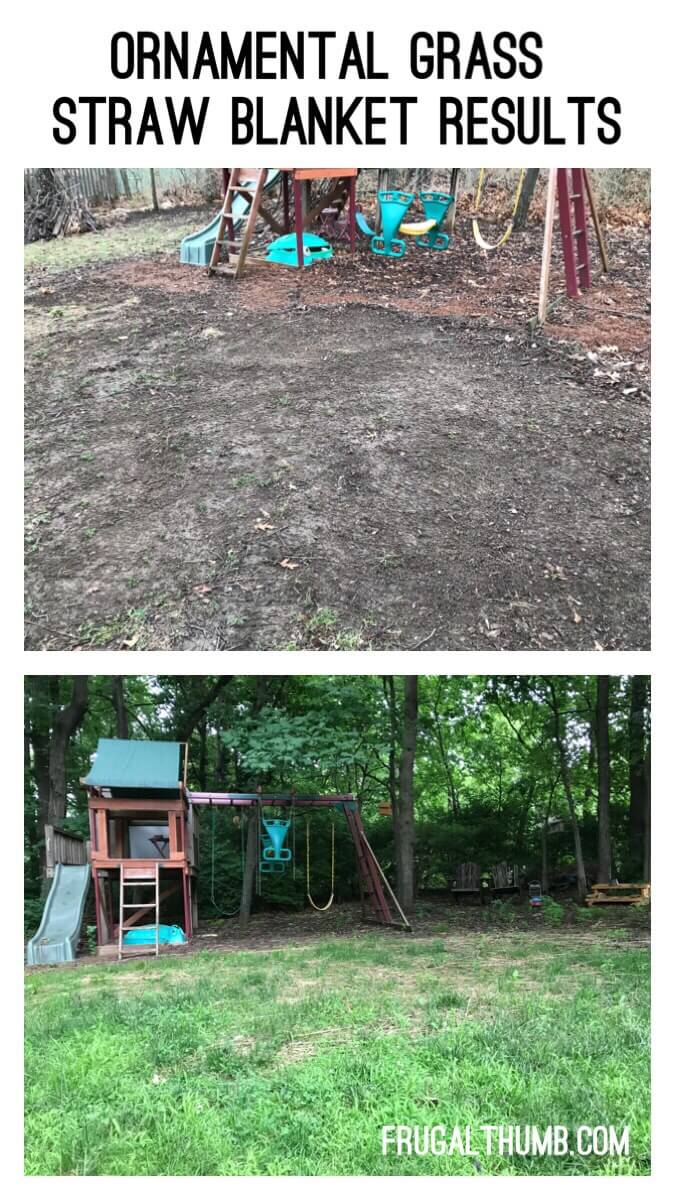
We were getting quite a large bald spot on our lawn in front of our kid’s playset, and towards the back of our backyard in general. Nothing was growing there. Any time it rained, it became a muddy mess- right where the kids would be running to get to the equipment.
Before:
You could buy a straw blanket specifically for this purpose at the store, like the $20 ones pictured below. OR…
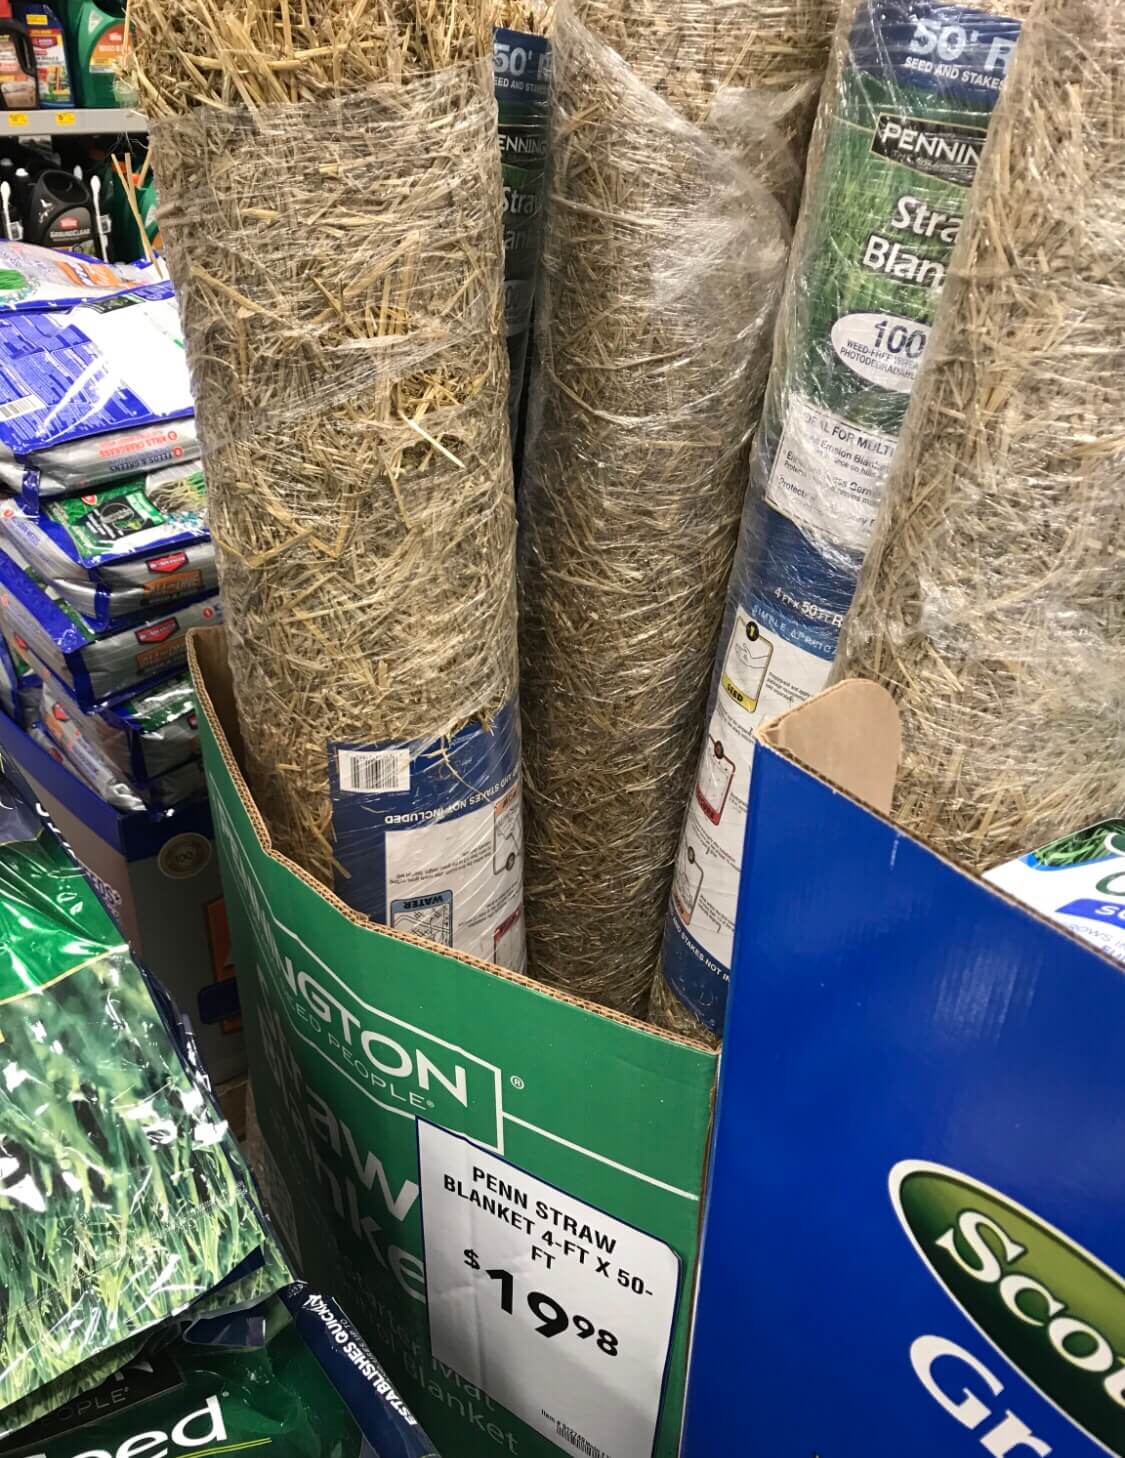
You could create your own!
If you have ornamental grass in your yard and can create your own, you’ll save money and have the satisfaction of knowing that you minimized the number of bags of lawn waste from your yard- a kinder option for the environment.
If you’re interested in why straw is recommended to cover grass seed when you’re trying to grow it in your yard, you can read about it at the link below. I found it to be a helpful read. Since bags of grass seed can be expensive (at least it seemed that way to me), I wanted to make sure I did my due diligence so it would grow.
https://www.todayshomeowner.com/benefits-of-spreading-straw-or-mulch-over-grass-seed/
So now if you’re ready to tackle this project, it’s really quite simple. Since the ornamental grass needed to be cut anyway, we’re just adding a few extra steps before and after to use it as straw. Here’s a quick little tutorial to show you what I did.
Supplies
- Rake
- Gloves
- Bag of grass seed
- Ornamental grass grown in your yard
- Hedge trimmer
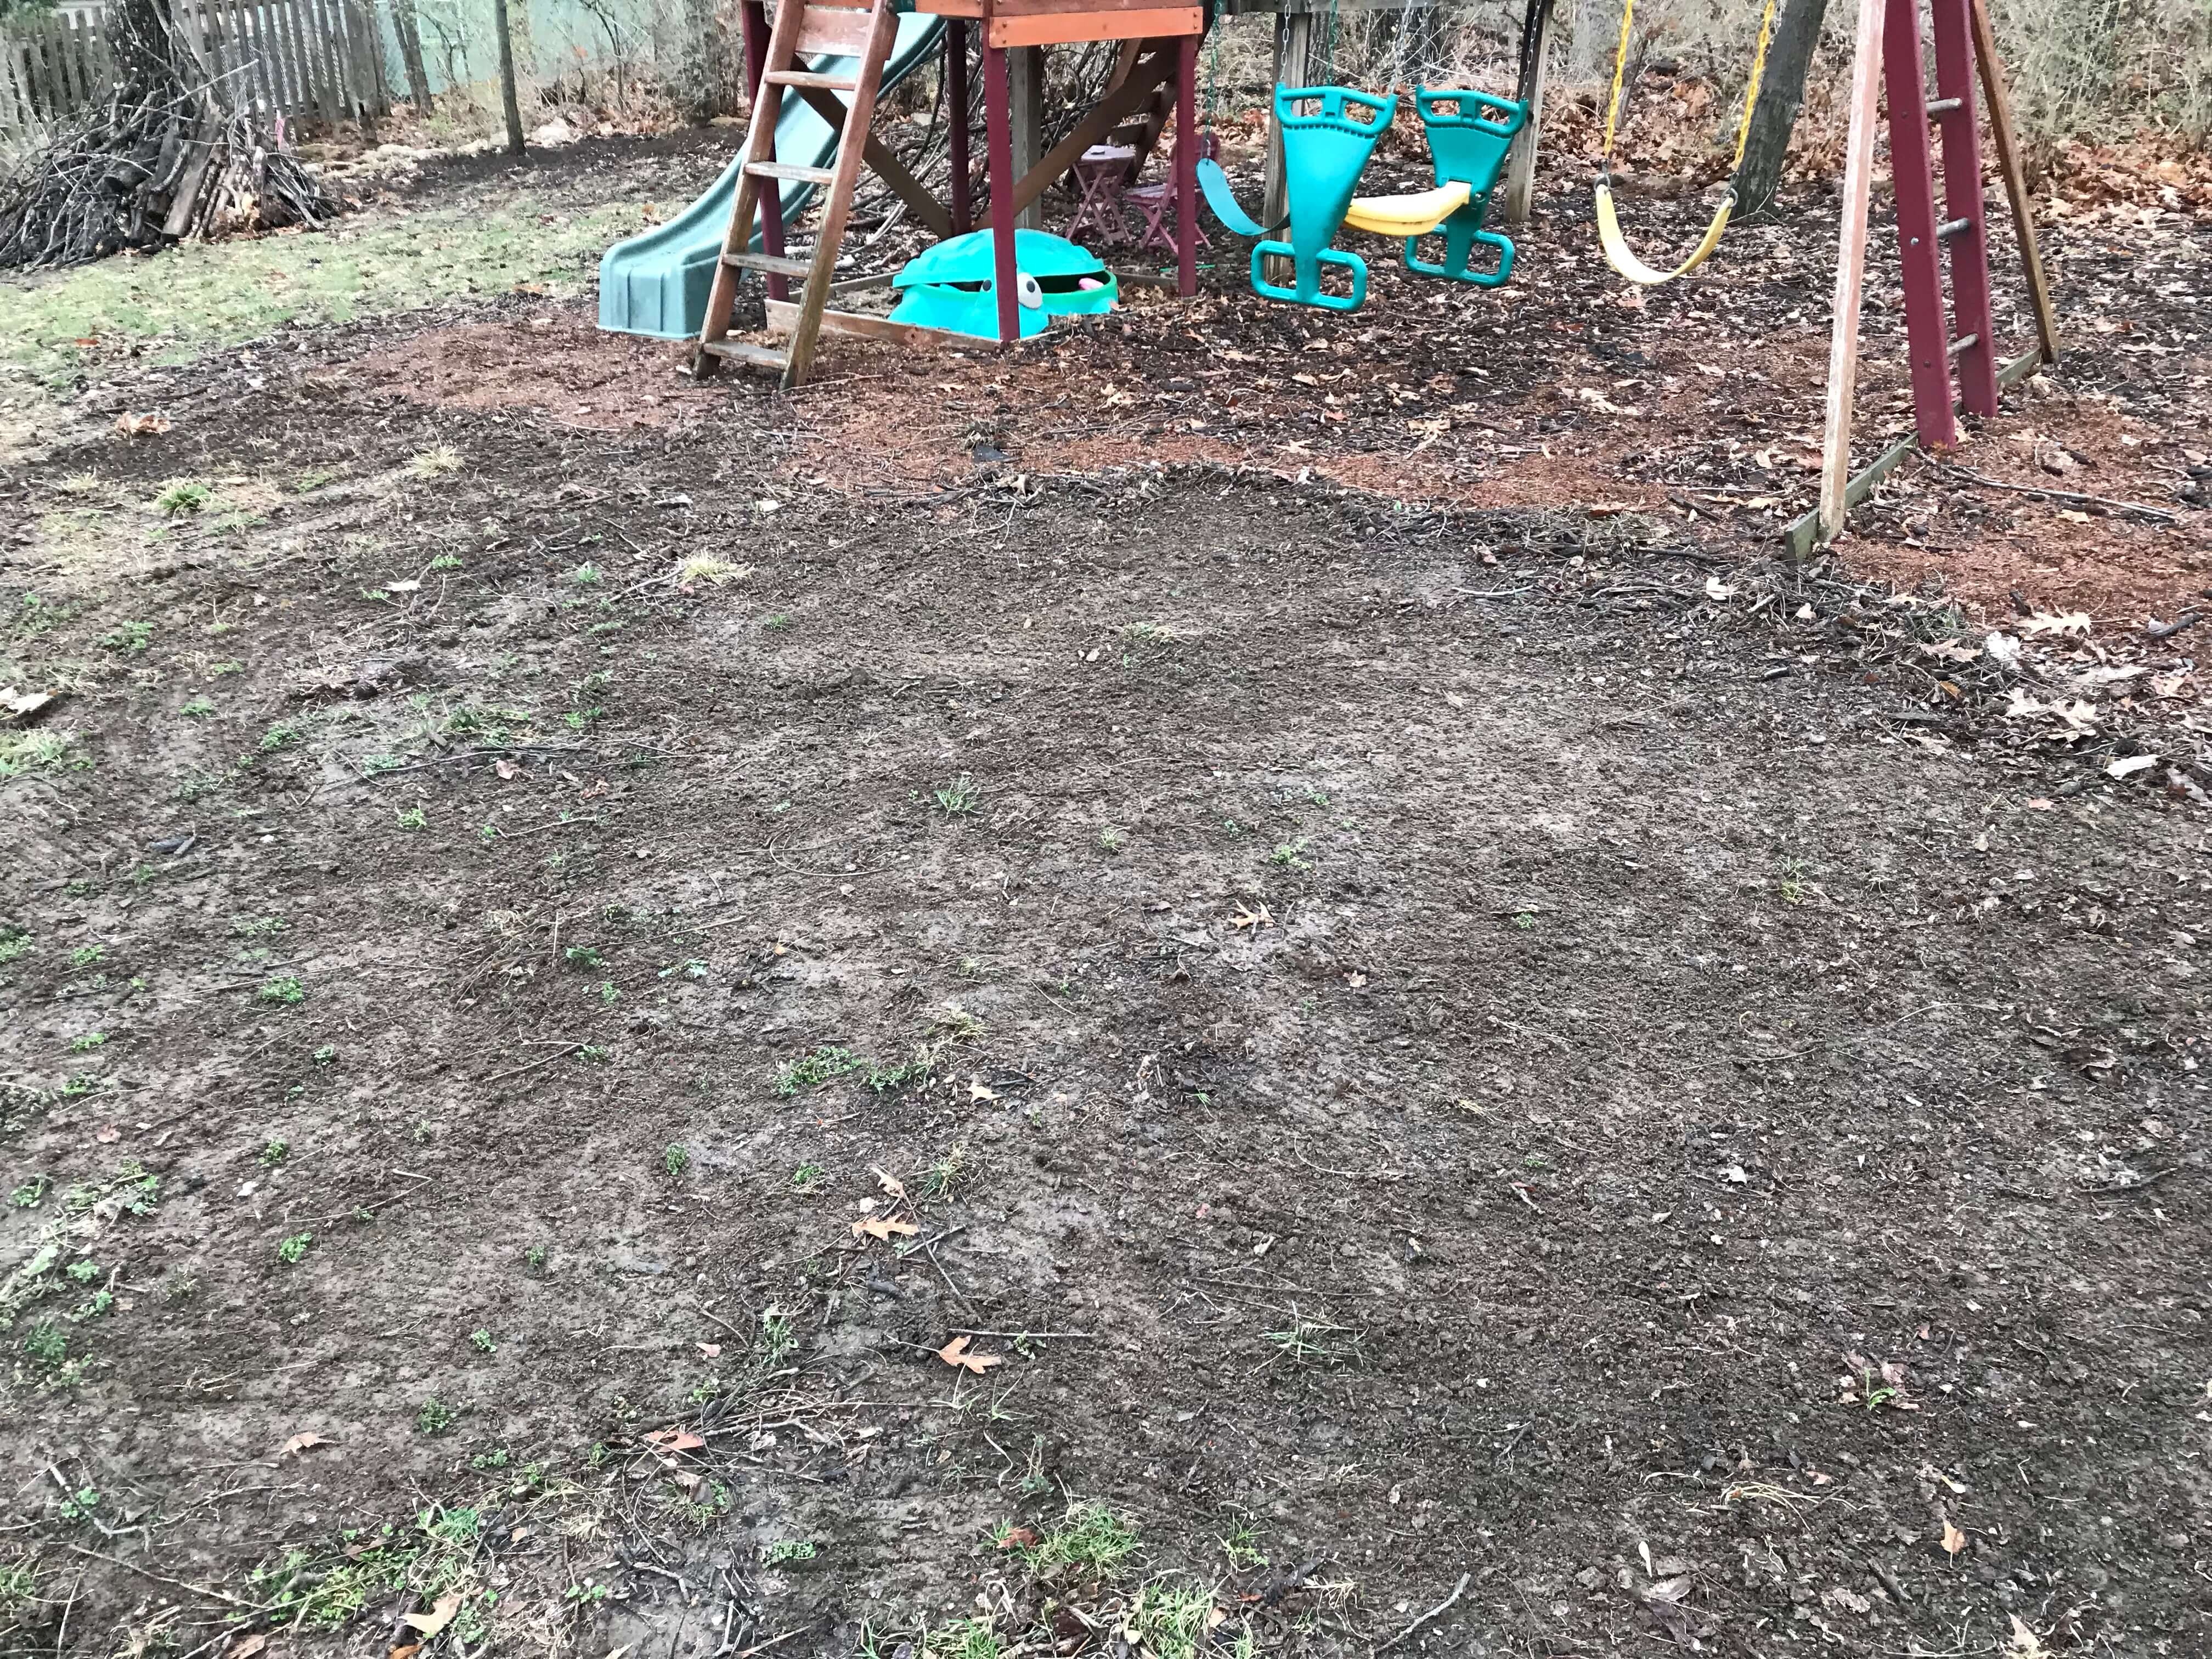
Step 1: Rake the area where you will be planting the grass seed. You want that soil to be loose and free of weeds/leaves/etc.
Here’s a picture of the raked ground where I needed to sow the grass seed in my backyard. I did this after a rain so the ground was soft and it made this step much easier.
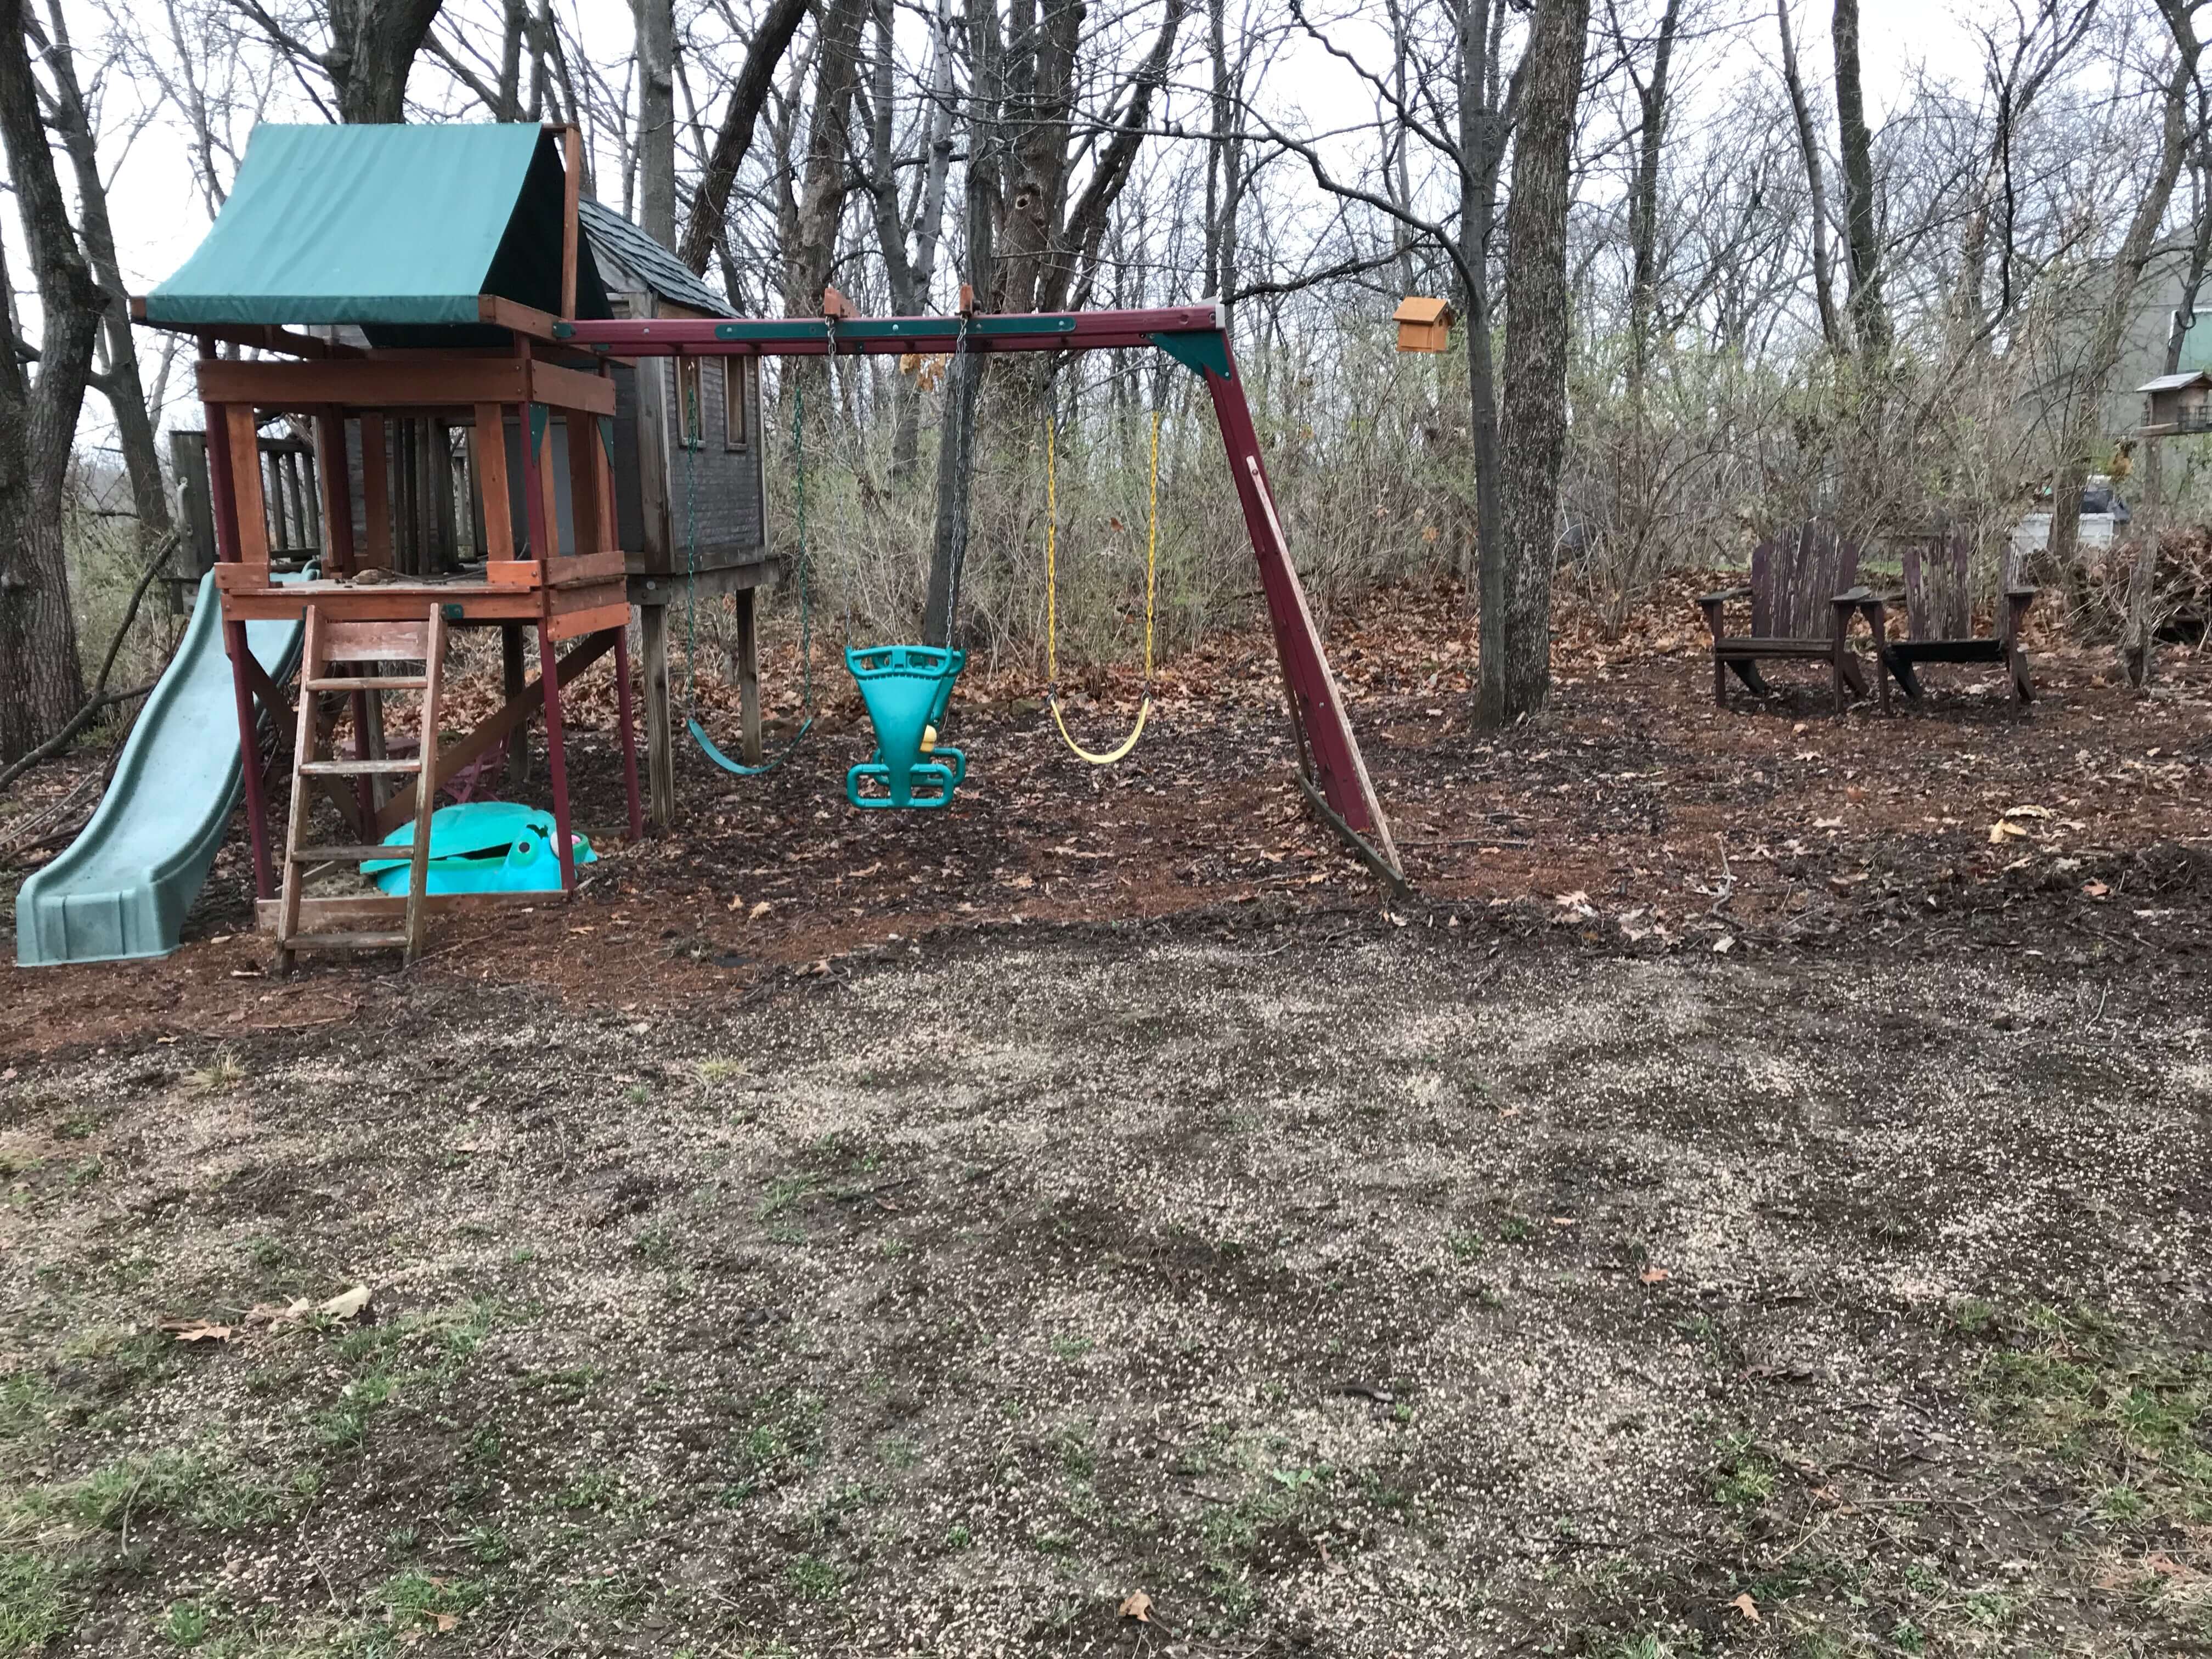
Step 2: Sprinkle on the grass seed.
This was kinda fun! I felt like a nature fairy, sprinkling the seed over the newly raked earth.
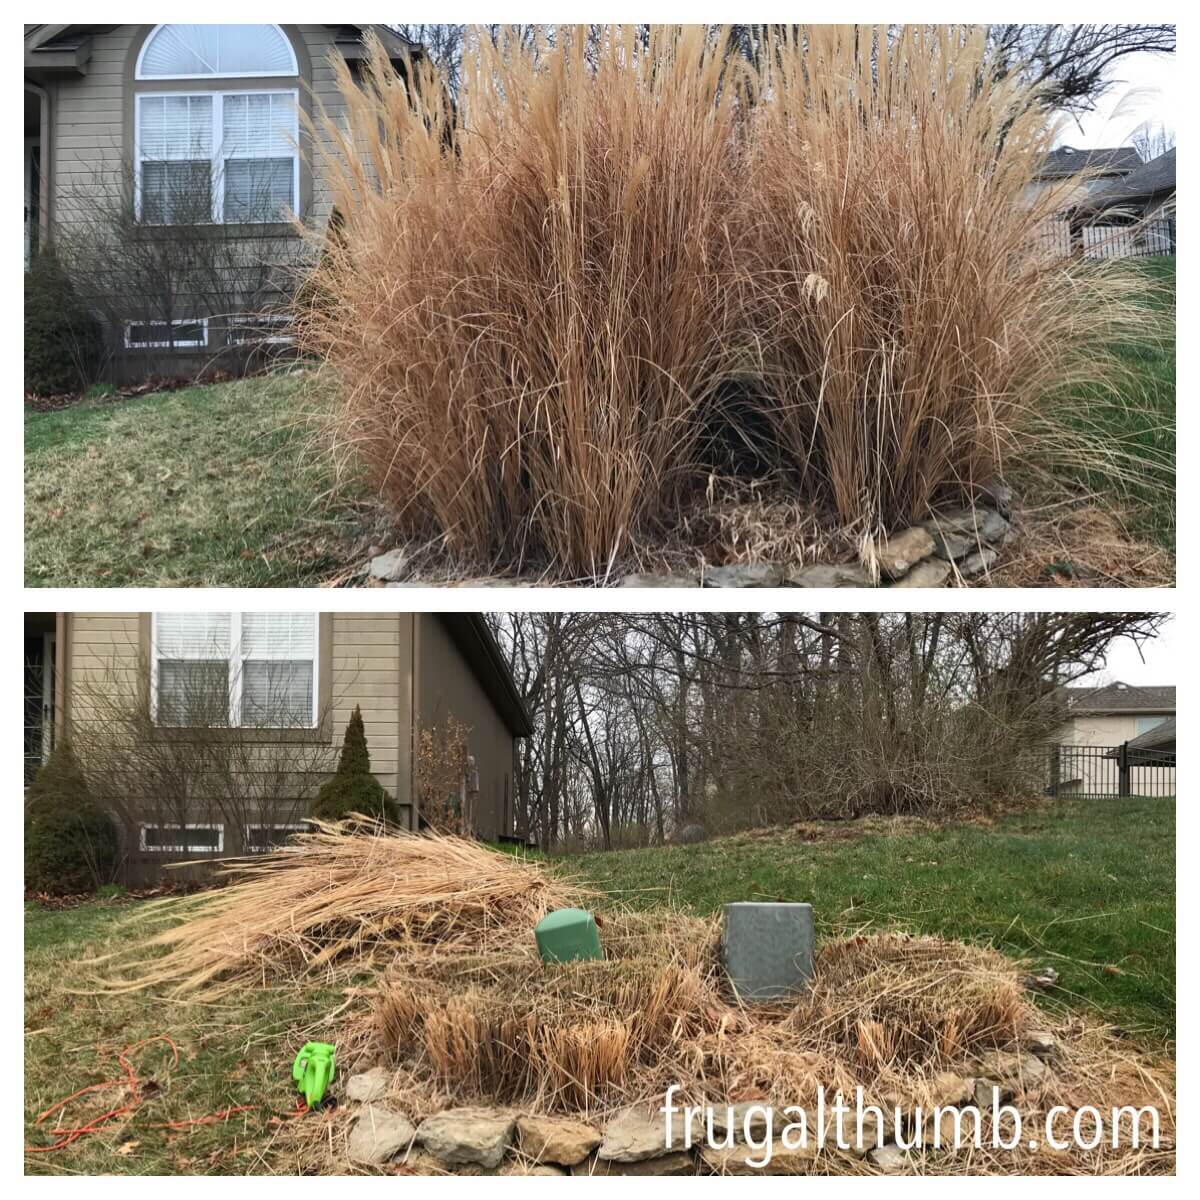
Step 3: Cut down your ornamental grass and chop it up with your hedge trimmer.
By waiting until the spring to do this, I didn’t have to store the straw over the winter, it was more brittle and easier to cut down, and it hid our utilities awhile longer. This is our ornamental grass in the front yard that became more than enough straw to use on the bald spots in our backyard.
Step 4: Spread the newly created straw thinly across all of the grass seed.
Easy peasy.
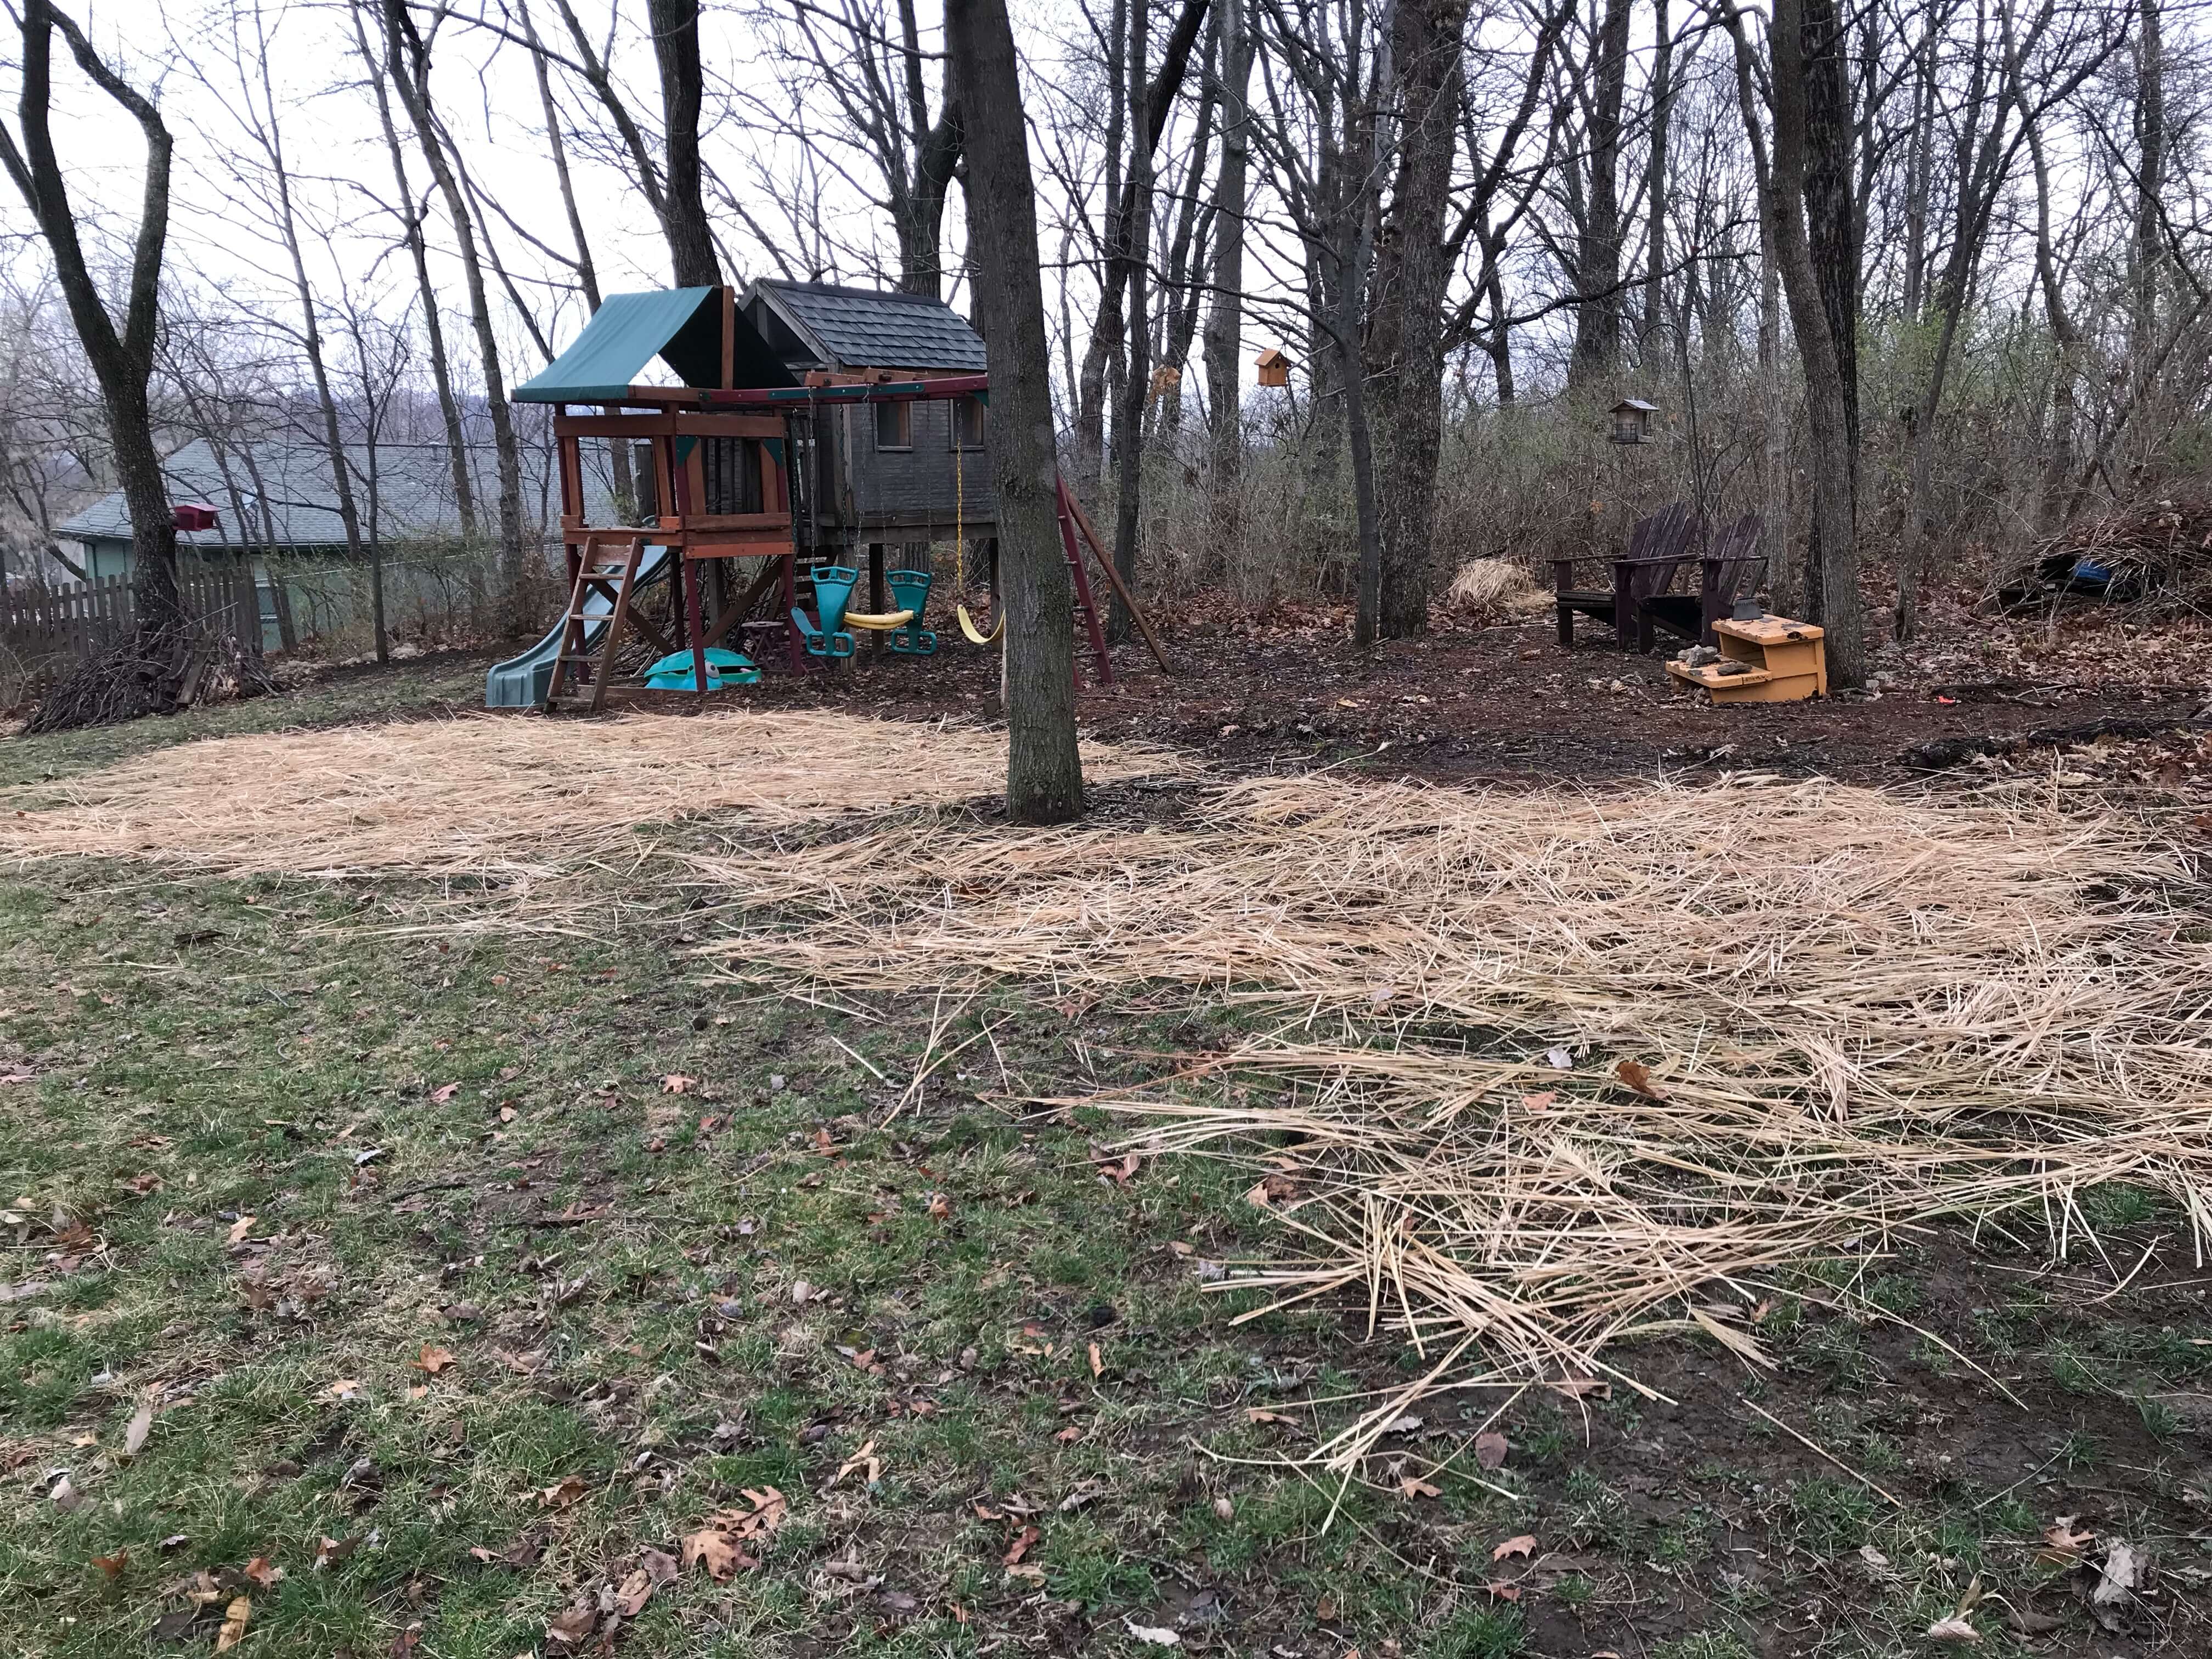
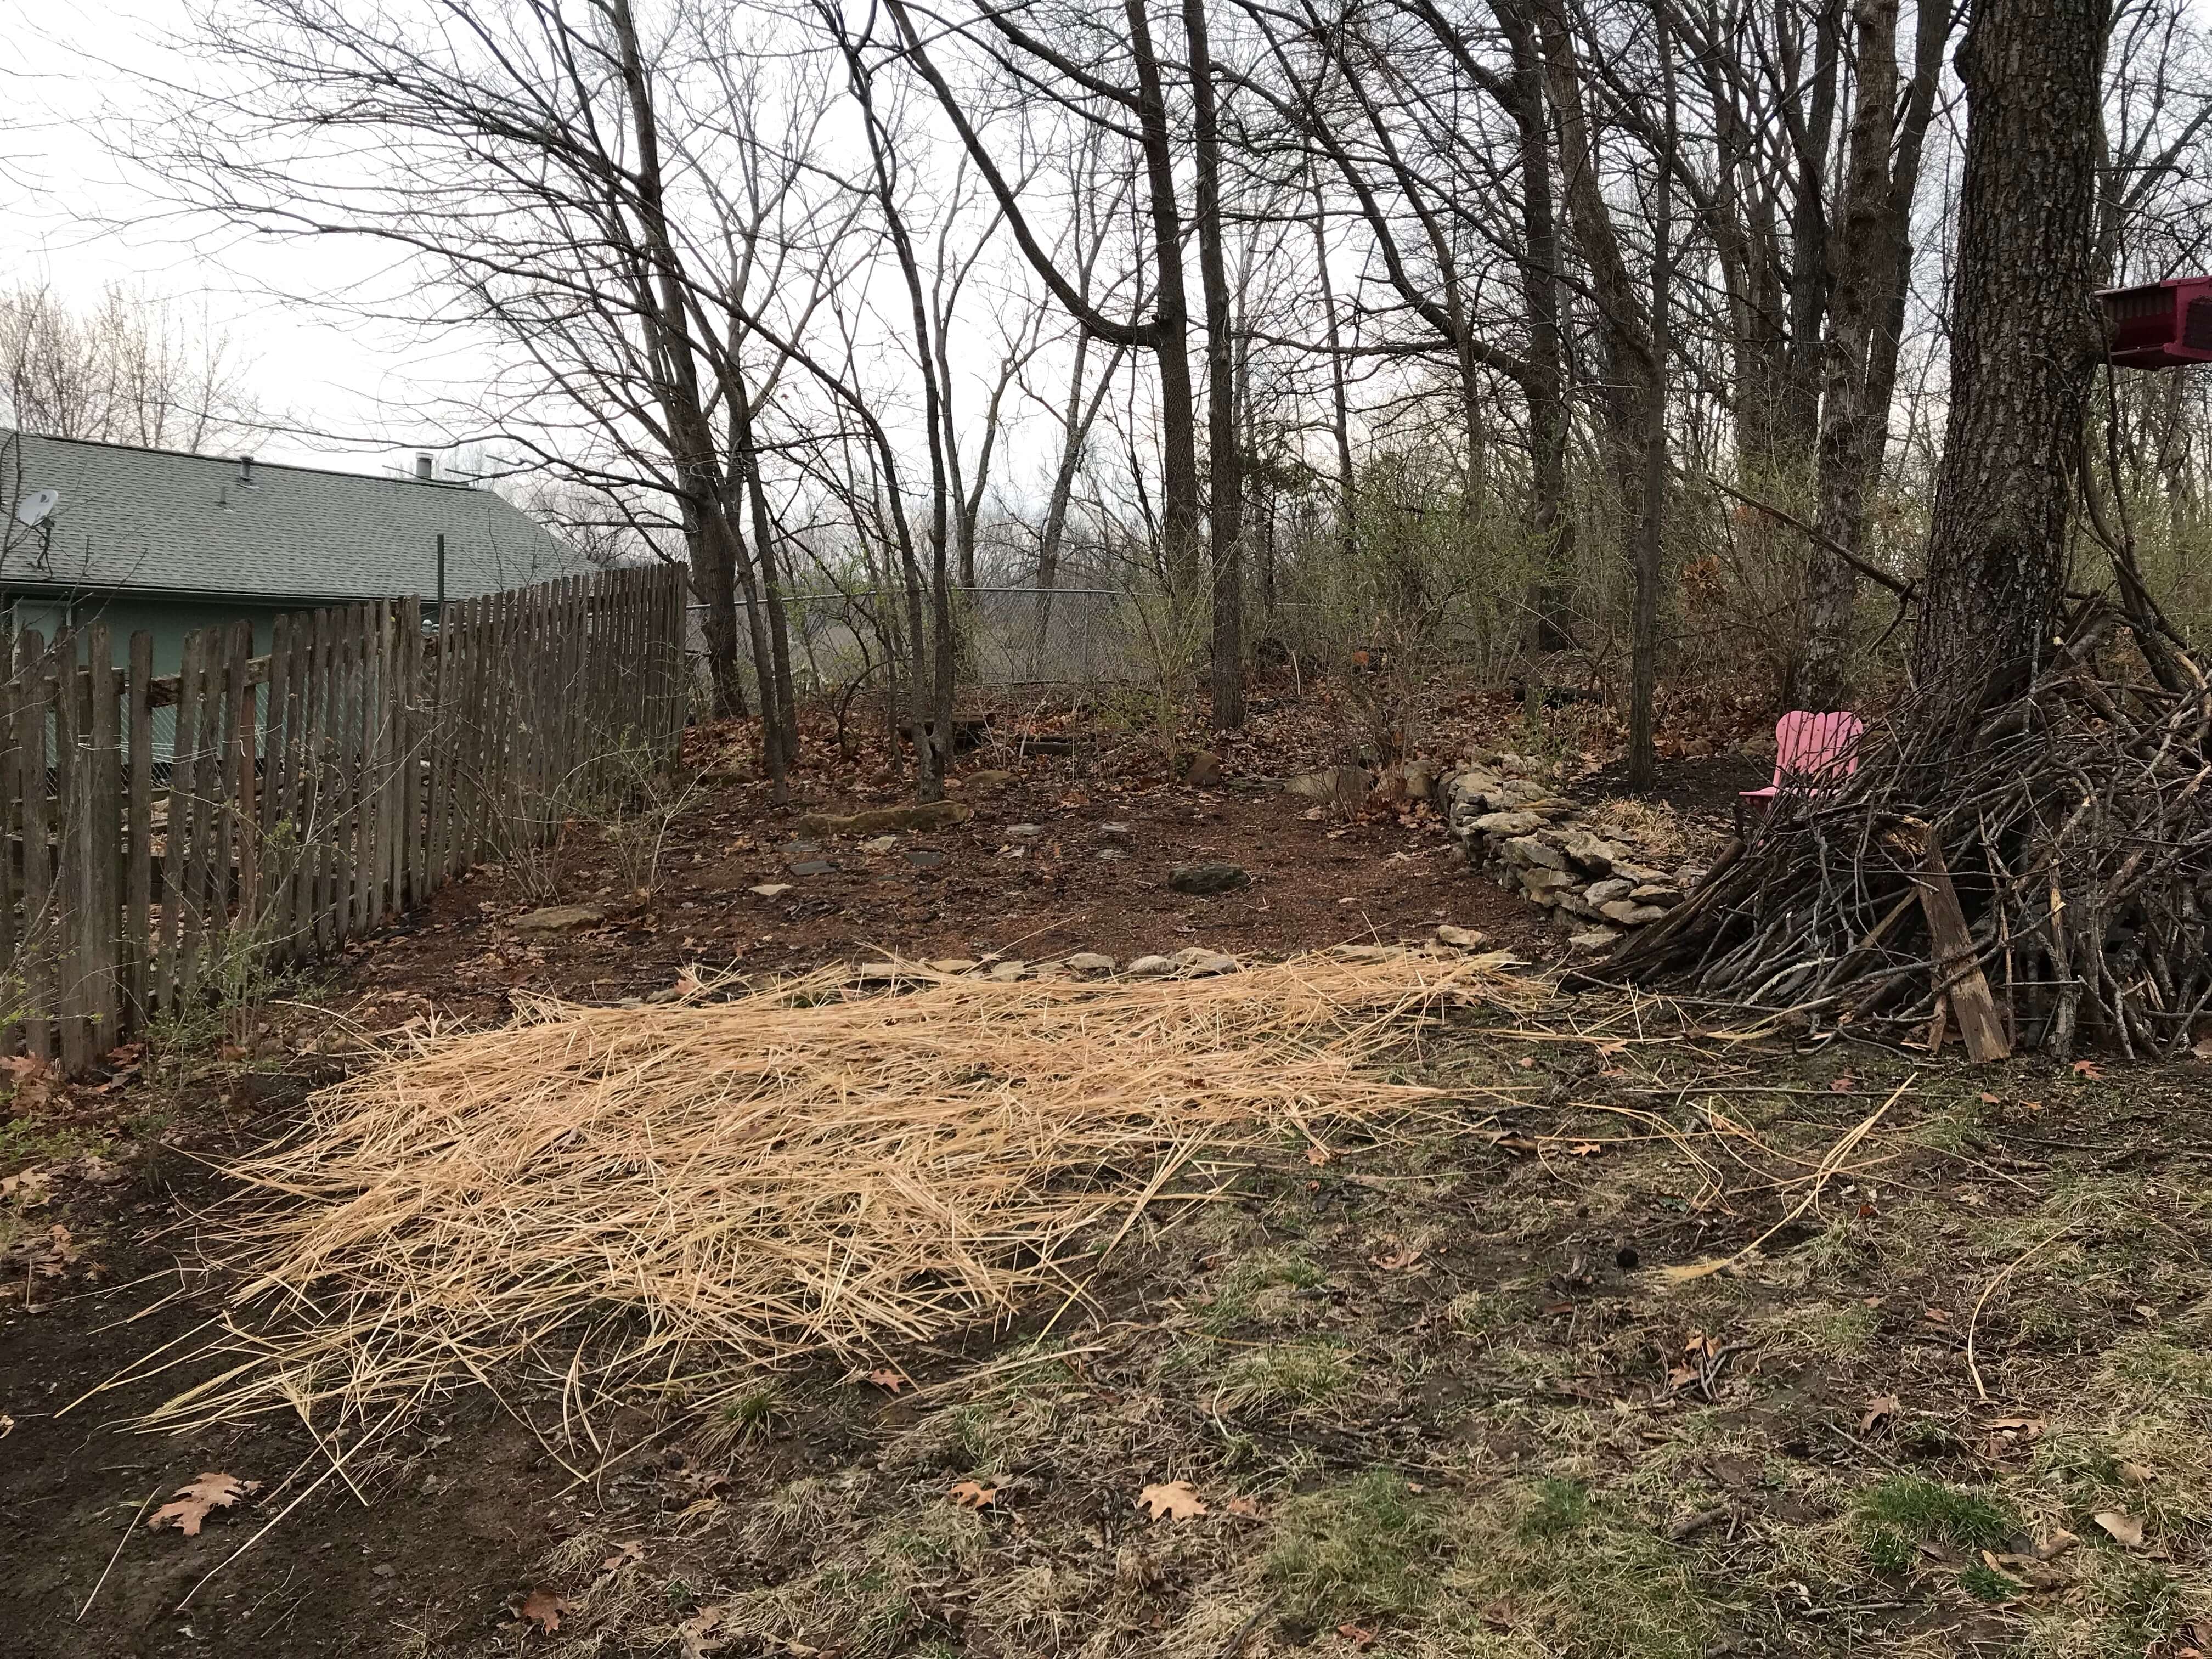
Step 5: Water.
It’s important to water the grass seed daily or every other day for a few weeks so it can take hold.
After:
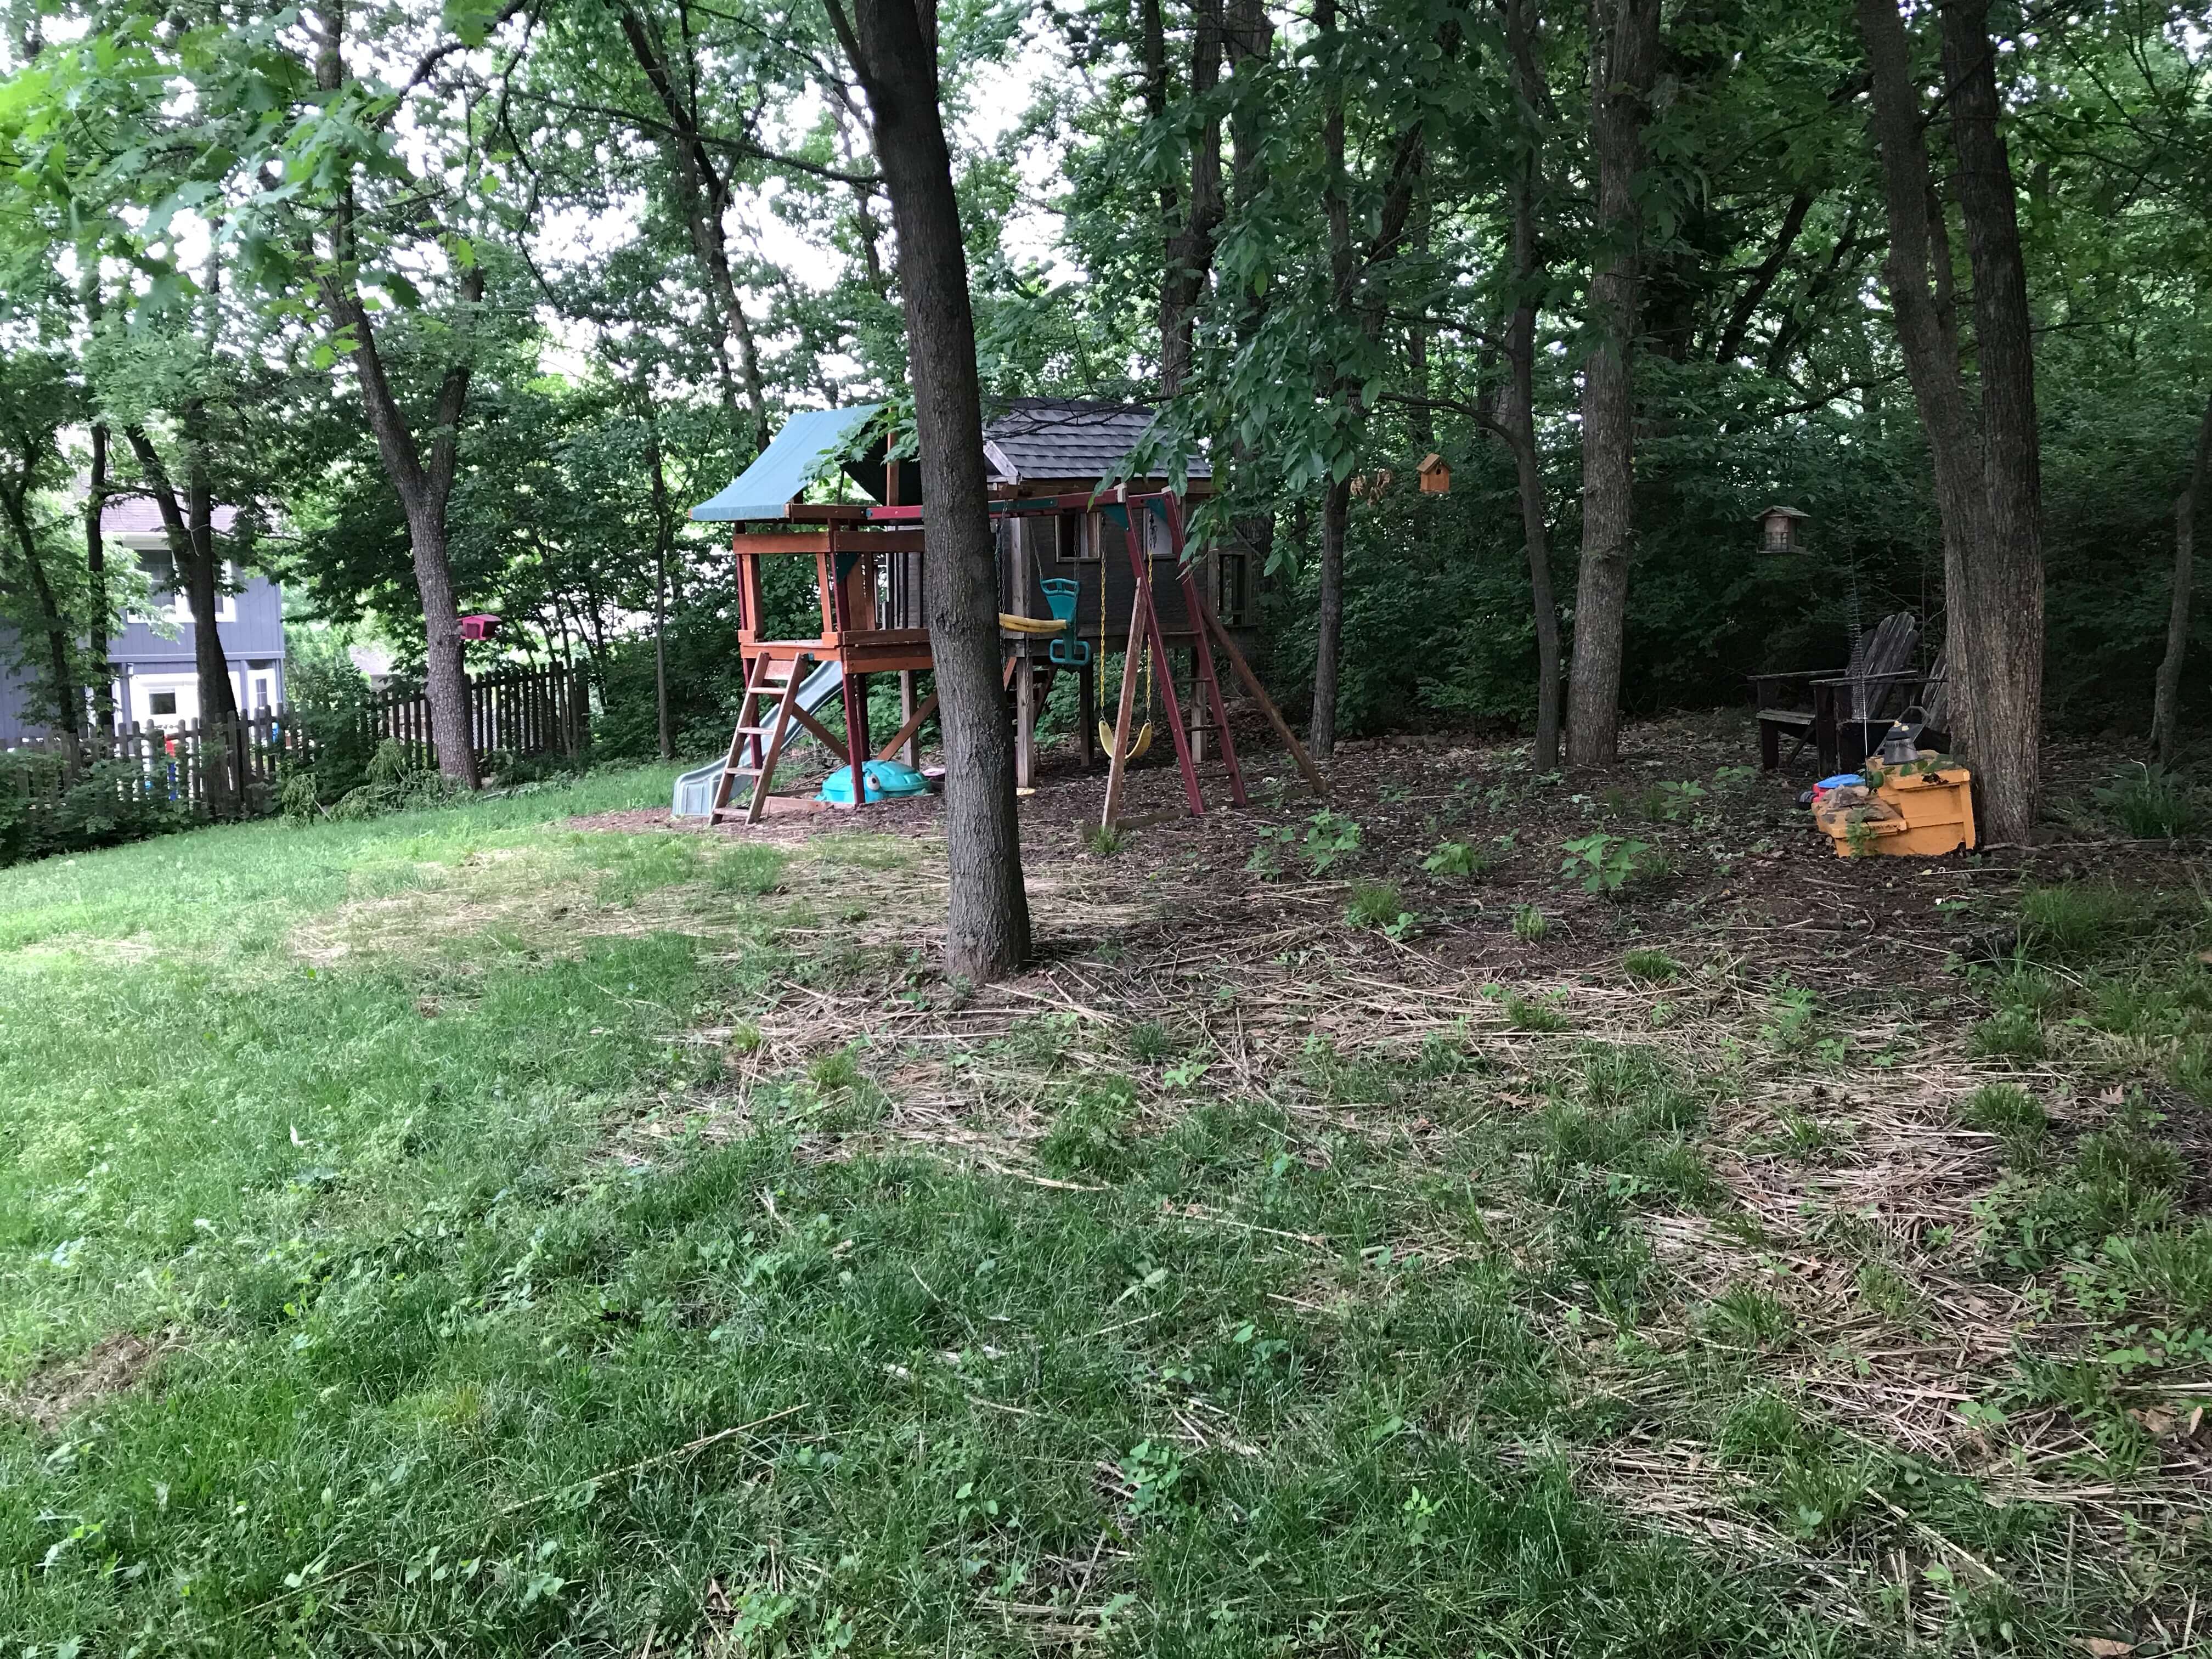
And here we are about 6 weeks later. It’s still a bit patchy, but it’s so much better than the completely void-of-life dirt pile we had before.
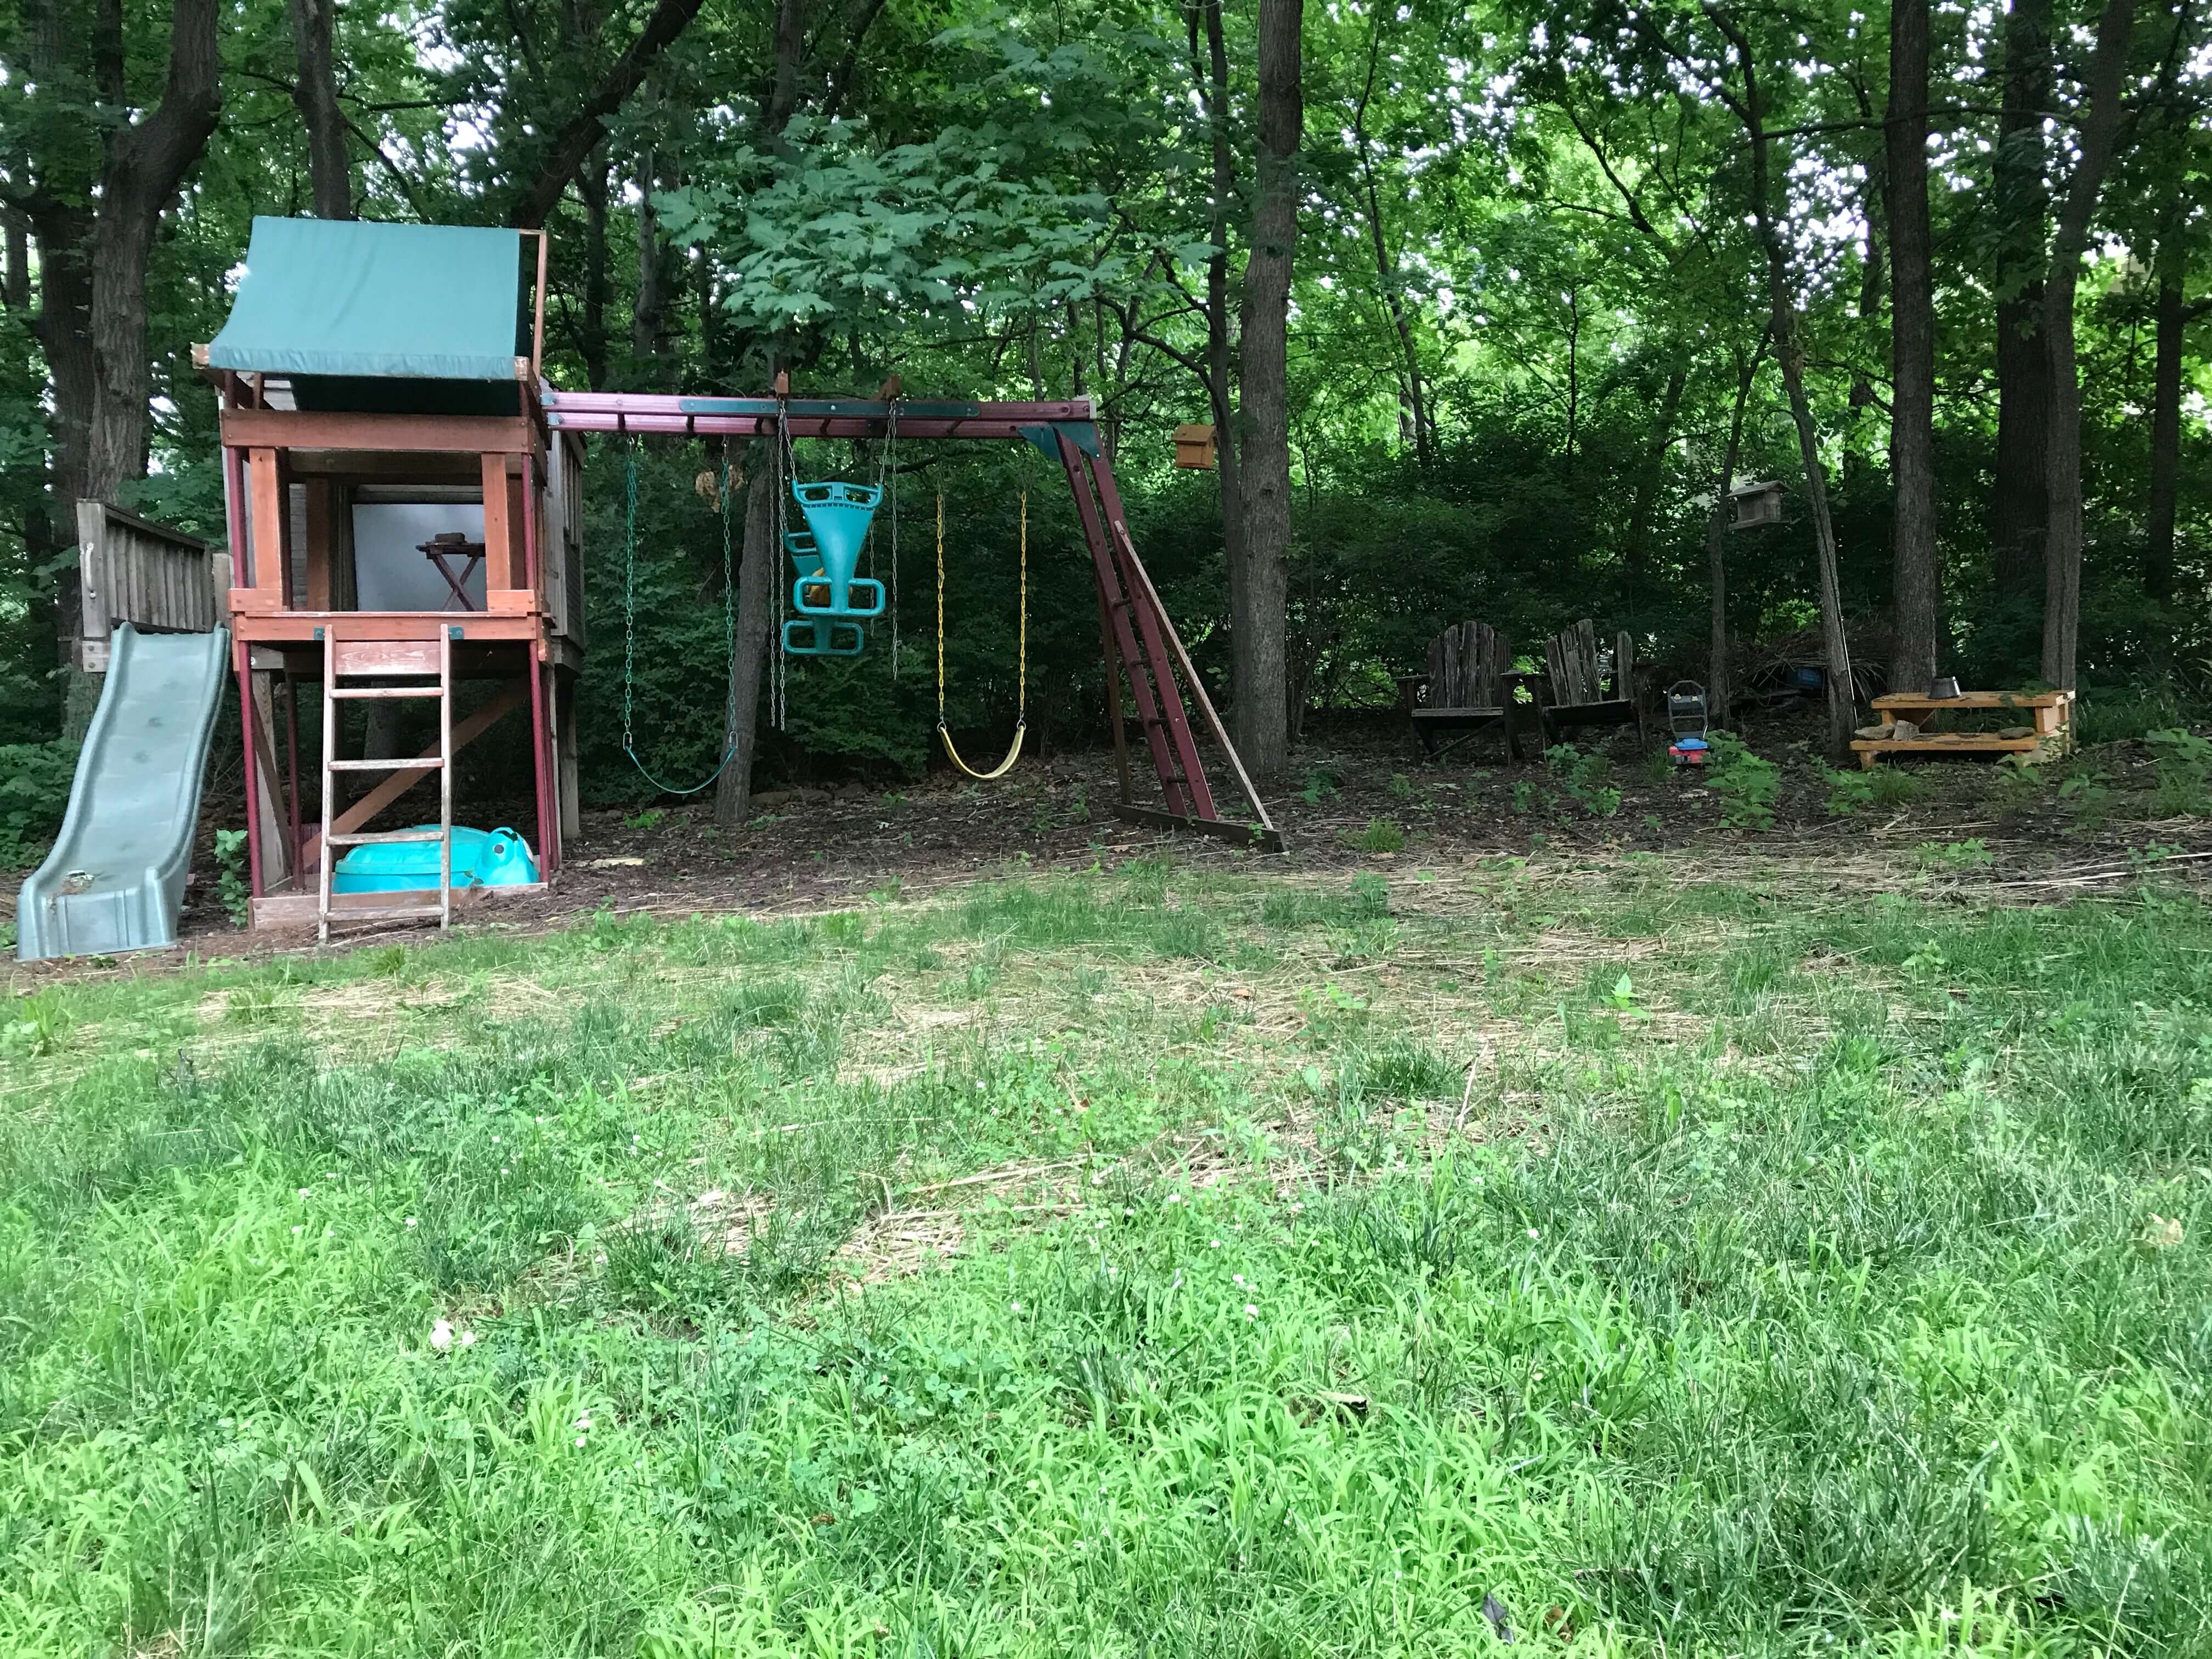
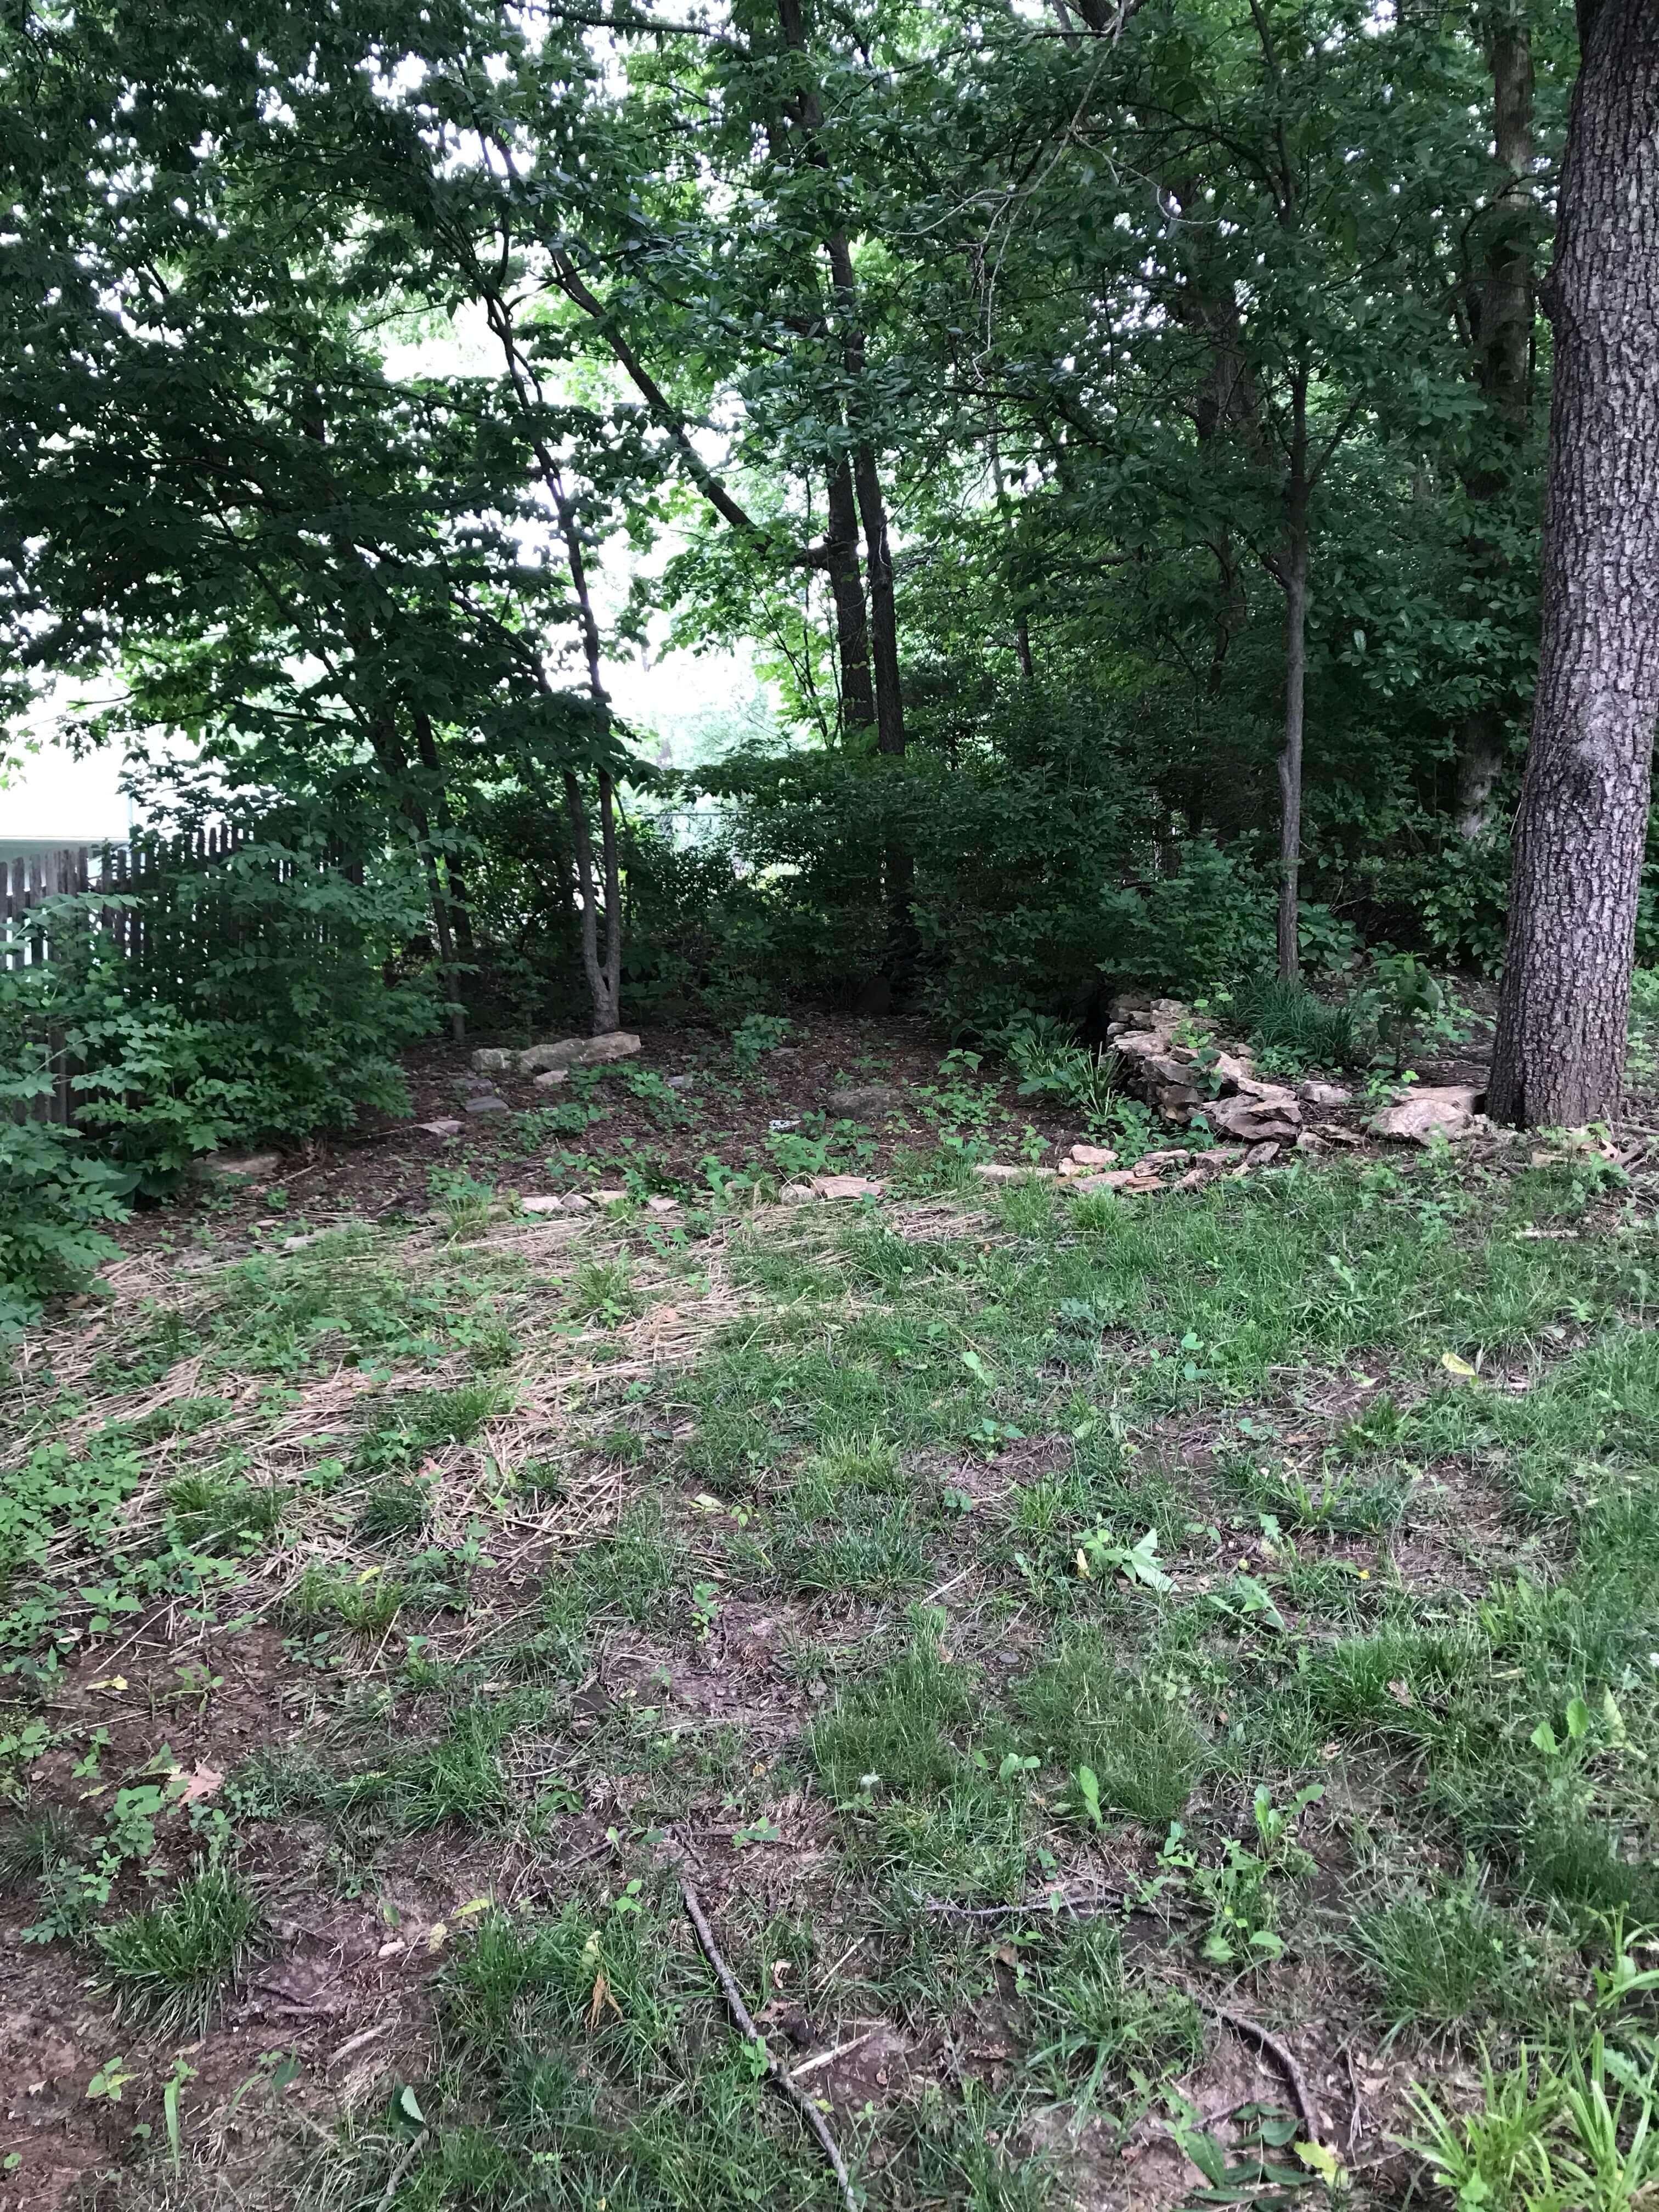
Here’s a look at the “before” and “after” photos together:
I’m very happy with how this turned out using our ornamental grass. I’m so glad I didn’t just bag it up in the fall and set it out for the neighborhood yard waste pickup! You can bet I’ll be doing this again next year.


One comment