
This post may contain affiliate links, meaning, at no additional cost to you, I will earn a commission if you click through and make a qualifying purchase.
You can easily elevate the look of a poster by putting it in a poster-sized picture frame. But picture frames that size are so expensive. What’s a person to do? DIY, of course. 😉
My husband got some free posters from a few Sporting KC soccer games a few years ago.
They had been rolled up and stacked in the guest bedroom closet for a long time when I discovered them. No joke, my husband is a crazy huge Sporting KC fan so there was no way he was going to let me throw these away. Plus, we had already started decorating our guest bedroom with Sporting KC memorabilia, so it only made sense for me to try to find a way to display these in the room. “Happy spouse, happy house!”

There were 4 medium-sized posters and I settled on a large collage look above the headboard of the bed.
You can get an idea of how your posters and picture frames will fill and fit on a wall by cutting newspaper to the size of your posters/frames and taping them to the walls.
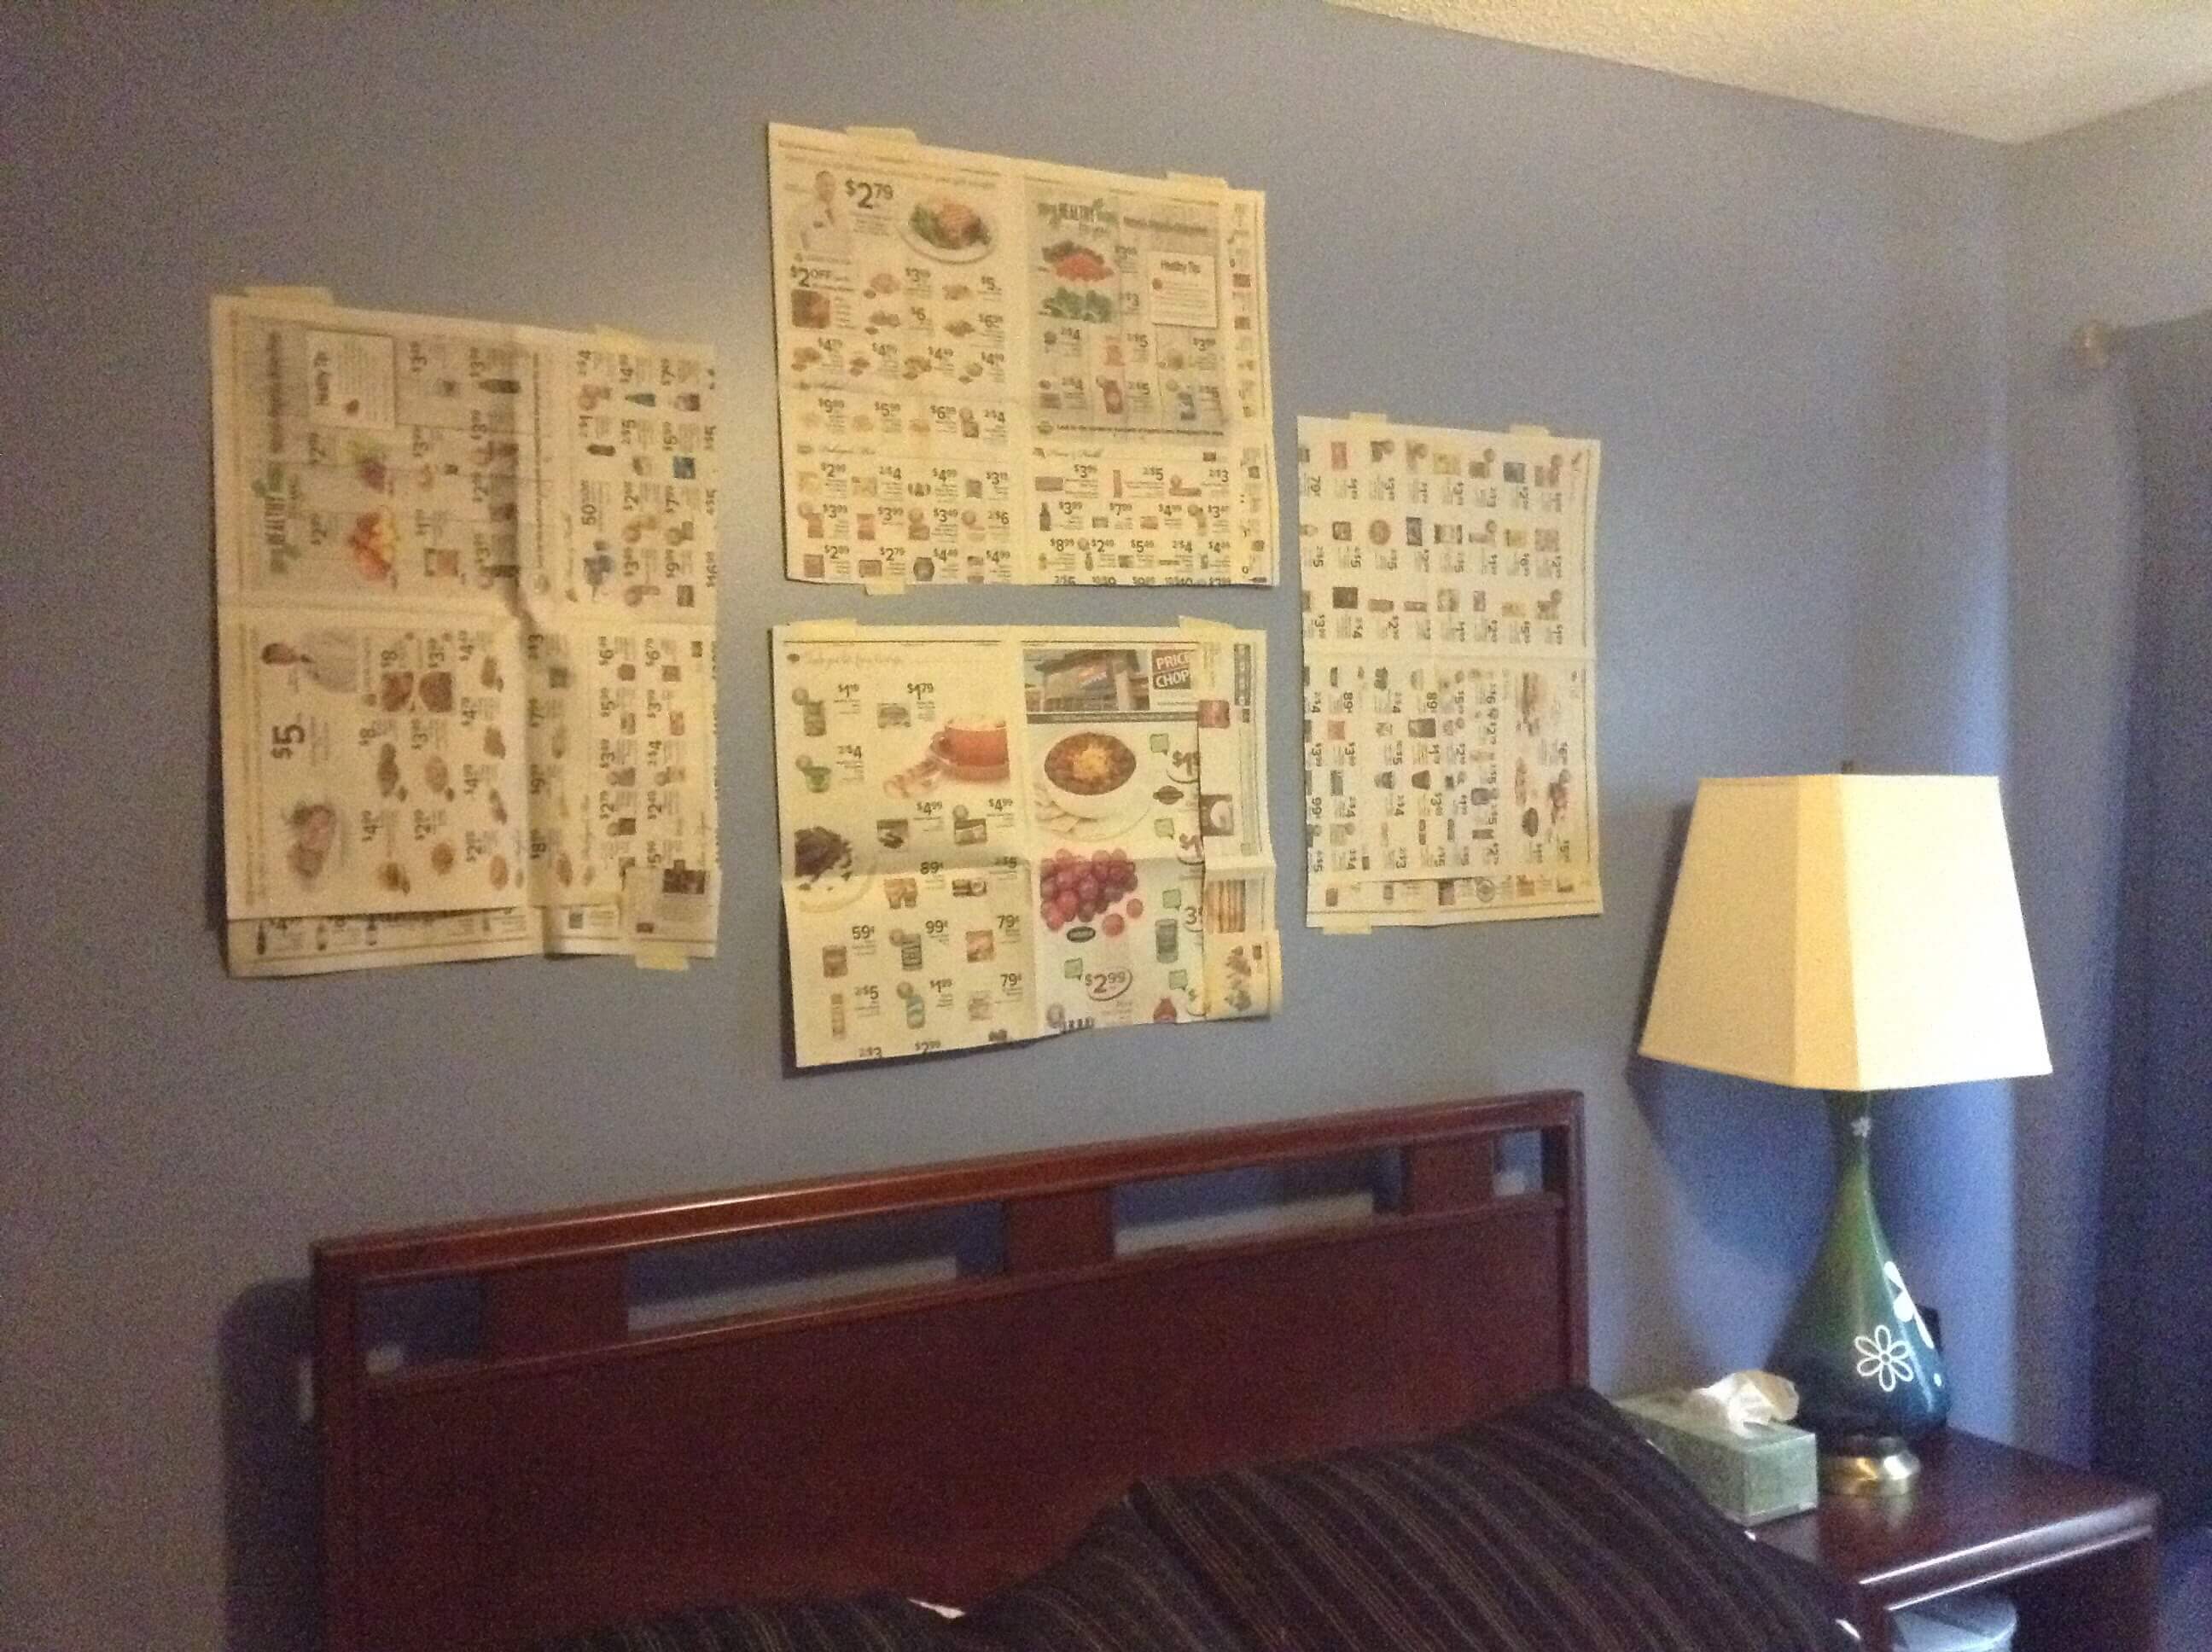
But when I put the posters up, it was so… poster-y. Do you know what I mean? It felt like it was a high school boy’s bedroom with sports posters all over the wall.
I decided that they would look so much better and fancy if they were frames. Well, I looked into the price of poster-sized picture frames large enough for these particular posters and immediately scratched that idea! No way was I going to spend that kind of money to frame these posters!
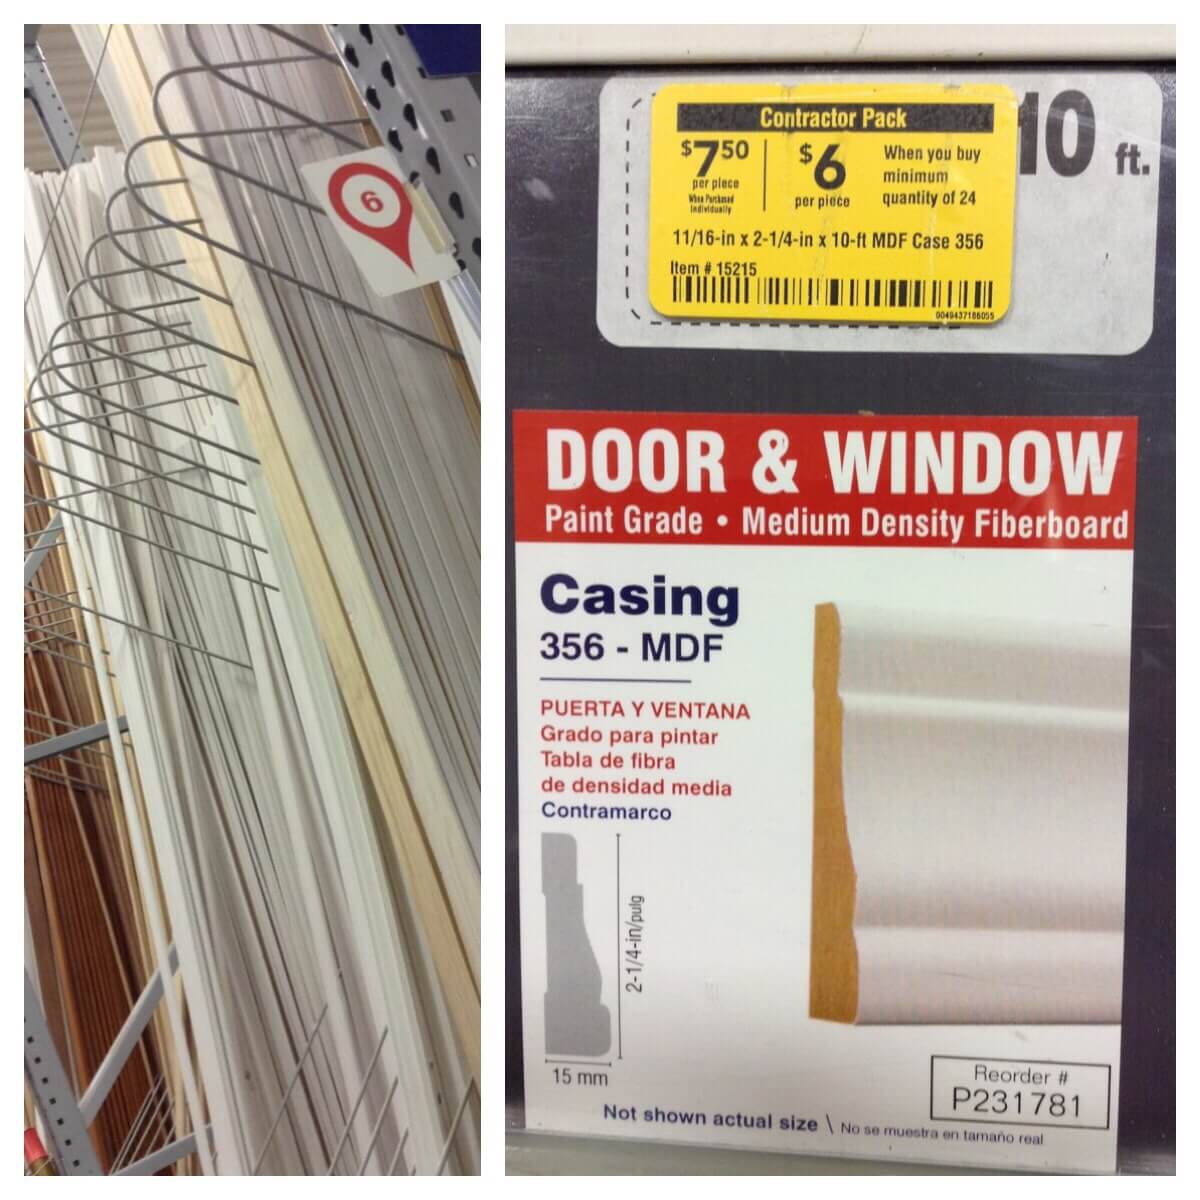
I started brainstorming. What could I use to make my own frames? Looking around the room, my eye caught on the white baseboards. Bingo!
I could make my own frames out of baseboards from the hardware store!
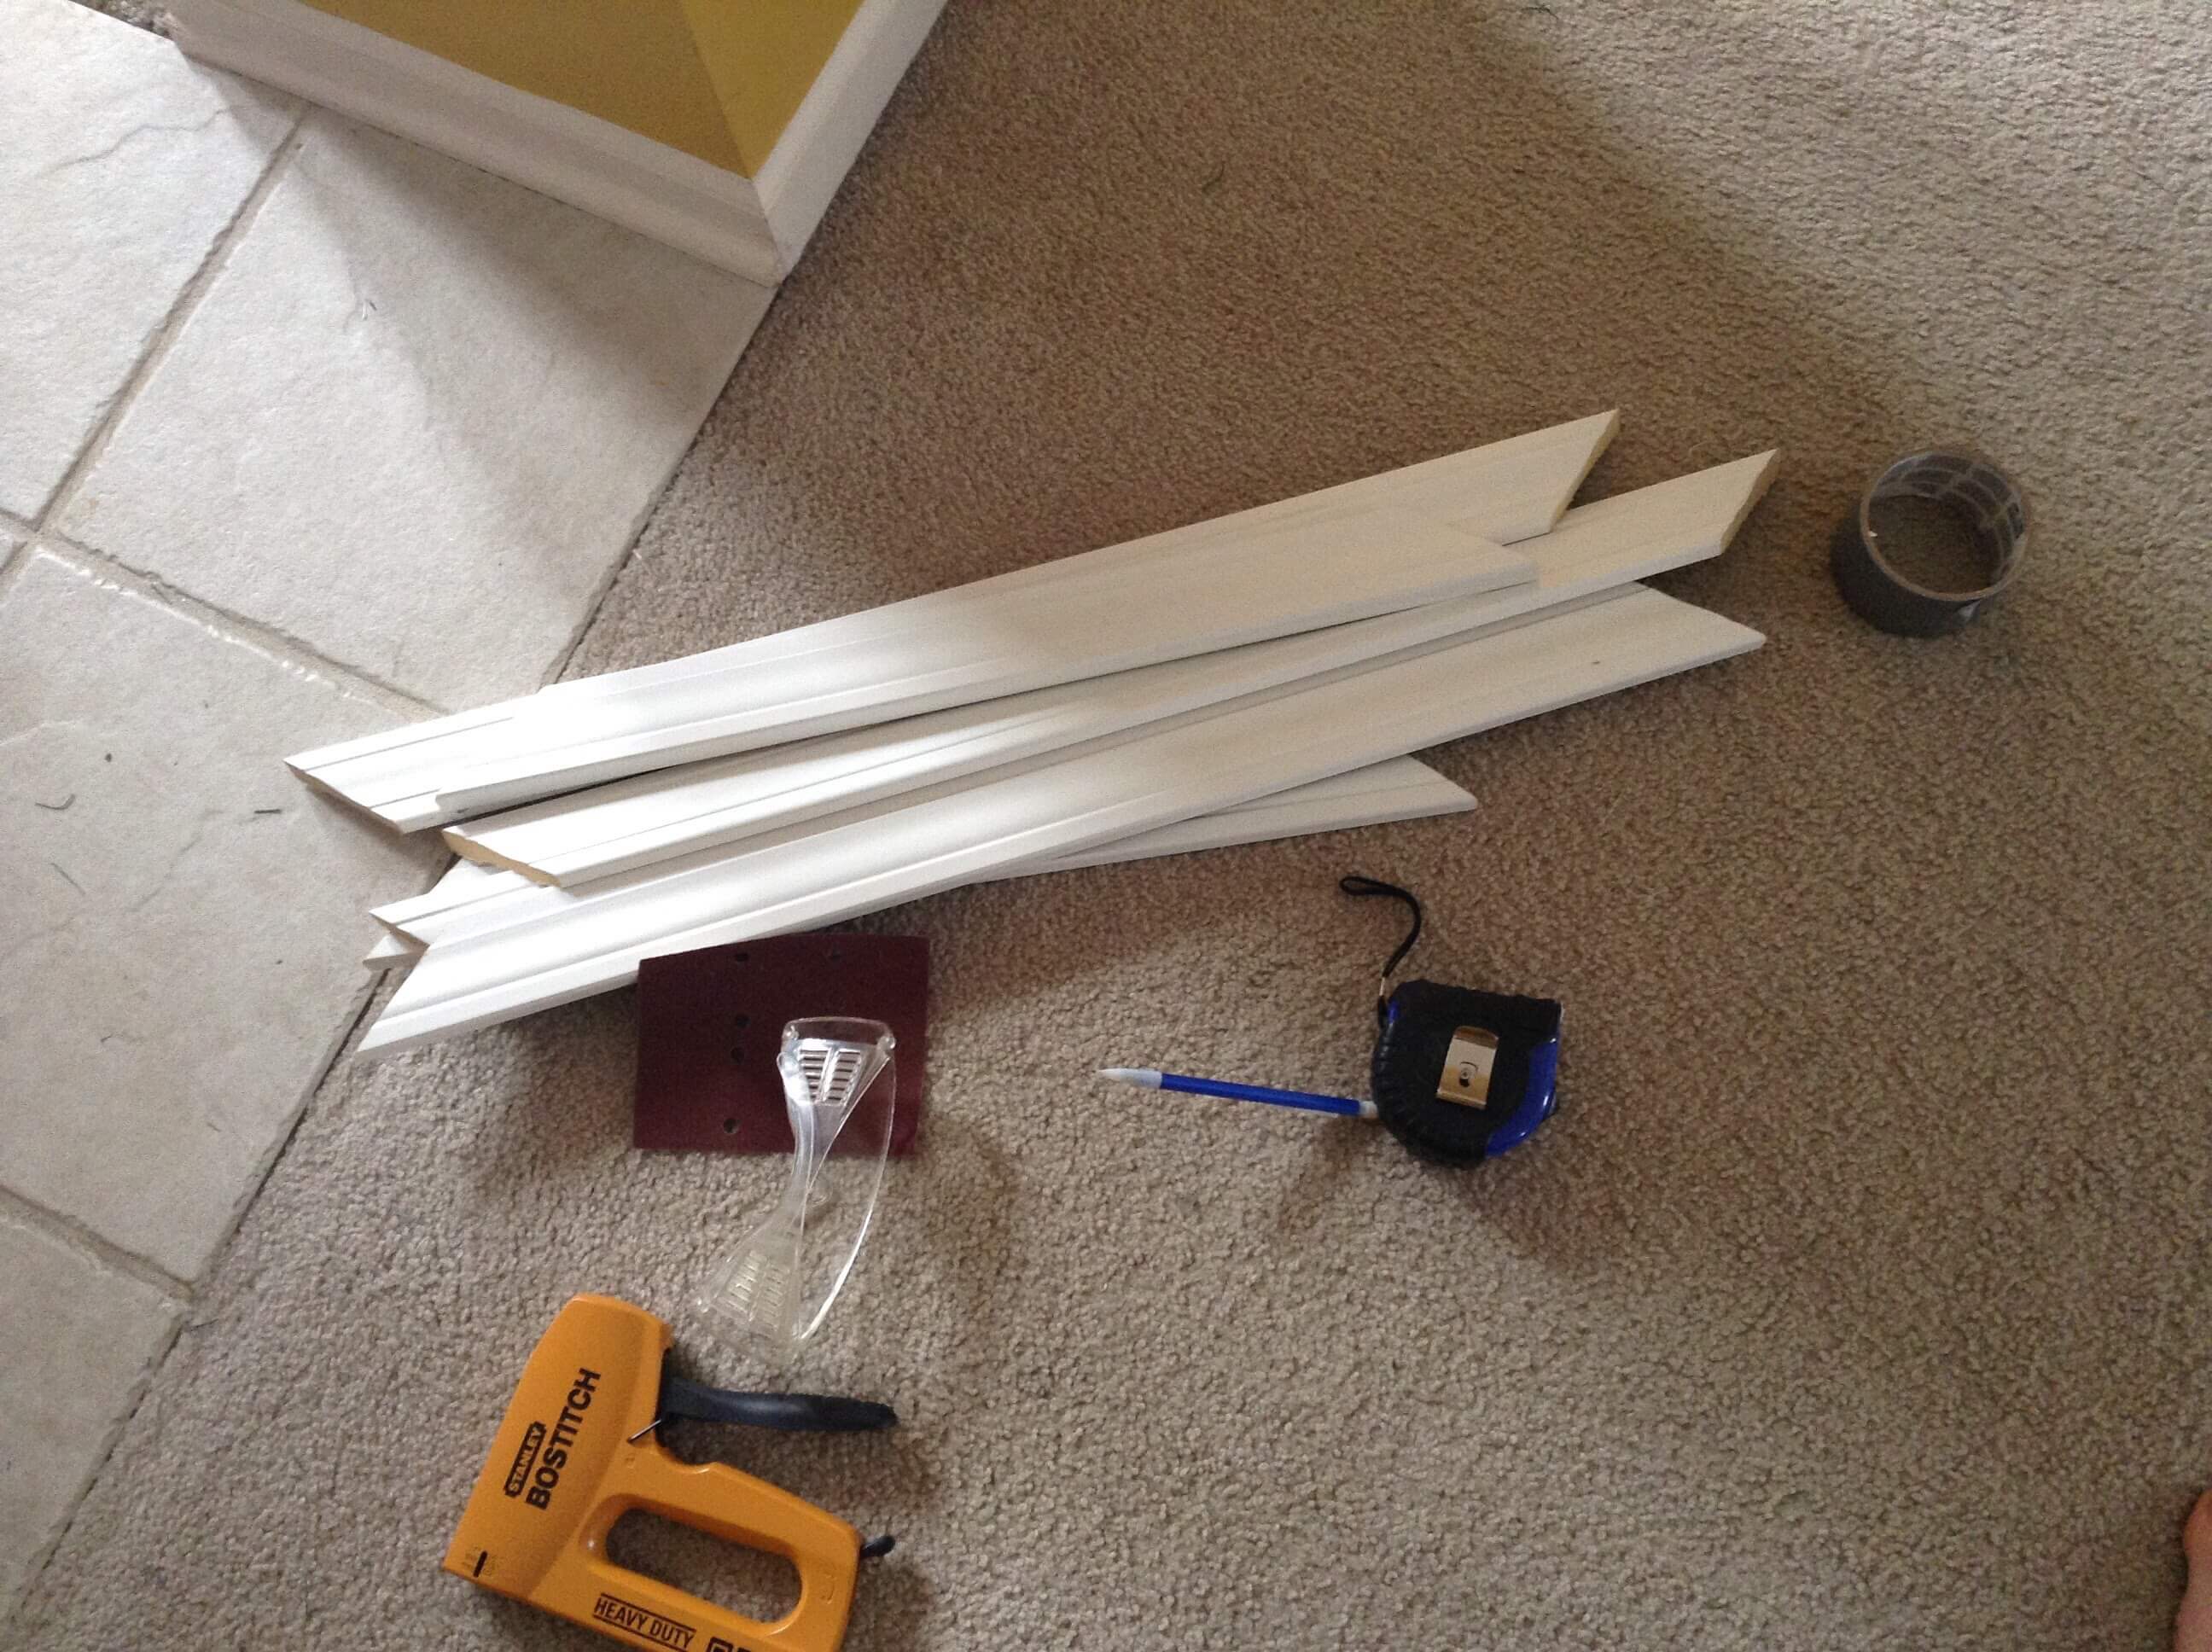
I measured out the length and width of the posters to determine how much baseboard I would need, and I scooted over to Lowe’s, found the boards I needed, and bought a few 10-footers for less than $25. We already owned wood glue, clamps, and nails, so I only needed to buy the baseboard to create the frames I was picturing in my mind.
Once I got it home, I measured and marked the boards for cutting and had the hubs saw the baseboard into pieces for me. (I am scared of saws so this kind of cutting often gets pawned off on him!) He uses a very handy miter box to easily make the 45 degree cuts needed for this project:
Then I glued the pieces together, clamped them in place, and let them dry overnight. I was pleasantly surprised when they stayed together. Ha ha!
Wood glue and clamps:
The last step was to use velcro and nails to place the frames on the walls around the posters.
Command strips for posters and velcro to hold up frames:
The whole project to make 4 large wood frames cost about $25. That’s less than the cost of one poster-sized frame bought from a store!
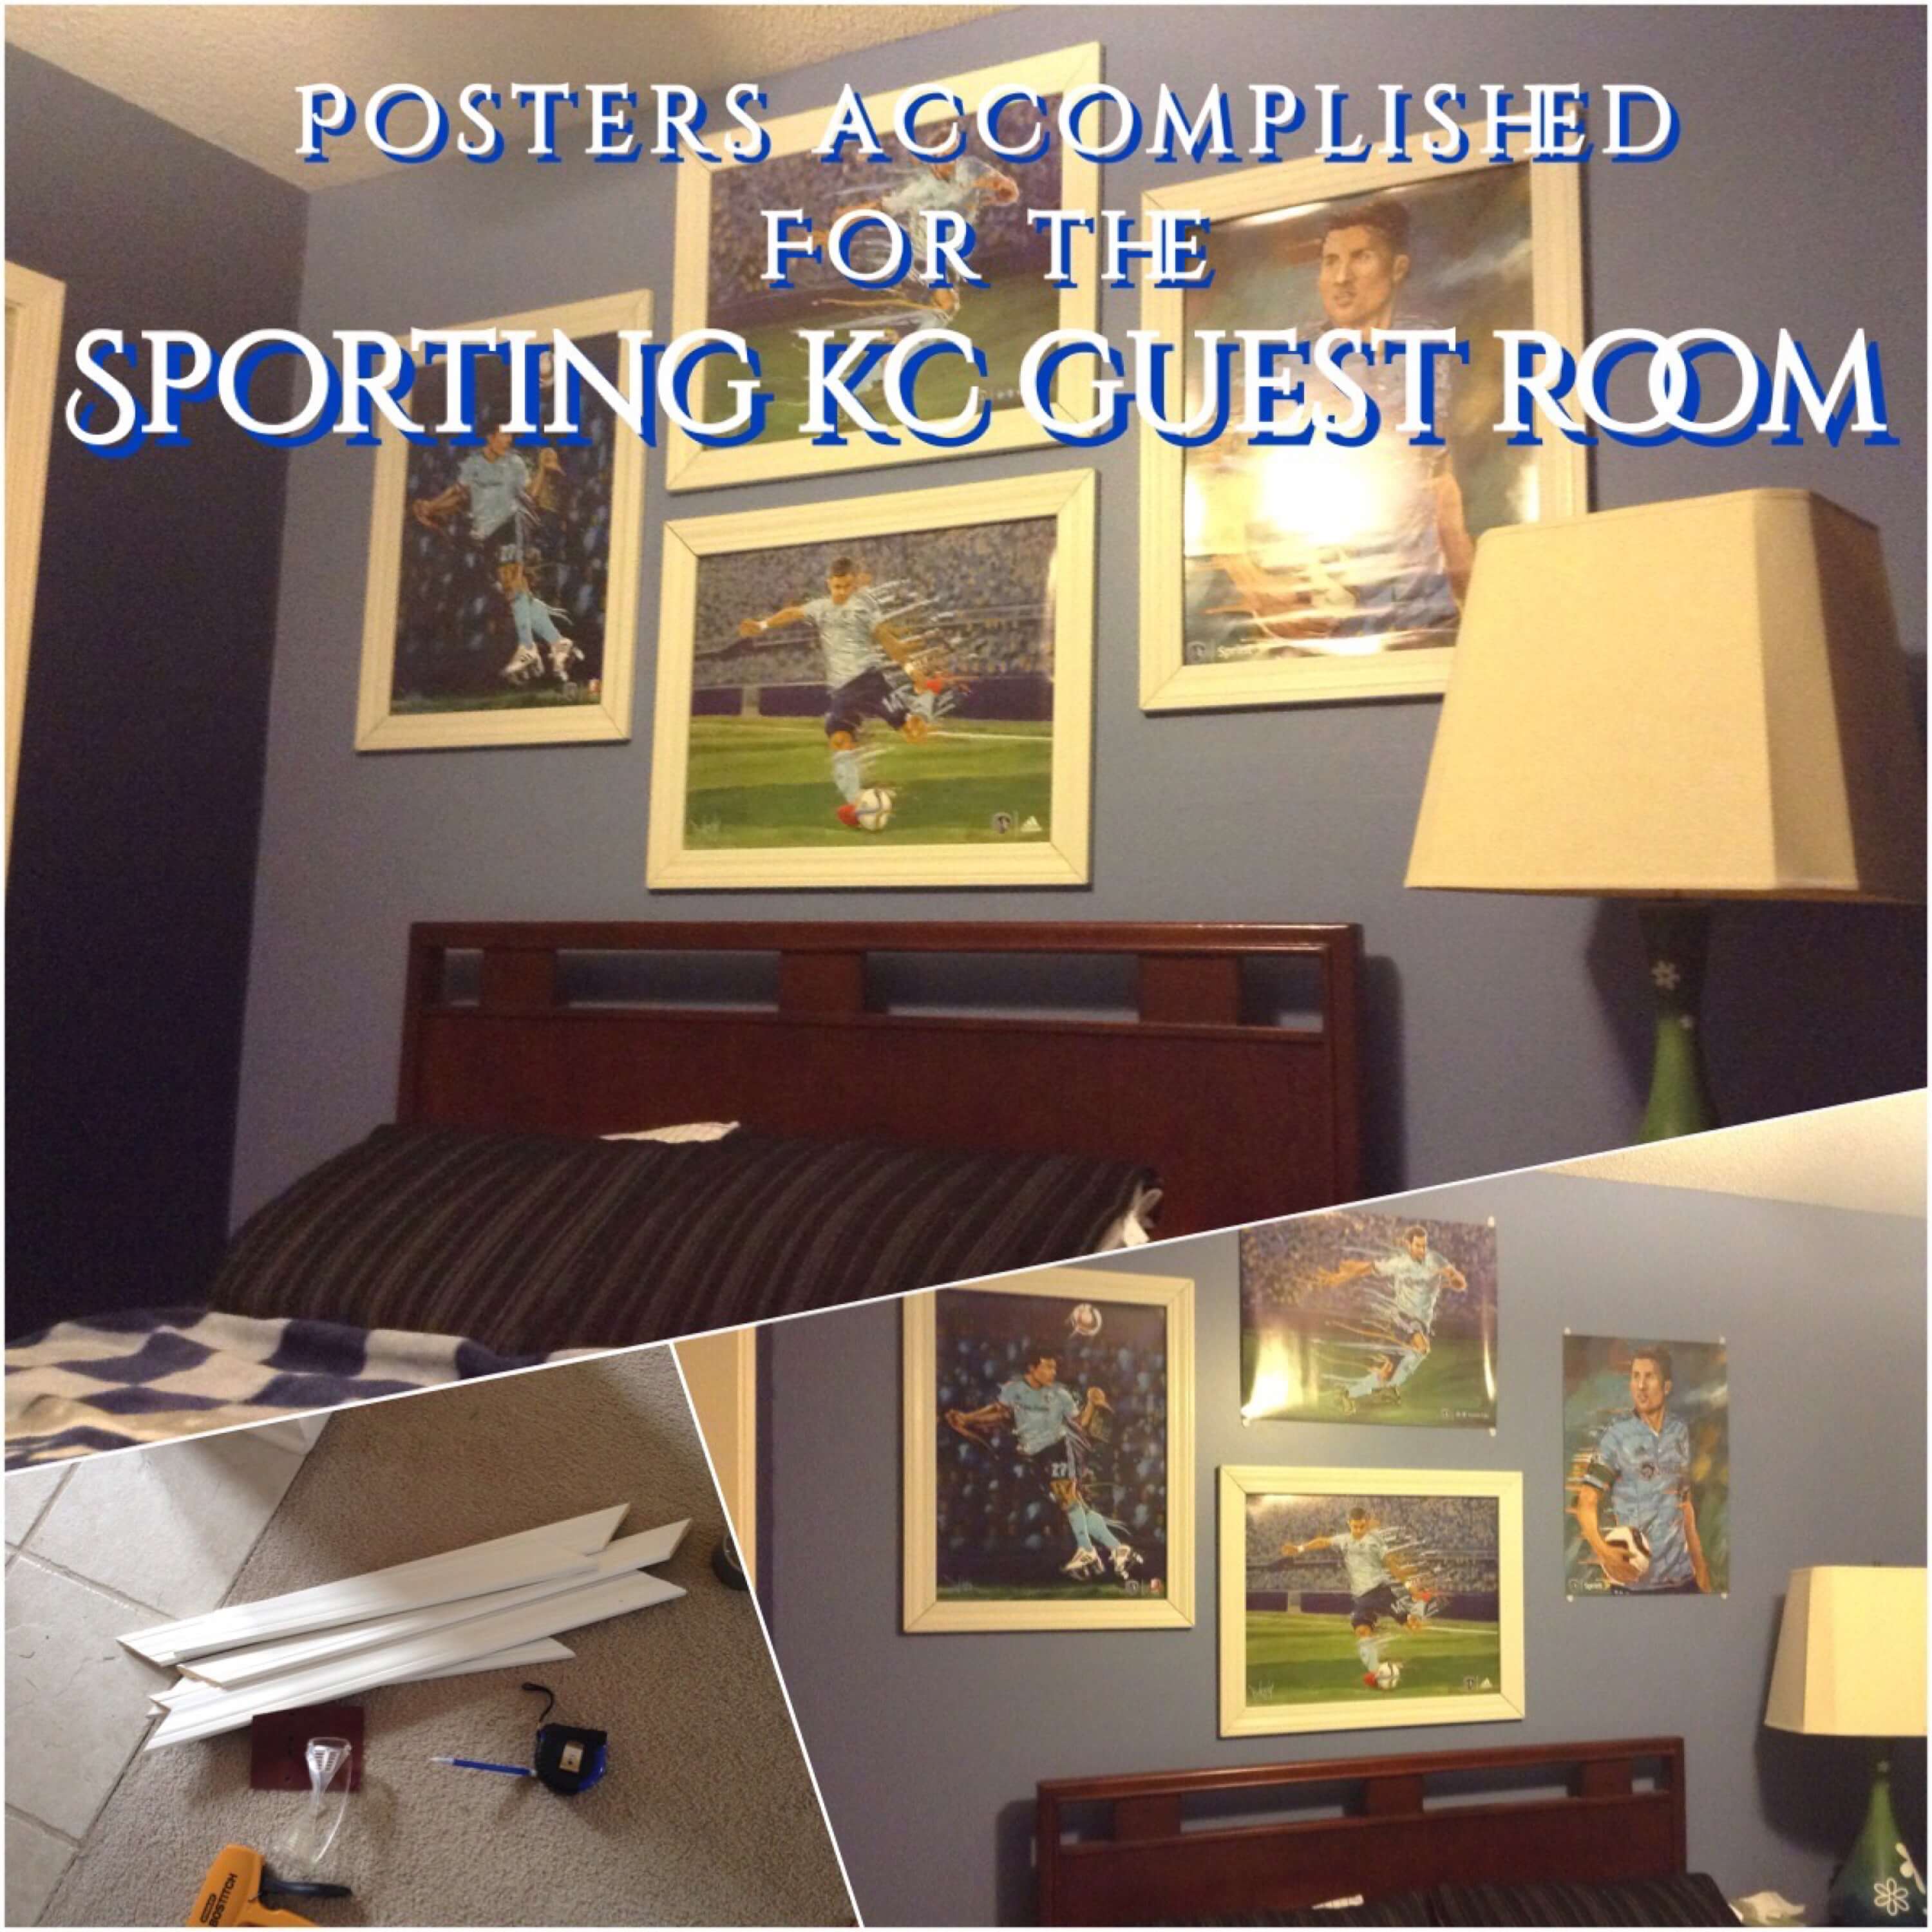
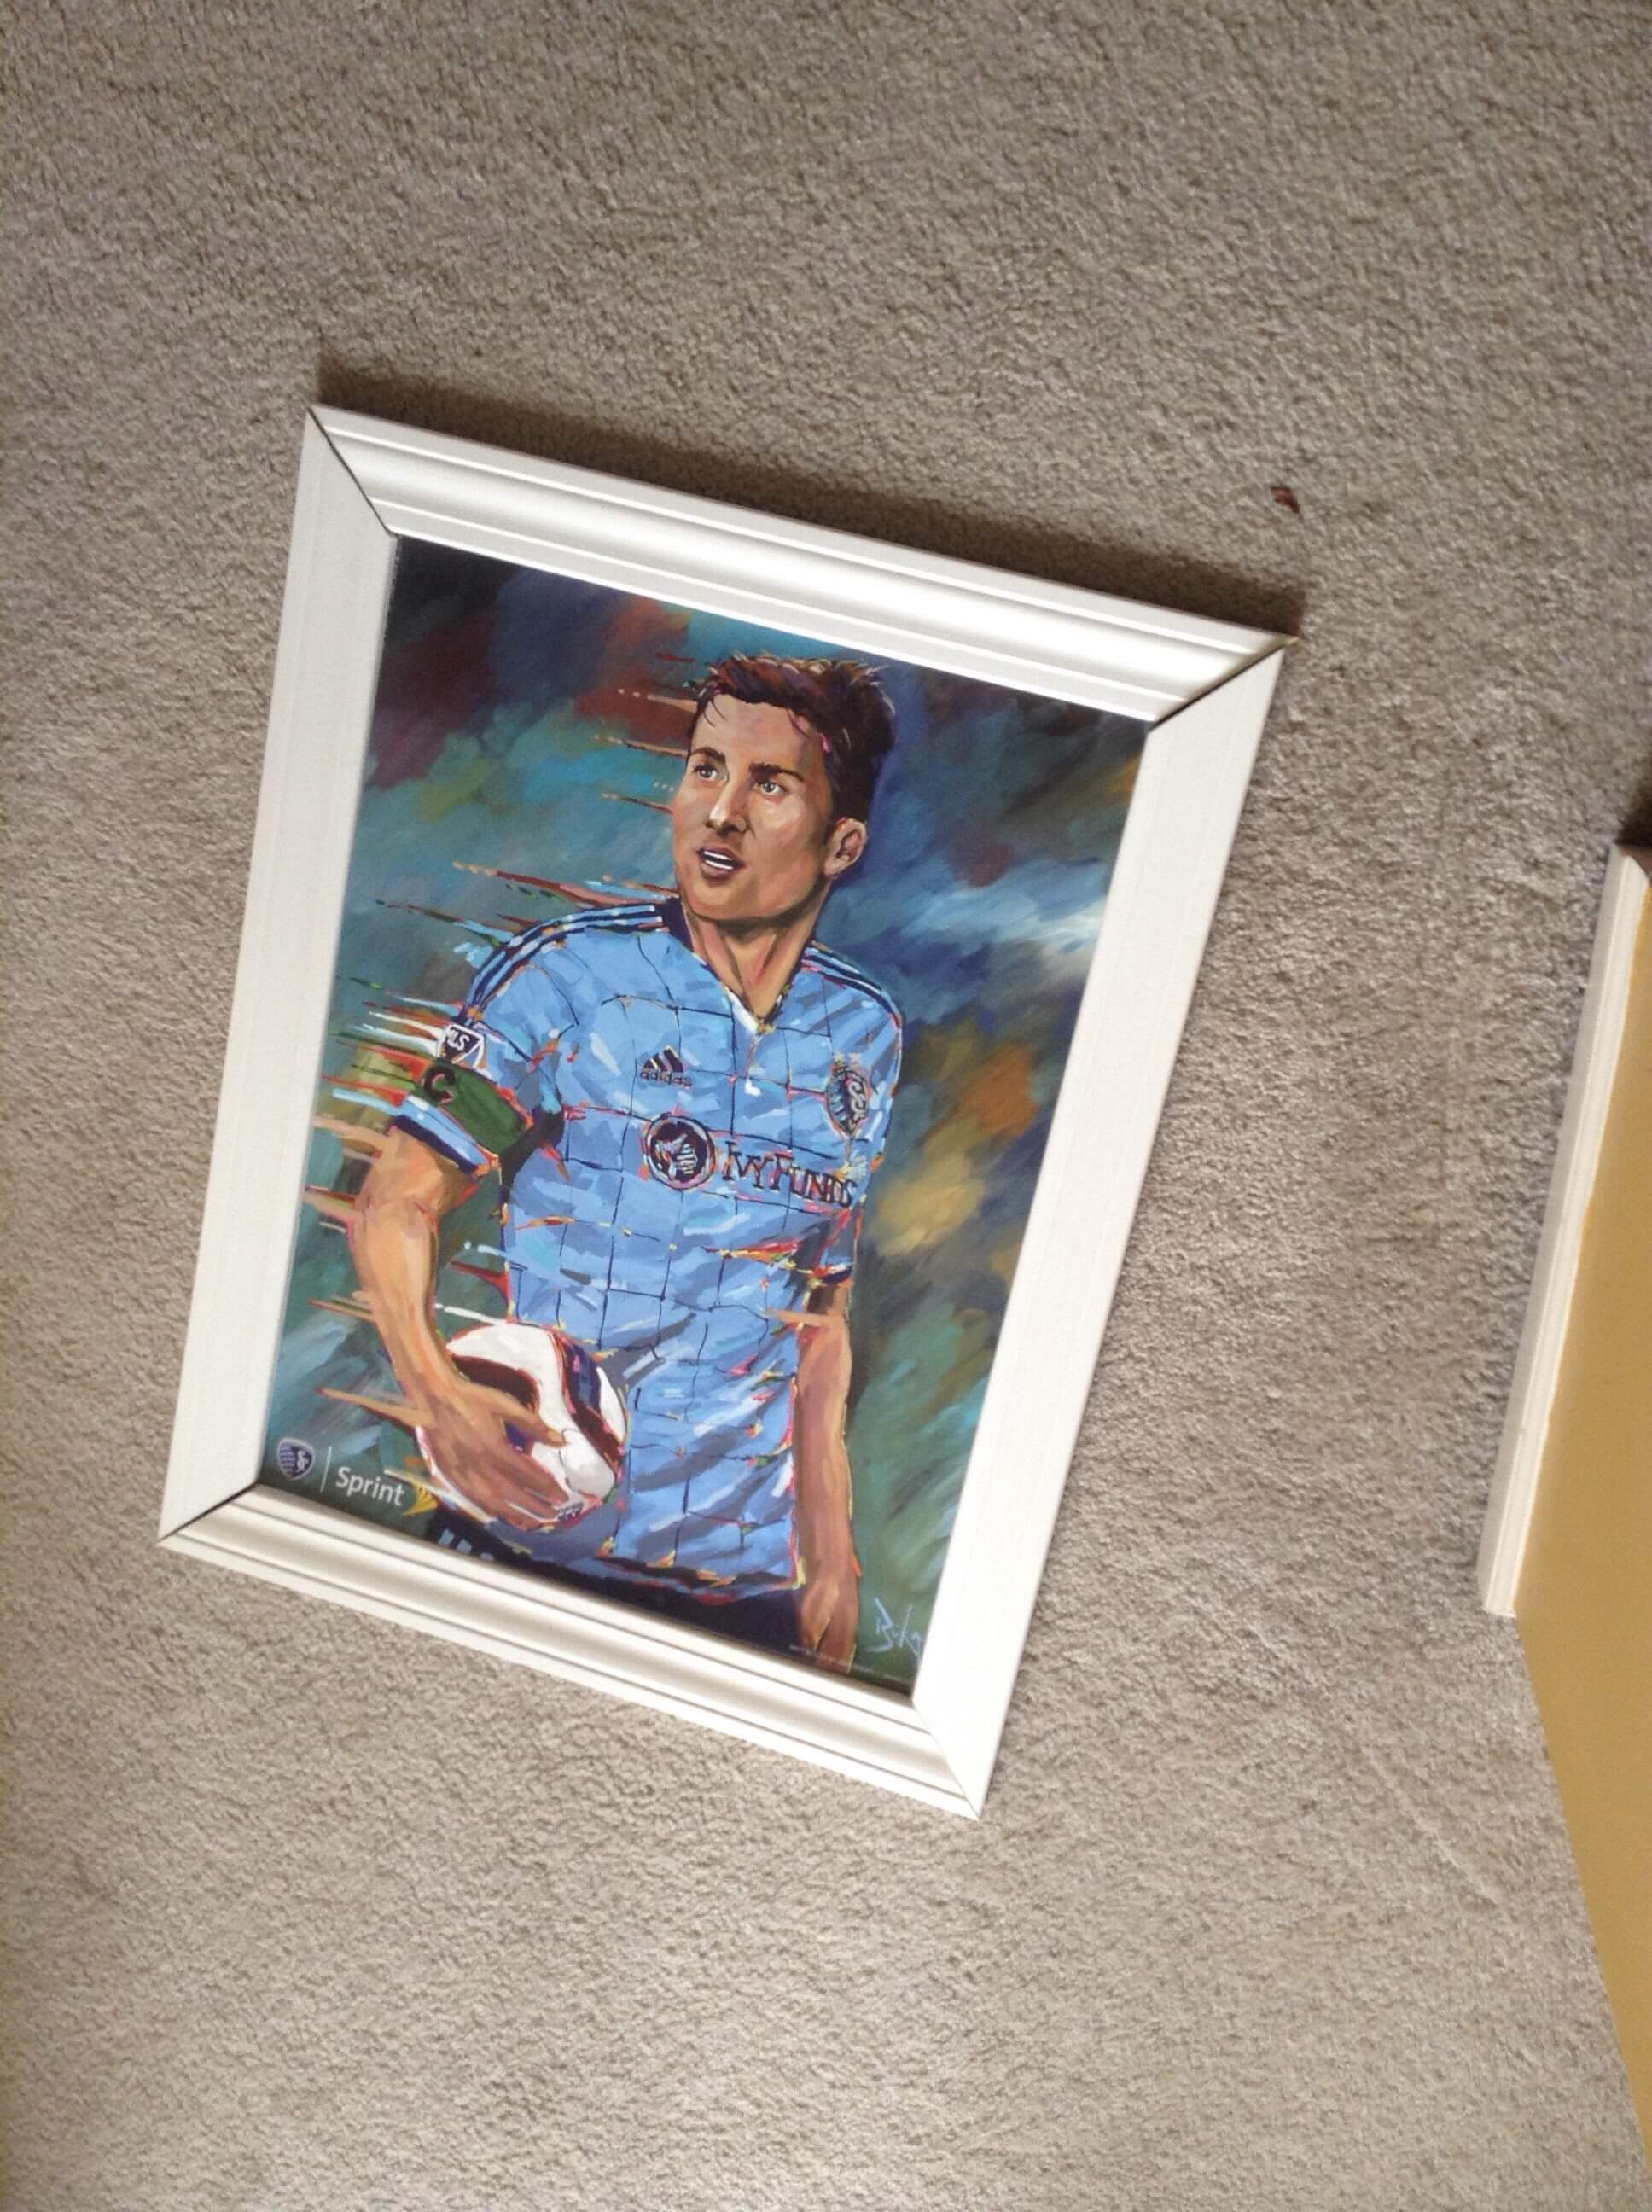
Voila! There’s the final look! This DIY project was a winner.
These frames allowed me to keep and display my husband’s sports memorabilia in a way that is aesthetically pleasing to both of us.
Have you ever needed large frames for a poster or photo? What did you do?
Please share in the comments!