This post may contain affiliate links, meaning, at no additional cost to you, I will earn a commission if you click through and make a qualifying purchase.
Apparently, squirrel picnic tables are popular right now. I had no idea until my sister introduced me to the concept.
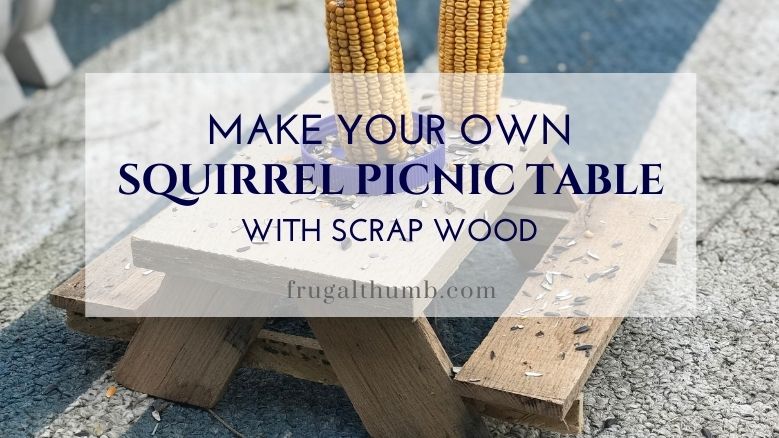
Have you seen these adorable mini picnic tables?
When I saw one, I thought it was the cutest thing! With the little squirrels sitting on the little benches and nibbling on seeds or corn on the cob. Aww!
But when I saw the price for a squirrel picnic table, I decided to try to make my own. Prices ranged from $20 to $40 for these mini tables.
I was pretty sure I could make one for next to nothing.
Though if you decide you’d rather just skip the DIY project and buy your squirrel picnic table, this one looked to be the best deal:
That being said, I knew I had some scrap wood in my garage, so I wanted to try a DIY project to make the squirrel picnic table.
I modeled mine off the instructions from this website: How to make a squirrel picnic table – free PDF plans! (charlestoncrafted.com) and tweaked it for what I had on hand.
Supplies Needed for Squirrel Picnic Table
- Saw
- Hammer
- Nails
- Scrap Wood
- Wood Glue
- Ruler
- Pencil
Steps to Make Your Own Squirrel Picnic Table
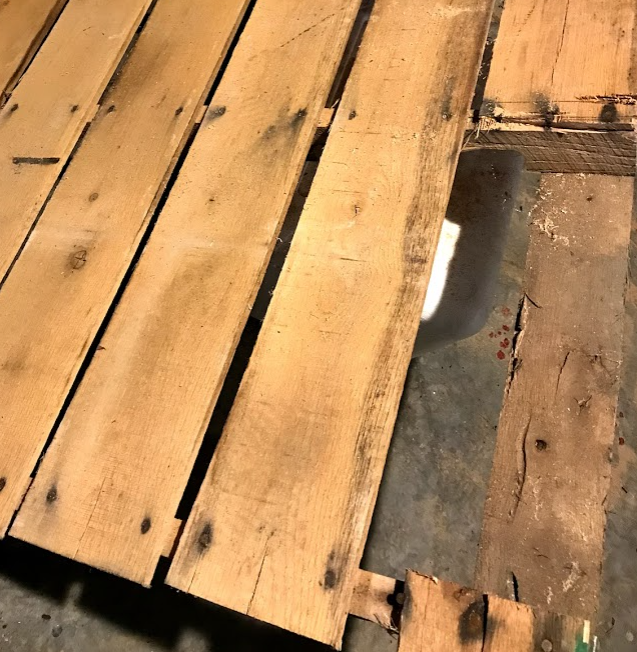
Step 1: Cut your scrap wood into the pieces that you need for the mini table.
I keep a lot of scrap wood in my garage. For this project, I got out a wood pallet, found an old piece of particle board, and part of a wood panel.
Don’t be afraid to use what you’ve got handy–you can always cut it to the size you need or combine smaller pieces to make a bigger size.
For example, I could’ve cut everything out of the wood pallet, but I already had a few other pieces that were about the right size. I used what I had on hand.
This is for the squirrels in your yard after all–they won’t care if it is made with old wood or imperfect in some way. They’re going to love it for the food!
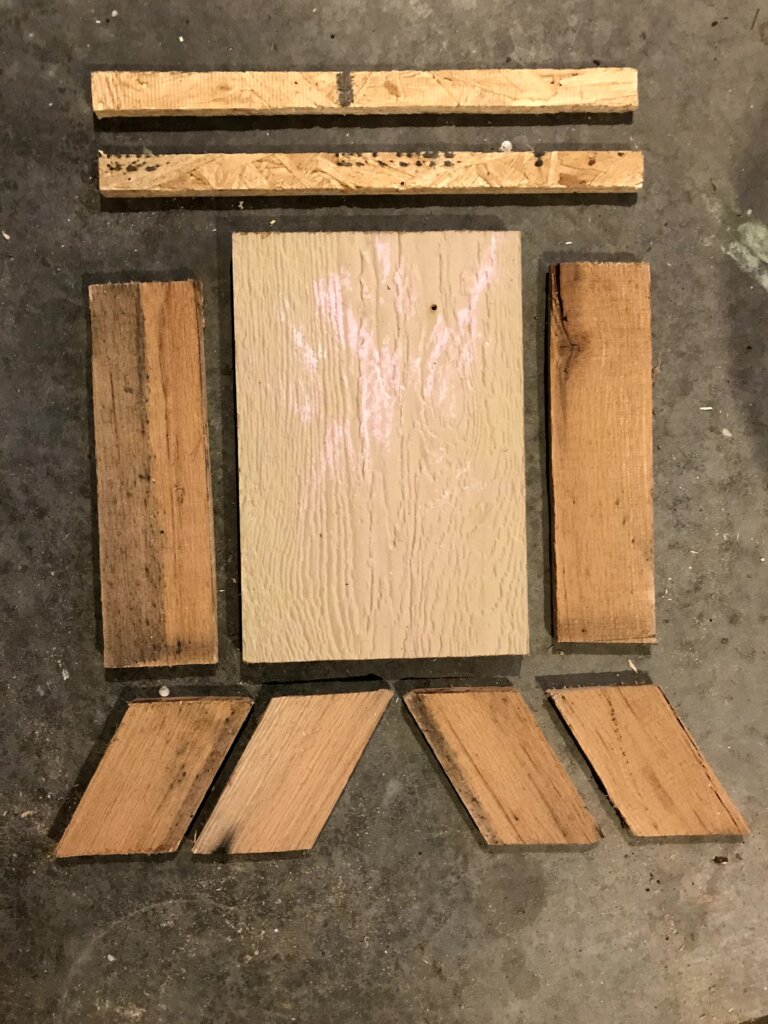
Wood Pieces Needed for Squirrel Picnic Table
- 1 table top – 10″ length x 8″ width
Remember, this is the final size that you want, but it doesn’t have to be exact. If you don’t have scrap wood that big, you can combine smaller pieces. For example, you could cut 3 pieces that are 10″ x 2.5.” For mine, I had a piece of wood that was a little bigger than that and I didn’t even bother cutting it smaller. - 2 braces – 14″ length x 1″ height
These pieces are going to attach the benches to the legs of your picnic table. I used particle board and would not recommend it–a normal tougher wood would be better for the braces. I ended up needing a lot of wood glue because my braces were too porous. - 2 benches – 10″ length x 3″ width
If you’re going to want to attach your table to a tree, the benches need to be the exact same length as the table top. If that’s not a requirement for you, don’t worry about this size being exact either. - 4 legs – 6″ length x 3″ width
To get the angled look of the legs, measure 1.5″ down the leg from opposite sides of the top and bottom, mark a line, and cut the parallel angled edges.
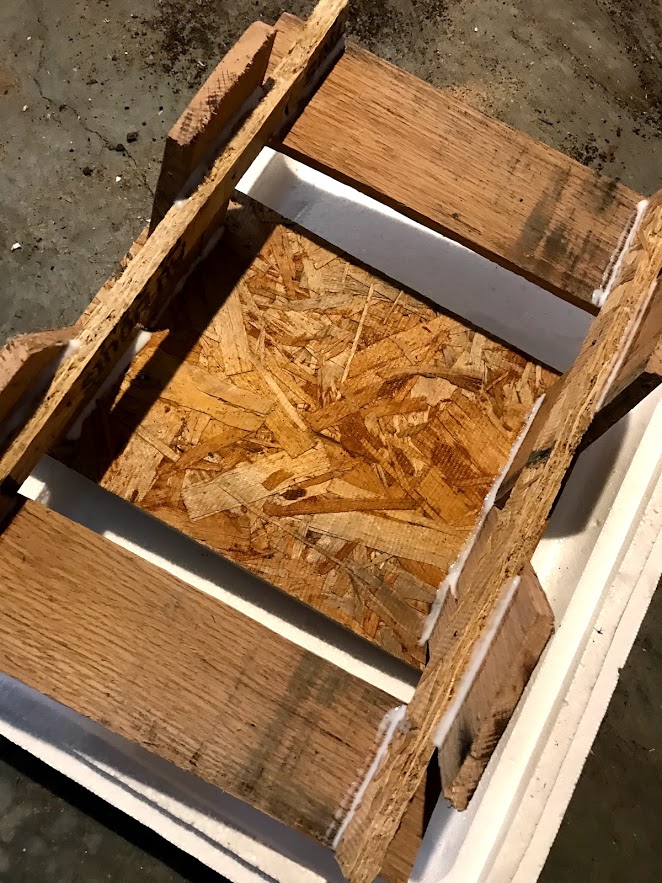
Once you’ve got all the needed wood pieces, they should look similar to this when you lay them all out:
Now we can start putting them all together with nails and wood glue.
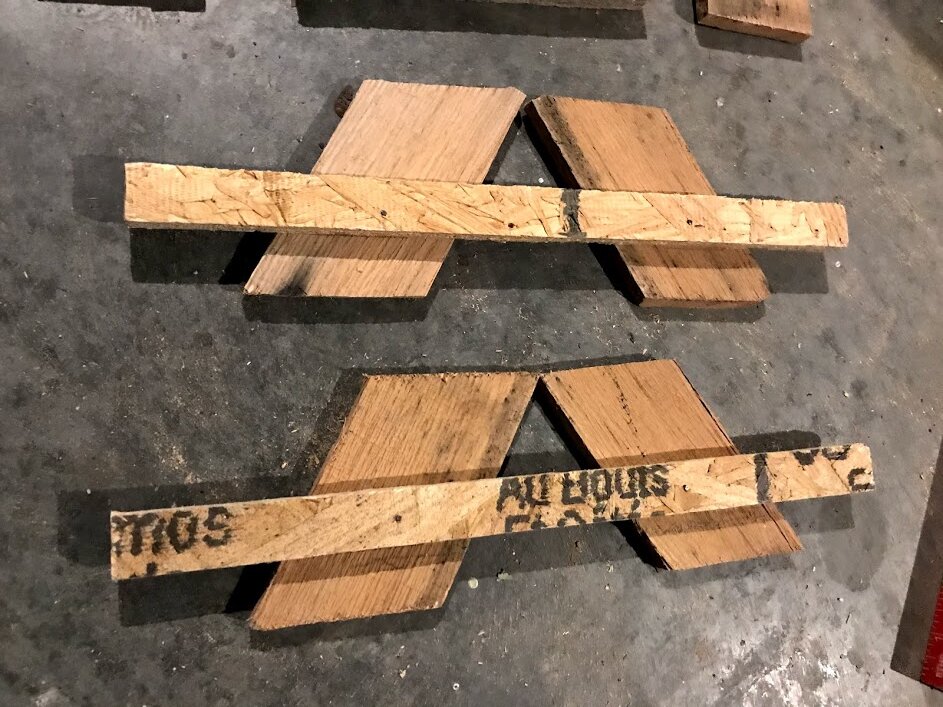
Step 2: Nail legs to braces.
You need to nail two legs to each brace.
Measure 1″ up from the bottom of the legs and mark with a pencil. Lay the brace along the pencil mark across the legs. Make sure the top edge of the legs are straight and the tips touch. Center the legs lengthwise along the braces so the same amount of brace is hanging over the legs on both sides.
Hint: Make sure the tops of the legs are straight. If the tops of the legs are straight, then the bottom of the legs will be straight and your table with stand without wobbling.
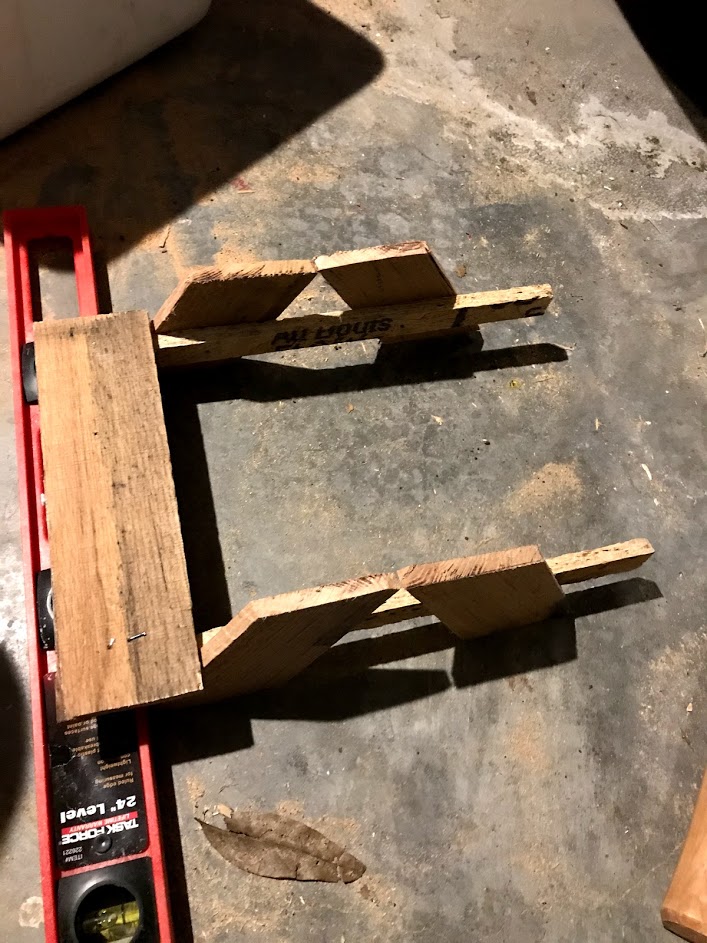
Step 3: Nail benches to braces.
I made my squirrel picnic table with the plan of putting it wherever I wanted on our patio. I didn’t want to screw it into one of our trees.
However, if you do, just be sure that in this step and the next step you make the benches and the table top flush with the table legs. Then you can put screws through the legs into your tree of choice. You don’t want to have the benches or the table top going past the legs or you won’t be able to screw in the legs flush with the tree.
Step 4: Nail table top to legs.
Remember, if you’re planning to hang your picnic table from a tree, line up the top so it is flush with the table legs. Otherwise, nail in the top where you like the look.
Make sure the nails go through the legs.
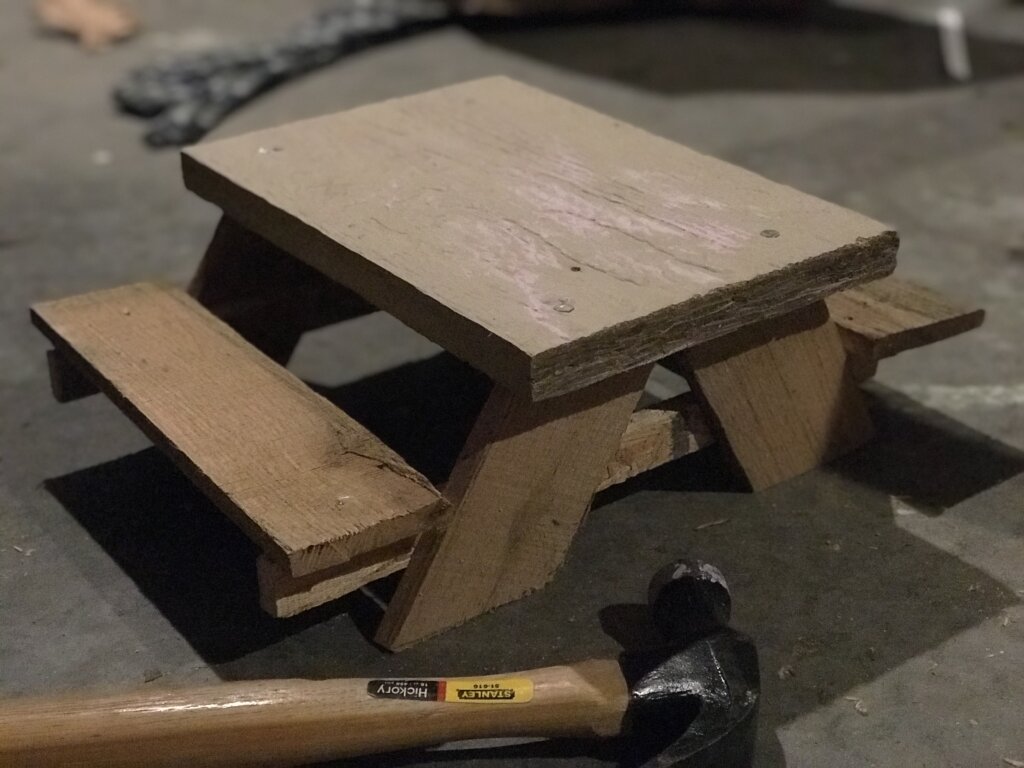
At this point, you have a mini picnic table! Isn’t it adorbs?
But we still have to squirrel-ify it.
Step 5 (optional): Use wood glue.
If your table needs some extra stability, add wood glue in addition to the nails. I did this after I’d already nailed the pieces together so I added the glue along all the seams.
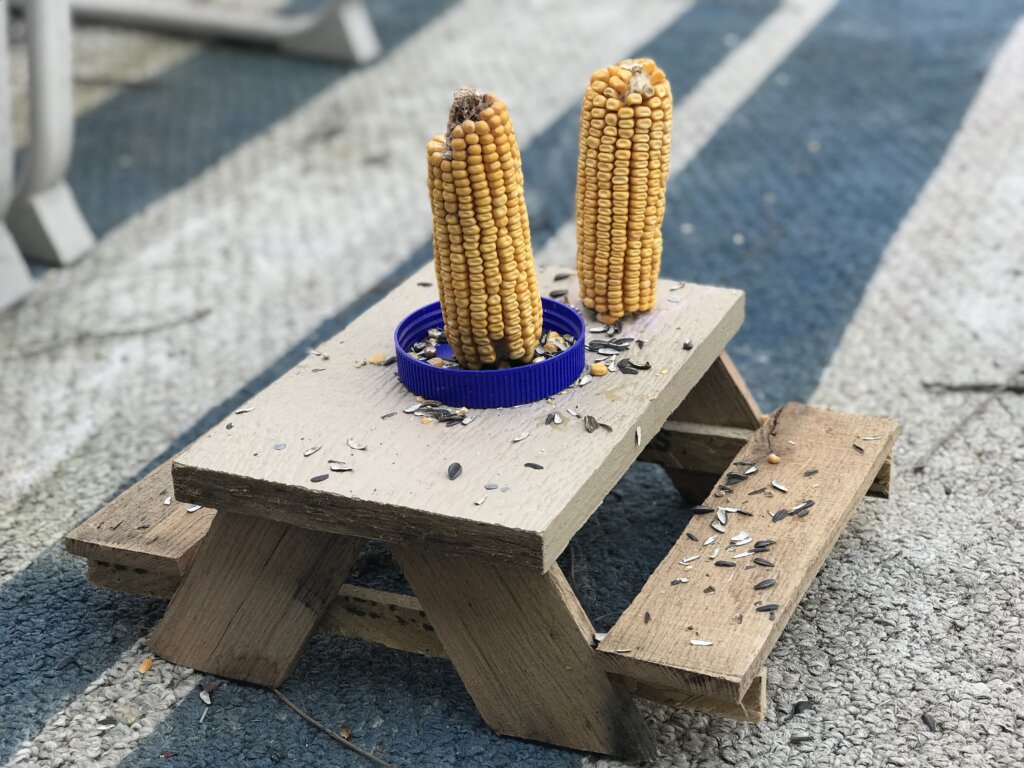
Step 6 (optional): Install cob corn screw.
Put a pilot hole through the bottom of the table where you want the cob corn to be, and then screw in the screw.
I recommend putting an anchor over the top of the screw when you’re not using it to prevent accidental sharp pokes to you or the squirrels.

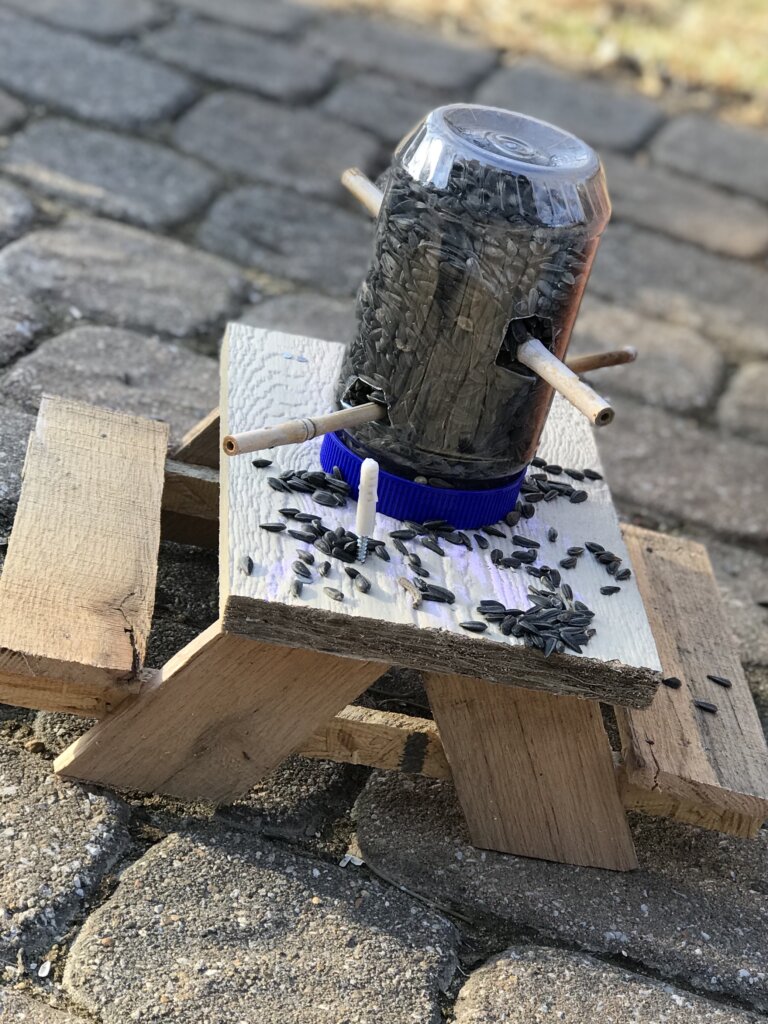
Step 7 (optional): Install bowl.
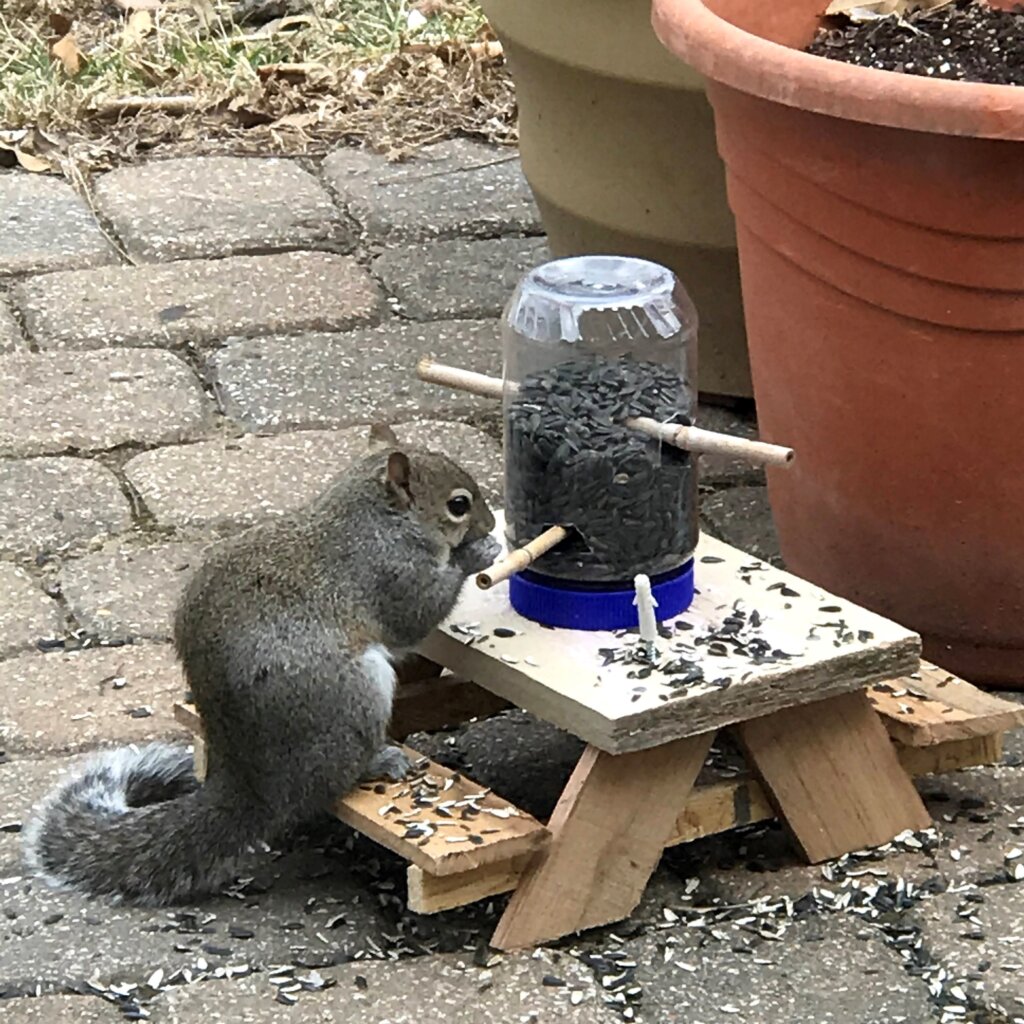
Basically do the same thing you did in the previous step and add a pilot hole where you want the bowl to be. Then also put a pilot hole through an old peanut butter jar lid. When you screw the screw into place, twist it through the jar lid as well until it feels solidly in place on top of the table. By using another long screw and a jar lid for this step, you can use it as a bowl, a second cob corn screw, or a bird feeder (made out of the peanut butter jar).
Final look with peanut butter jar bird feeder:
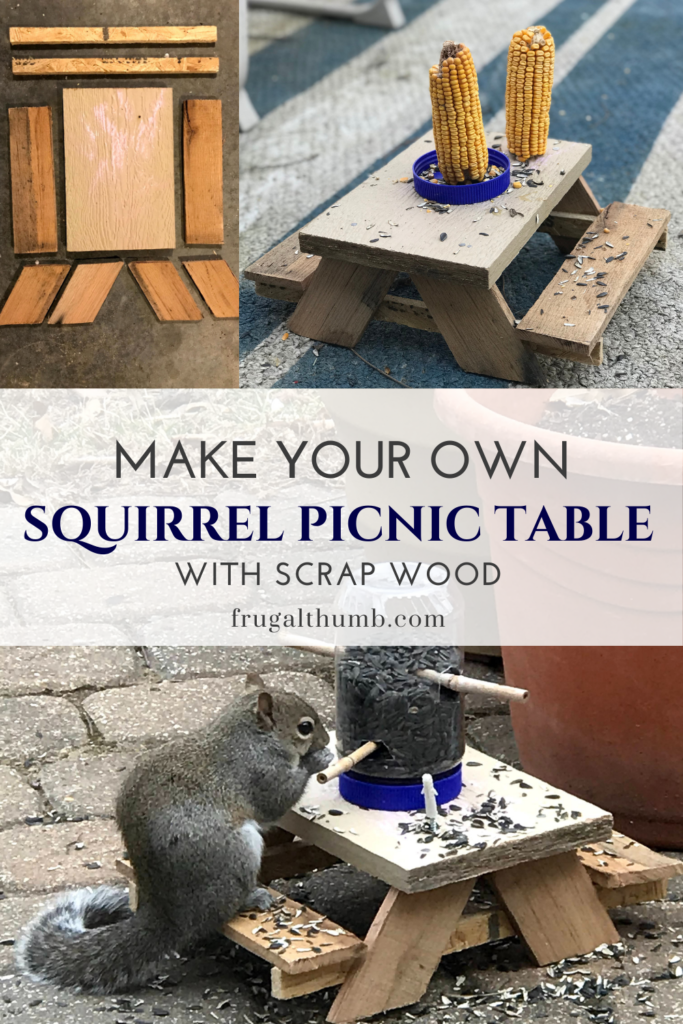
Final look with cob corn:
Whenever I don’t put cob corn on the screws, I just reinstall the anchors over the tops to protect the squirrels from the sharp points.
This makes the squirrel picnic table quite versatile.
It’s fun changing up the look and location to keep things more interesting for us and the squirrels.
Now you know how to make your own squirrel picnic table with wood scraps! It’s free yard entertainment!
Happy squirrel watching!