This post may contain affiliate links, meaning, at no additional cost to you, I will earn a commission if you click through and make a qualifying purchase.
We are a three-cat household, so we go through many cans of wet cat food each week. All these tin cans and tin can lids were just going in the recycle bin. And it got me wondering if there was a way I could reuse them. I love it when people find ways to turn what most would consider trash into something useful or beautiful. So, as usual, Pinterest got my creativity going and I decided to try making a tin can lid wind chime.
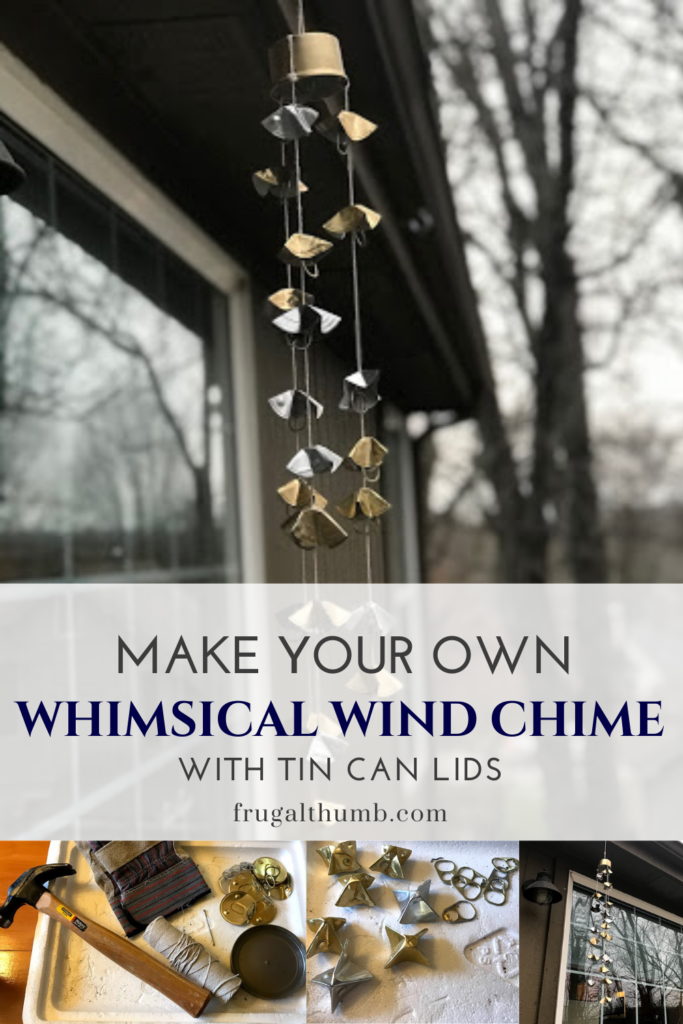
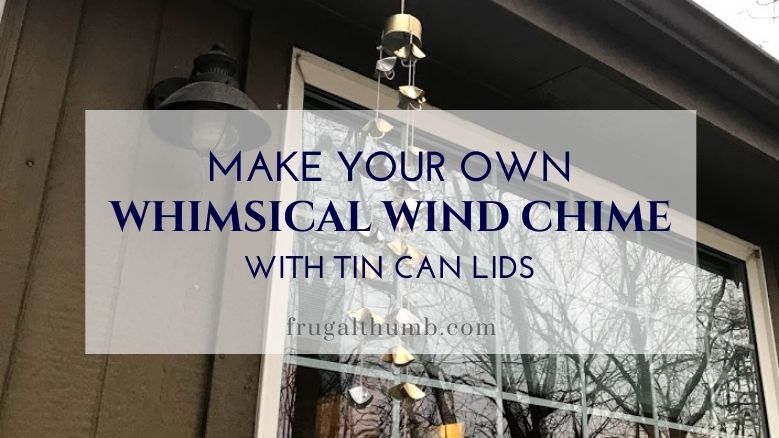
And I think it turned out to be quite enchanting. I think it would be a wonderful edition to any yard, but I’m sure I’m not biased!
Follow along to make your own:
Supplies Needed for Tin Can Lid Wind Chime
- Tin Can Lids (I recommend at least 15 or more)
- String
- Scissors
- Heavy Duty Gloves
- Hammer
- Nail
- Optional: Pop tabs, beads, other miscellaneous trinkets, paint
- Optional: Tin can, stick, or other item to use as top of wind chime
Steps to Make a Tin Can Lid Wind Chime
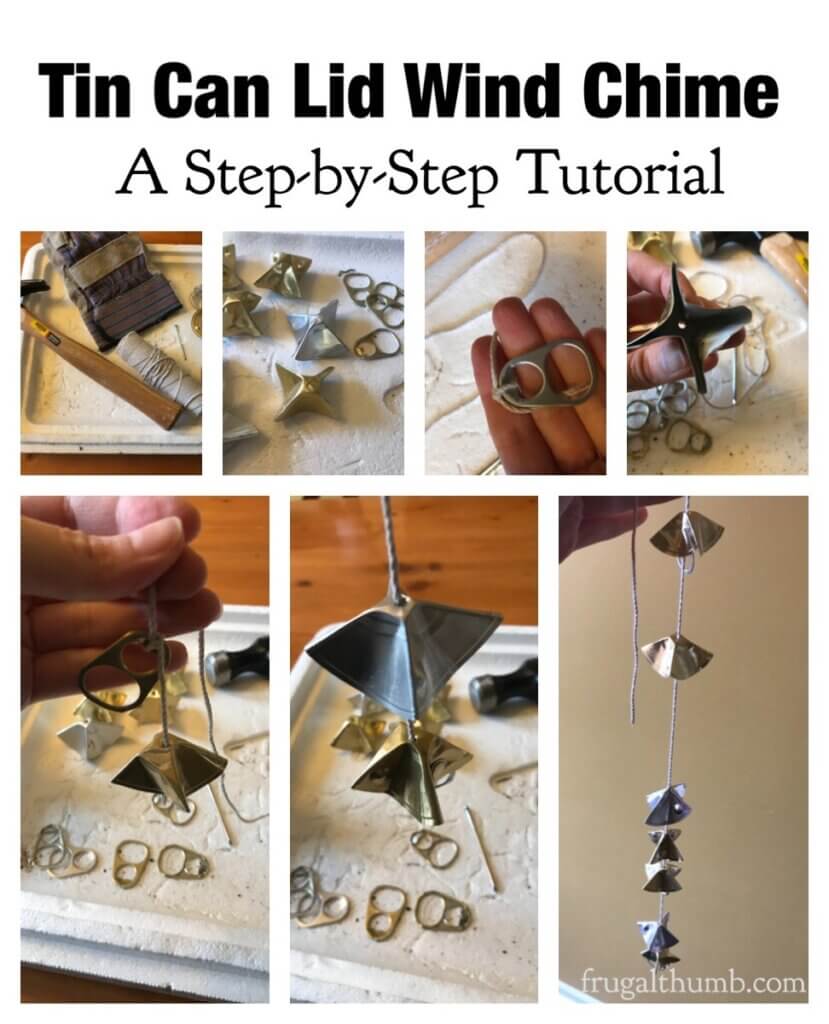
Step 1: Bend your tin can lids into bell shapes.
For this step, you’ll need your gloves and tin can lids. I also used an old styrofoam lid to protect my work surface from scratches.
Frugal Thumb Tip: Please be sure to wear gloves for this step. I learned this the hard way. Learn from me and don’t get little cuts all over your fingers.
To make the bell shape from a tin can lid, take one tin can lid and bend it in half (picture 1). Then bend it in half again in the opposite direction and unfold it (picture 2). At this point, the lid should look like it has an “x” bent into it. The lines are there to help you visualize each quadrant of the circle. Now carefully start shaping the lid into a bell by pushing in each quadrant of the lid (picture 3). When you’re done, it should have a bell shape to it (picture 4).

Repeat this step for each tin can lid that you’ve collected for this project. You can do as many or as few as you want, though I do recommend 15 or more so you can have at least 5 bells on 3 strands for your wind chime. However, I leave this to your creative whimsy. You could have some strands much shorter or longer than others.
Here are pictures of the bell-shaped lids from above and below:

Step 2: Use a nail to hammer a hole in the top of each bell-shaped lid.
Once you’ve bent the lids into shape, hammer a hole into the top of each where you want to thread the string.

Step 3: Thread and tie the bell-shaped tin can lids along the string.
Now you’re going to start tying your tin can lids to your wind chime strings. You’ll need your string and tin can tabs for this step. Well, technically, you don’t need the tabs, but I use them to hold the bell-shaped lids along the string right where I want them. No need to tie a knot big enough so it won’t go through the holes that you made with the nail.
Cut a piece of string about 3-5 feet in length. Tie a tab or big knot at the end of the string (picture 1). Then thread one of your tin can lids onto the string (picture 2). Slide it all the way down to the tab/knot and confirm that it stays put (picture 3). Now tie another tab/knot above the tin can lid (picture 4) and thread on the next lid (picture 5). Continue this process until you’ve added as many as you want on one string–recommended 5 to 8. This will complete one string for your tin can lid wind chime.

Repeat this for 3 or more strings, as many as you want to have hanging from your wind chime.
Step 4: Tie the tops of your completed strings together OR Attach your completed strings to the item you’ve chosen as the top of your wind chime.
In this step, you will add the top of the wind chime. Once all of your strings of bells and baubles are complete, you can opt to tie the ends of the strings together in one big bundle OR attach the strings to an item.
In either case, play with the placement and length of each string to change up the look of your wind chime and see what looks best before you tie any permanently.
In my wind chime example, I used a tin can for the top. I hammered holes along the edge of the tin can and tied a string to each hole. Then I threaded the strings up to the top of the tin can to make a loop for hanging the finished tin can lid wind chime.

Step 5: Add optional whimsy to your tin can lid wind chime.
This tutorial was not made to be followed to the letter. There is plenty of room for tweaking and changing this tin can wind chime in a myriad of ways. For example, you could bend the tin can lids into any shape you want. It doesn’t have to be the bell shape described herein. And you could spray paint the lids any color to match your décor. You could tie in beads or any kind of trinkets along your strings instead of pop tabs to hold your bells in place. And you can tie the completed strings on anything to add interest, like a gnarly stick or old metal spoon, etc.
These are just a few ideas. Have fun with your wind chime and make it your own!
Step 6: Hang your finished tin can lid wind chime.
Pick somewhere you can enjoy seeing it outside or from a window.
And feel good about reusing some items for a thrifty and green craft project. 🙂