
This post may contain affiliate links, meaning, at no additional cost to you, I will earn a commission if you click through and make a qualifying purchase.
Is the flooring in your bathroom old, outdated, and showing wear and tear? Is it peeling up from the floor, bubbling from water moisture, or stained?
Do you dream of getting new flooring but can’t justify paying thousands to get it done professionally? Then I have good news for you.
Because this is another project that you can totally do yourself, and while sticking to a small budget.
We’re talking less than $100/bathroom, depending on the size. From start to finish.
Important Note: If your home was built before 1980, your linoleum may have asbestos that could be released during removal and I would recommend skipping this DIY project in that case and using a professional.
Of course, this smaller budget means working with cheaper materials, but it can last you many years until you want or need to do something different.
In this post, I’ll be explaining the steps to remove linoleum flooring first before getting into the installation steps.
How it’s thrifty: This DIY will save you on labor costs, and it’s not as hard as you might think to remove old linoleum yourself. For replacement, you can buy good looking peel-and-stick vinyl for less than $1 per square foot. Installing it yourself is easy and will save you a bundle as well.
How it’s green: If your flooring is pulling away from the edge of the tub, replacing the flooring is going to save the other layers of your floor and prevent black mold. Performing needed maintenance and keeping your home in good condition is green.
For this project, my parents introduced me to Peel-and-stick vinyl.
My parents had old linoleum flooring in their master bathroom and it was starting to bubble up around the tub. Since it was in need of repair and also outdated, they asked me if I’d like to put in new tile for them.
Well, I’d never done it before so naturally I said, “Of course! That sounds fun!!!”
This post is the steps that I took to remove the linoleum. If you’d like to see the new tile and finished look, read 6 easy steps to install peel-and-stick vinyl tiles.
Here’s a picture of the problem linoleum. As you can see, it was bubbling up and pulling away from the edge of their shower. This was problematic because it was allowing any water that splashed over the side to seep down into the subflooring where it could cause more sinister issues:
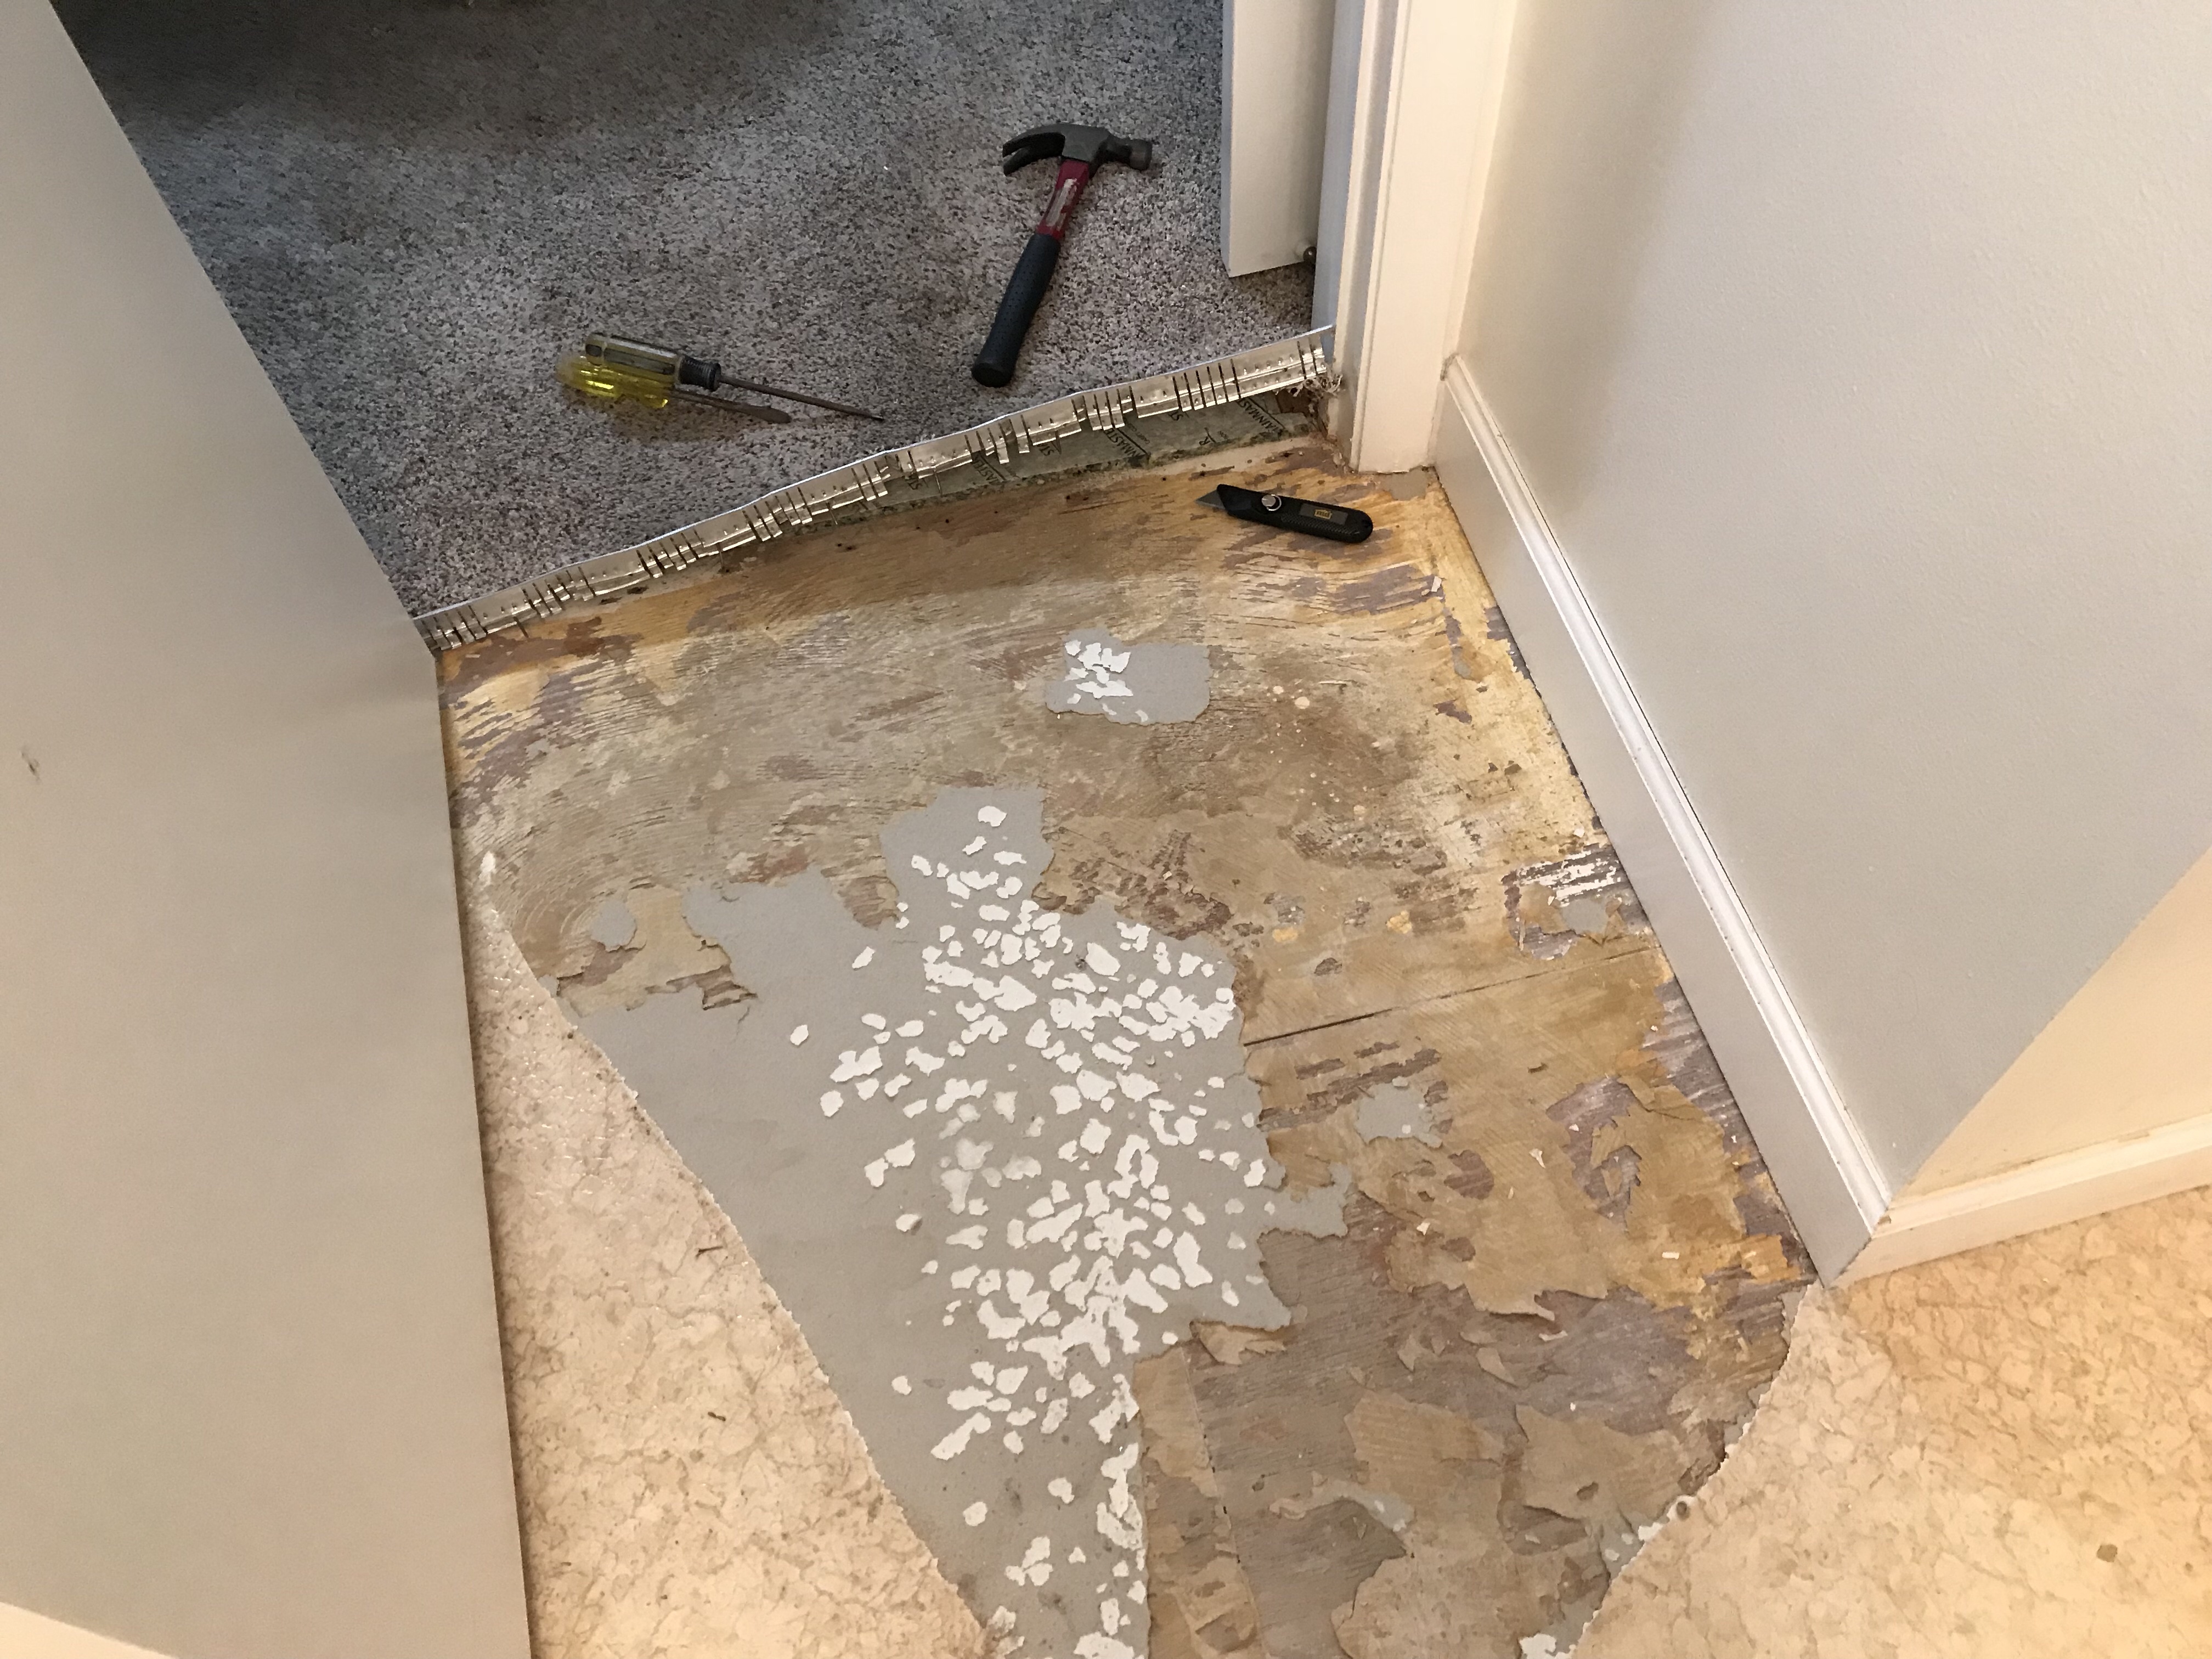
Tools Used to Remove Old Linoleum
- utility knife
- Screw driver
- Hammer
- Floor scraper
- Trash bags
- Broom/ Vacuum cleaner
- Rag
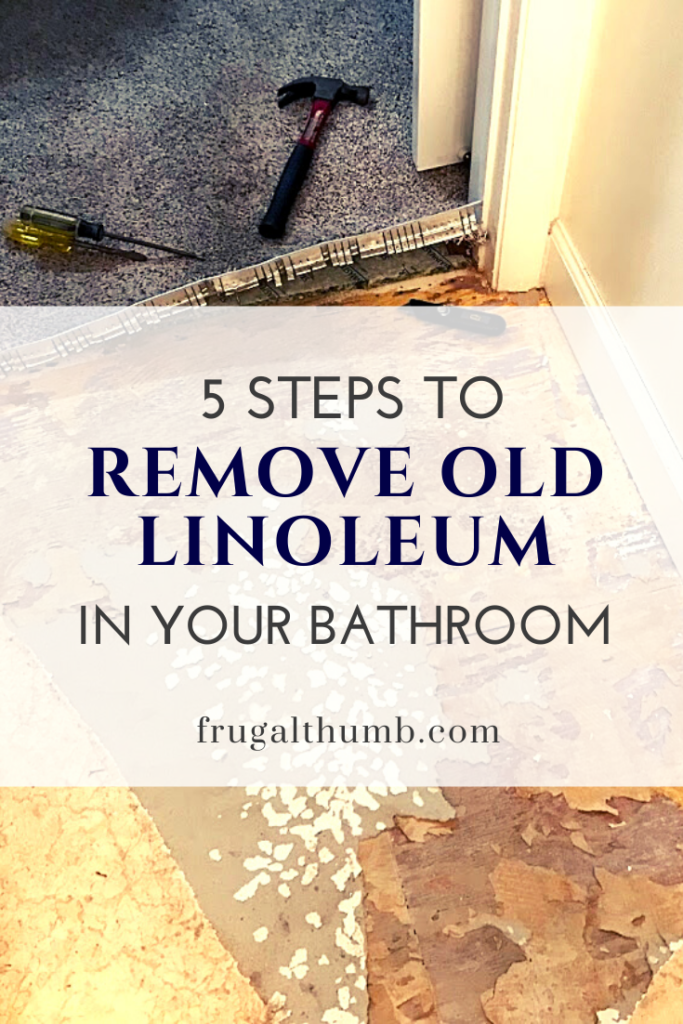
5 Steps to Remove Old Linoleum
Step 1: Move any furniture or quarter round from the room.
First, I took a look around the room to determine if there were any items that needed to be removed from the room before I could begin ripping up the linoleum. Examples: baseboards or quarter round, furniture, etc.
There was a toilet shelving unit and a carpet-to-linoleum transition strip, but that was about it for prepping.
Step 2: Remove the transition strip from doorways.
Then I pulled up the transition strip using a screw driver (to pry it up) and hammer (to pull out the nails) because I didn’t have a crow bar. So if you’re needing to save money on tools, that’s a good work-around.
Step 3: Take out your aggression and start ripping up the linoleum.
Once the transition strip was up, I started ripping out the linoleum like a gangsta. It was much easier than expected because the glue wasn’t super tough. There were a few places where the backing of the linoleum was glued down good, and those areas required the floor scraper.
Step 4: Scrape up any lumpy blobs of glue and caulk still stuck to the floor.
Actually, I scraped the entire floor so that it was as smooth as possible- not just the spots with the stuck linoleum backing. It’s not necessary to get it perfectly clean of any bit of glue. Just make sure there aren’t any huge lumps or you’ll be able to feel them when you walk on your tiles after installation. They also won’t stick as well in those places.
I also tried to remove as much of the old caulk that was left around the bathtub. Some could be pulled right off while other places needed some coaxing with the utility knife.

Step 5: Sweep and vacuum and mop.
Once all the scraping was complete, I swept and vacuumed the whole room, then wiped down the floor with a wet rag a couple of times to get rid of as much dirt and debris on so the adhesive used for the tiles would stick well.

After all that, the floor still looked pretty awful, but it was good enough as the foundation for the new flooring. So don’t worry–it’s supposed to look awful and unfinished at this point.

Above are the “before” and “after” photos. The floor is now clean and prepped for the new tiles.
The entire process took less than three hours for this small bathroom.
Let the floor dry. Then you can move on to installing your new flooring!
I let the floor dry overnight and installed peel-and-stick vinyl tile the next day. (That, on the other hand, took most of the next day to complete.)
When you’re ready to move on to the peel-and-stick tile installation, read my post detailing the 6 easy steps.
2 comments
Did you have to remove the toilet before putting the new tiles down?
Hey Debbie, that’s a good question. I think it’s common practice to remove the toilet from the floor when replacing the bathroom flooring, but I didn’t do that for one main reason. I have very bad luck with plumbing, and the last thing I wanted to do was get in a situation where I couldn’t reconnect the toilet correctly and had a leak problem (icky) on the new floors. So, I just cut around the toilet when removing the old flooring and replacing with new. Then I gave it a professional finish with some caulk around the edge. I’ve done four bathrooms this way now and not a problem yet. Works great and looks great!