This post may contain affiliate links, meaning, at no additional cost to you, I will earn a commission if you click through and make a qualifying purchase.
I finally painted my kitchen in February – and I picked Heirloom Traditions Paint. Read on to learn Heirloom Traditions Paint pros and cons. Spoiler alert: I want to use it on everything now!
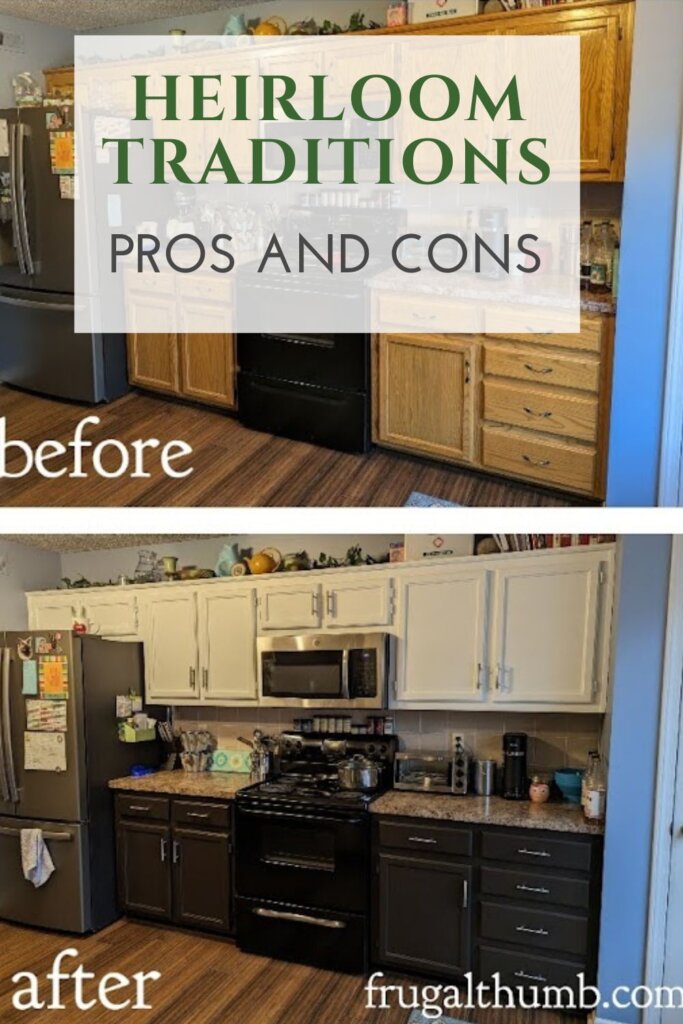
I had been wanting to makeover my kitchen for years, but I could never settle on a plan or a budget that suited my thrifty and green ways. This was largely because there wasn’t actually anything physically wrong with my kitchen. I just wanted some changes aesthetically. It was builder-grade oak cabinets and had been feeling old.
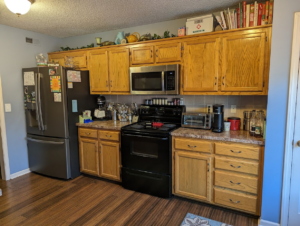
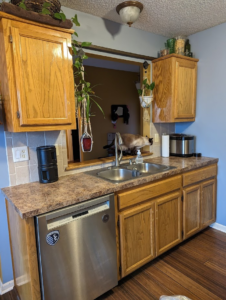
I dreamed of new colors for my kitchen cabinets.
I was tired of the golden oak cabinets and wanted a more modern look. And that one change would be the most dramatic single change I could make in the kitchen. Color usually is.
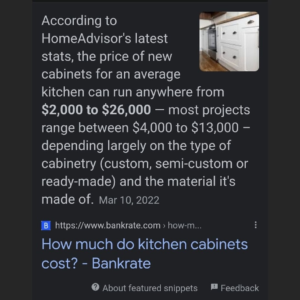
As a frugal thumb, new kitchen cabinets were totally out of the question. Too expensive and wasteful for my case.
My existing cabinets were in good shape. There was no reason to throw them out.
The only option was to paint them. But should I hire professionals or myself?
I could either have the cabinets painted (or stained) by professionals, making the job many times more expensive… or I could do it myself and only have cost of supplies.
I checked the internet for the average cost to get kitchen cabinets professionally painted.

My kitchen has about 8 drawers and 16 cabinet doors. That would be something like $800 + $2,800 = $3,600.
Another quick internet search showed me the price for a bunch of DIY kitchen cabinet paint kits, like these:

Based on size, my kitchen would need 2-3 quarts of paint. That would make the DIY kitchen cabinet paint kits for my project cost between $150-$400 total.
Just to recap, let’s compare the cost estimates for this project:
- New cabinets: between $4,000 – $13,000
- Professional painters: around $3,600
- DIY paint kit: between $150 – $400
Ha, you know which one I decided to go with!
It was time for another DIY project, kitchen makeover edition!
But then there was the problem of deciding on a paint.
My initial requirements were:
- The easier the painting process, the better.
- The paint would need to hold up on kitchen cabinets.
- And it would need to actually look good when I was done.
I needed to research paints to see if I could find something that would make me feel like it fit these requirements.
It wasn’t just, go out and buy the cheapest can of paint and start painting. I needed to research the entire painting project from start to finish. Find out exactly what was required: prep work, number of coats, top coats, dry time, etc.
I found a lot of paints that required A LOT of prep work before painting, plus extra steps required for sealing after painting, and had very strong fumes that left reviewers warning about it. Most recommended removing cabinetry, which would open up a whole nother can of worms, trying not to get them mixed up and putting them back on straight…
Based on my research, I figured that there was no way I could tackle this project until the spring when the weather was warm enough to work on the cabinetry outside in the backyard. And the thought of taking all of those doors off, and sanding, and painting, and then putting the doors back on… it was making me glad I had a few more months to prepare mentally for the scope of this project.
I was struggling to pick a paint kit.
Then I was chatting with my sister on the phone, telling her about my kitchen paint dilemma, and she said “Have you heard of Heirloom Traditions Paint?” At first, I thought, oh no, not another kind of paint to research! I was already feeling overwhelmed with choices.
But I looked it up, and this paint was just checking every box that would make it the easiest kit I’d researched yet. (Thanks, sis!) I wouldn’t have to remove the doors or do any sanding? Yes, please. No priming or top coat? Mhm, okay. Pick 2 colors in one kit? Noice. I also realized that if I got this kit, I could get started on painting now without waiting until the Spring.
That knowledge combined with a 50% off promo that they were offering for bundles at the time–it was a no-brainer for me. I bought the “2-quart kitchen cabinet bundle” and with discounts, only paid about $82. It came with brushes, deglosser, tool cleaner, and allowed me to pick 2 different paint colors–one for each quart.
I really wanted to paint my lower cabinets a dark chocolately color and the top cabinets a bright white, and this was the only kit I came across that let me do that in one kit. There were also a lot more color options. But I’m getting ahead of myself. Let’s just list off the pros and cons for Heirloom Traditions Paint now, and then I’ll get back to the details:
Heirloom Traditions Paint Pros and Cons
Pros
- Lots of tutorial videos
- Minimal fumes
- Modern colors
- No need to remove cabinets for painting
- No need to empty cabinets for painting
- No need to sand cabinets; just clean with deglosser that comes in kit
- No priming
- All-in-one; kits come with everything you need
- Only 2 coats of paint needed (if you don’t pick cashmere/white, which needs an extra coat of paint)
- No top coat needed for kitchen cabinets
- Dries quickly
- Able to continue using kitchen throughout project
- Easy cleanup
- Leftover paint can be used for other projects
- usually running a promo for a discount on price
Cons
- White paint needed an extra coat
- Had to buy extra white paint than what came with kit because it took 3 coats instead of 2
- Had to wait on shipment of additional paint midway through project
- Hard to get paint out of my hair
- Made my sensitive eyes turn pink
- Multiple day painting project
- 30-day cure time
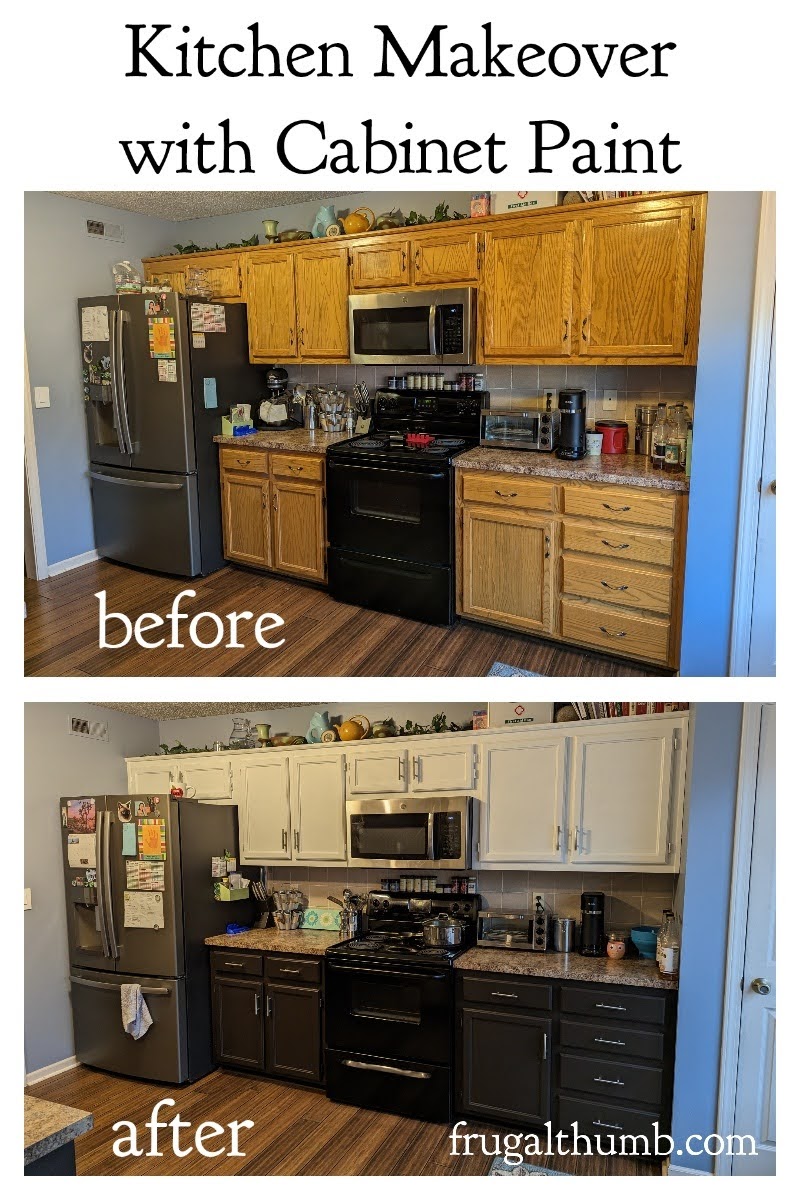
One more BIG pro though: I loved how the kitchen turned out! It looked professionally done, just like I wanted.
Other details and tips about my Heirloom Traditions Paint project
Here’s a little more detail on how the DIY kitchen makeover project went.
I watched a lot of tutorial videos that the Heirloom Traditions Paint owners put out on YouTube. They were invaluable in making me feel confident enough to take on this project. They showed tips and tricks to make sure the final result would be great. And they explained how it’s going to look bad after just one coat of paint and not to panic. If you decide to buy Heirloom Traditions paint, don’t skip the tutorials!!!
I started with the darker bottom cabinets in my kitchen because everyone said white was the hardest color to paint. I thought I better practice first. And boy, were they right! The dark paint (truffle) was soo easy compared to the white. I finished my lower cabinets in a couple of days (plus a few touchups here and there). It only took 2 coats of paint, and it looked so smooth and perfect.
I didn’t even empty the cabinets or drawers–just made sure there wasn’t anything within an inch or two of the openings.

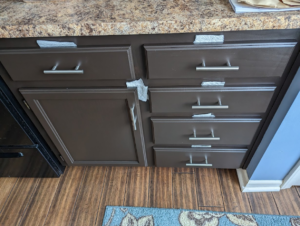
It was dry to the touch within an hour, but the drawers would sometimes get a little stuck if I tried to close them before it had been a whole day. I solved this problem with a little bit of paper towel tucked into the drawers:
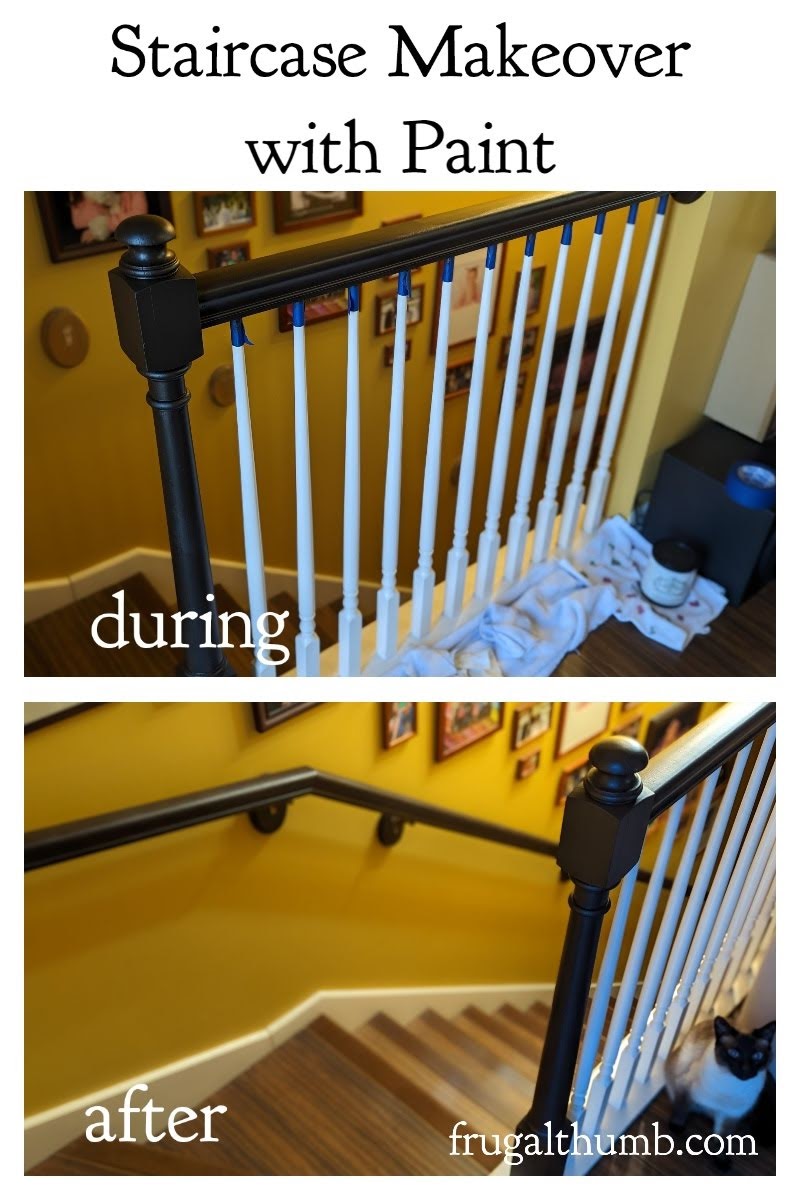
And there was even enough paint leftover that I used the extra on our dining table legs and our staircase railing. (I forgot to take a before photo, but you can see the after here.)
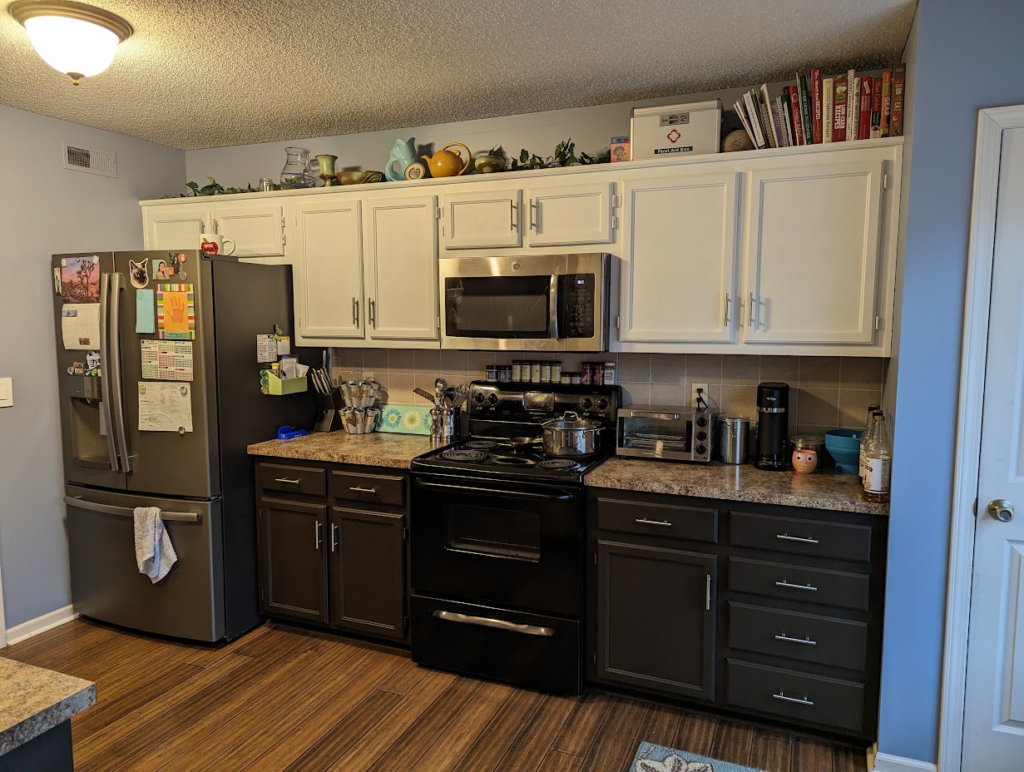
When I started on the upper cabinets, I ran out of white paint. I was able to get the 2 coats completed, but it was obvious that it needed a third. So I did have to buy another quart from Heirloom Traditions paint, where, if I’d gone with all the same color or all the darker color, the 2 quarts would’ve been enough paint for my kitchen. The extra quart added about $25 in cost to the project (because there was a 36% off promo at the time), bringing my paint project costs to $107 total.
And we kept cooking in the kitchen throughout this project so we didn’t have any extra costs due to eating out more than usual either.
Note: You may have noticed that the hardware changed. I bought new cabinet and drawer handles on Amazon to match the stainless steel appliances in our kitchen. Those were an additional $17 for a pack of 30.
With just paint and some new handles, the kitchen was modernized. I was very happy with the final look.
Because I had to buy more white paint, I ended up having extra of that too, which I used to paint the cabinets in our little laundry room.
So really, the price of my kitchen makeover was spread across a few other projects in the house when all was said and done. It turned out great and was extremely affordable.
Since finishing this project about a month ago, I’ve only had one chip in the paint next to the dish washer. I didn’t notice when it happened so I’m guessing it got smacked with a dish or something. I was able to do a quick touch-up with a tiny bit of leftover paint and it’s as good as new. No other chips to be seen.
Last BIG pro of Heirloom Traditions Paint: the price
Final price for kitchen makeover (plus laundry room, staircase, and dining table): $124
Bottom line, if you want to paint your kitchen, I recommend Heirloom Traditions Paint.
Now I’m already making plans to use Heirloom Traditions Paint to update our bathroom vanities!
This post has given you a list of Heirloom Traditions Paint pros and cons, plus tips to help you make an informed decision before your next big DIY kitchen makeover project. After reading my review, I hope you feel excited and confident to take on your paint project!


One comment
the kitchen looks great! i am very impressed. ?